
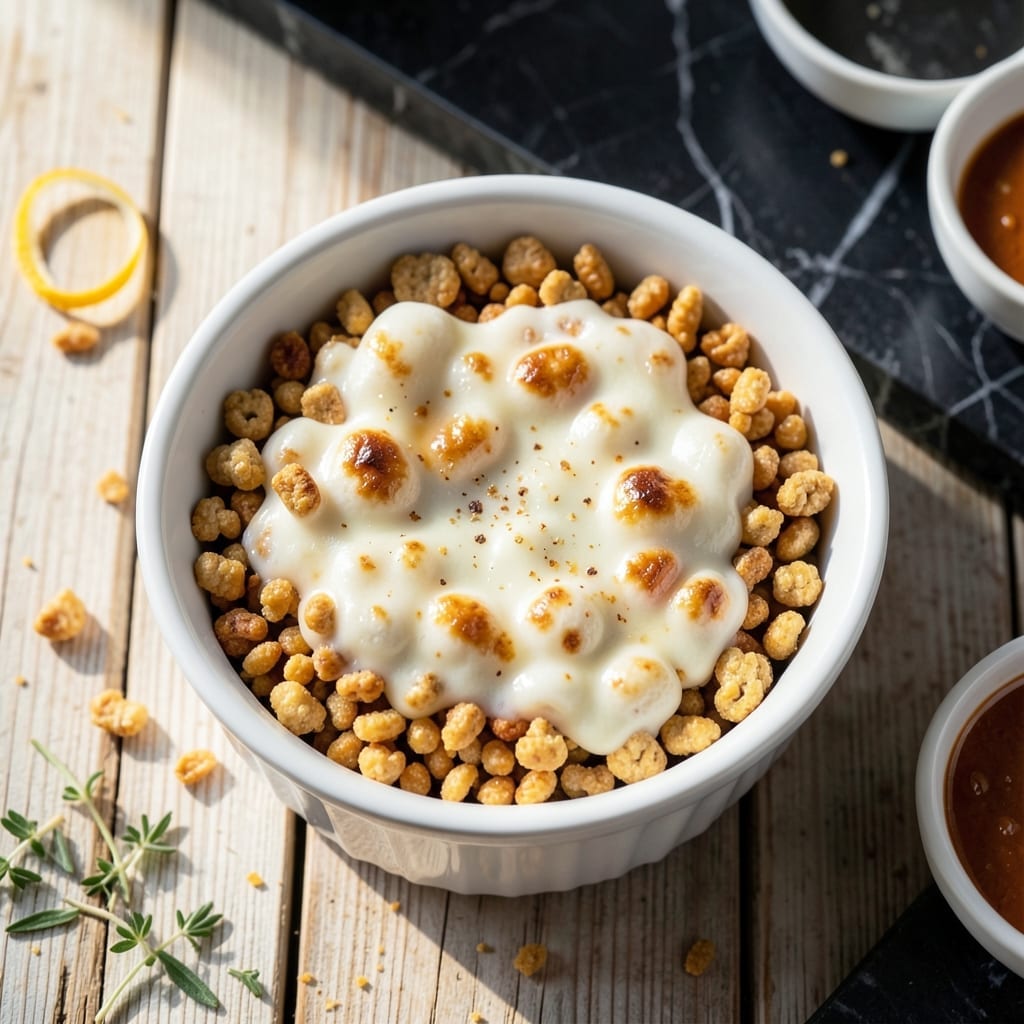
Sometimes the simplest treats bring the most joy. This method delivers a single-serve portion of that classic crispy, gooey delight without the fuss of a full batch.
Using just a mug and your microwave, you can have a warm, freshly made treat ready in under 5 minutes. The key is precise timing to achieve that perfect balance of melted marshmallow and crispy cereal.
No more waiting for a whole pan to set or worrying about leftovers. This approach gives you complete control over portion size and freshness, with the same nostalgic taste you remember.
Ideal for satisfying a sudden craving or making a quick, personalized dessert. Here’s how to make it.
Ingredients for Individual Rice Krispie Treat Recipe Microwave
Five simple ingredients. One mug. Warm, gooey perfection in minutes.
| Ingredient | Amount | Notes |
|---|---|---|
| Rice Krispies Cereal 🥣 | 1 ½ cups | Fresh for best crispiness |
| Mini Marshmallows 🍬 | 1 ½ cups | Or 15 large marshmallows |
| Unsalted Butter 🧈 | 1 ½ tbsp | For rich flavor base |
| Vanilla Extract 🌿 | ¼ tsp | Pure for best flavor |
| Salt 🧂 | 0.125 tsp | Pinch to balance sweetness |
The marshmallows are doing the heavy lifting here. Jet-Puffed are my go-to—they melt smooth and fast. For the cereal, Kellogg’s Rice Krispies give that classic snap (the off-brands can be chewy). Butter matters too—Land O’Lakes or any good brand, just make sure it’s unsalted so you control the seasoning.
No mini marshmallows? 15 regular ones chopped into quarters works. Want more crunch? Swap half the cereal for Cocoa Krispies or Froot Loops (the colors look fun). Need it dairy-free? Vegan butter or coconut oil works at the same ratio. Vanilla extract can be swapped for almond extract at half the amount for a different vibe.
Best eaten fresh and warm, but leftovers keep 2-3 days in an airtight container. Microwave for 10-15 seconds to soften if they firm up. Don’t press too hard when shaping—keep it light for that perfect texture.
Why You’ll Love This Recipe
- Microwave Magic: I can make a batch of these in 10 minutes flat, no stove, no waiting for butter to melt—just zap and mix.
- Vanilla Kiss: That hint of vanilla extract with the buttery marshmallows turns simple Rice Krispies into something crave-worthy.
- Portion Control: Honestly, these individual treats are my go-to for lunchboxes, bake sales, or a midnight snack without leftovers going stale.
- Budget Friendly: A box of cereal, a bag of mini marshmallows, and I’ve got 12 treats for under five bucks.
Step-by-Step Instructions for Individual Microwave Rice Krispie Treats
Here’s the method. Straightforward, tested, works every time.
Step 1: Melt the Butter and Marshmallows Together
In a large microwave-safe bowl, combine the 1.5 tbsp Unsalted Butter and 1.5 cups Mini Marshmallows. Microwave on high for 45 seconds, then pause and stir well with a silicone spatula.
Return to the microwave and heat for another 30-45 seconds until the mixture is completely smooth and melted. You should see no visible marshmallow pieces, just a glossy, thick liquid. If it’s not fully melted, continue in 15-second intervals, stirring between each.
This step is crucial—the marshmallows must be completely melted to properly coat and bind the cereal. Watch carefully; marshmallows can burn quickly in the microwave.
Step 2: Stir in the Flavor Enhancers
Once melted, immediately stir in the 0.25 tsp Vanilla Extract and 0.125 tsp Salt. The vanilla adds depth to the sweetness, while the salt balances the flavors perfectly.
I always add these right after melting while the mixture is still hot. This ensures they incorporate evenly throughout. The aroma of the vanilla will be noticeable as you stir—this is your sign that the flavors are melding properly.
Give it a final stir to make sure everything is fully combined. The mixture should look uniform and slightly thicker as it cools for a moment.
Step 3: Fold in the Rice Krispies Cereal
Add all of the 1.5 cups Rice Krispies Cereal to the marshmallow mixture at once. Using your spatula, gently fold the cereal into the melted marshmallow until every piece is evenly coated.
You’ll notice the cereal starts to soften slightly as it absorbs the warm marshmallow mixture. This is normal and exactly what you want. Be careful not to overmix, as this can crush the cereal and make the treats too dense.
The mixture will look thick and slightly sticky, with no dry cereal pieces visible. If you see any uncoated spots, keep folding until they disappear.
Step 4: Shape and Set the Treats
Lightly grease your hands with butter or cooking spray to prevent sticking. Divide the mixture evenly into two portions (since this makes 2 servings). Shape each into a ball or press into a small square or rectangle, depending on your preference.
Place each portion on a sheet of parchment paper. Press down gently to compact them slightly—this helps them hold their shape. Don’t press too hard, or they’ll become too dense and lose their signature crispy texture.
Let them cool at room temperature for 10-15 minutes until firm to the touch. You’ll know they’re ready when they hold their shape and the cereal feels crisp again.
Pro Tips For Making Individual Rice Krispie Treat Recipe Microwave
- Melt Butter First: Start by melting the butter completely in the microwave before adding marshmallows—about 30 seconds on high. I learned this the hard way after burning two batches trying to do it all at once.
- Use Fresh Marshmallows: Skip the stale mini marshmallows; they won’t melt as smoothly. Fresh ones blend seamlessly with the butter and cereal for that perfect gooey texture.
- Don’t Over-Microwave: Heat the marshmallow-butter mix in 20-second bursts, stirring between each. After ruining a batch with rubbery treats, I now know this prevents scorching.
- Press Lightly: When shaping the treats in the molds, press just enough to hold them together—over-packing makes them dense. My first attempts were like hockey pucks.
Flavor Customization for This Recipe
Chocolate Lovers
Add 2 tbsp cocoa powder to the melted marshmallow mixture for a rich chocolate twist. For extra decadence, fold in ¼ cup chocolate chips with the cereal. I use Ghirardelli semi-sweet for that perfect balance of bitter and sweet. 🔥
Peanut Butter Bliss
Stir in 2 tbsp creamy peanut butter after melting the marshmallows. The nutty flavor pairs beautifully with the crispy cereal. I recommend Jif Natural for a smooth texture without added sugars.
Fruity Fun
Mix in ¼ cup dried cranberries or raisins with the cereal for a chewy, tangy surprise. I learned this trick from my grandmother—she always added dried fruit to her treats for a Sicilian touch.
Spiced Variety
Add ½ tsp cinnamon or ¼ tsp pumpkin pie spice to the marshmallow mixture for warm, cozy flavors. This reminds me of those Sunday family dinners where we’d experiment with spices.
Crunchy Toppings
Roll the shaped treats in crushed nuts or sprinkles before they set. I love using chopped pecans from my local farmers market for that extra crunch.
Coconut Dream
Fold in ¼ cup shredded coconut with the cereal for a tropical twist. Toasted coconut adds even more flavor—I always grab some from the Italian specialty deli near me.
Nutrition Facts
Frequently Asked Questions
What size bowl works best?
Use a large microwave-safe bowl to prevent overflow. A 2-quart or larger works perfectly for 2 servings.
Can I make just one serving?
Yes! Halve all ingredients and use a 12-oz mug. Microwave times remain the same but watch closely.
Why did my treats turn out hard?
Overmixing or pressing too firmly causes this. Fold gently and shape lightly for the best texture.
How do I store leftovers?
Keep in an airtight container at room temp for 2-3 days. Reheat for 10 seconds to soften.

- Ground Beef Rice and Beans Recipe: Slow-Simmered Savory Harmony - October 17, 2026
- Guyanese Fried Rice Recipe: Caribbean Spice With Wok-Charred Aromatics - October 17, 2026
- Hakka Thunder Tea Rice Recipe: Wok-Charred Herbal Infusion - October 17, 2026