
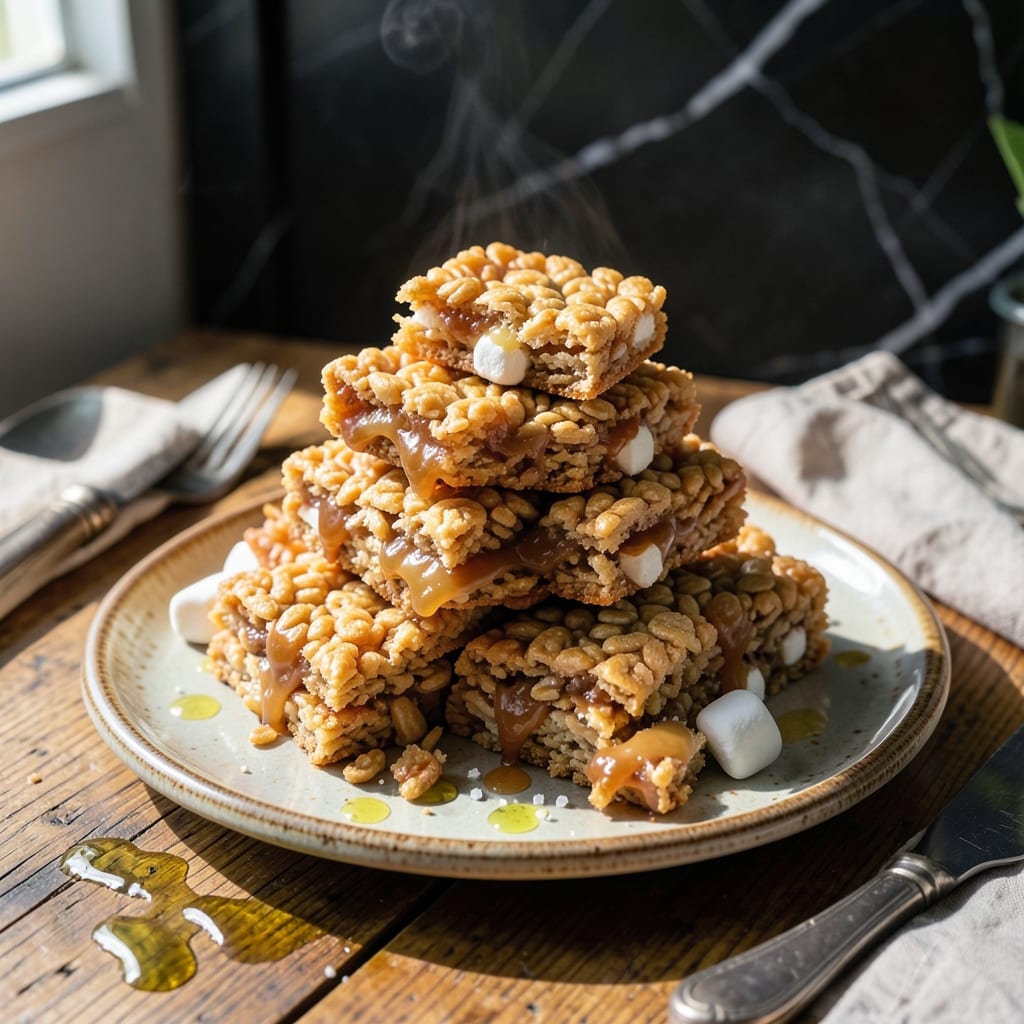
This classic treat delivers perfectly gooey results every time with minimal effort. I’ve refined the method to ensure the ideal balance between crispy and chewy textures.
The secret lies in timing and temperature. Melting the marshmallows just until smooth prevents burning while maintaining their signature stretchiness. A buttered spatula makes pressing the mixture into the pan effortless.
What emerges is a pan of golden squares with that nostalgic crunch and marshmallow pull we all love. The edges stay crisp while the centers remain soft and sticky.
Perfect for parties, lunchboxes, or a quick sweet fix. Here’s how to make them just right.
Ingredients for Rice Keispie Treat
Five ingredients. One bowl. Perfectly gooey squares every time.
| Ingredient | Amount | Notes |
|---|---|---|
| Rice Krispies Cereal 🥣 | 6 cups | Standard or generic brand works |
| Mini Marshmallows 🍬 | 10 oz | About 4 cups unpacked |
| Unsalted Butter 🧈 | 3 tbsp | For melting with marshmallows |
| Vanilla Extract 🌿 | ½ tsp | Pure extract preferred |
| Salt 🧂 | ¼ tsp | Fine grain for balance |
The marshmallows are the star here. Jet-Puffed or store brand both melt beautifully—just avoid the colored ones (they can get weirdly sticky). Kellogg’s Rice Krispies are classic, but any crispy rice cereal works. I’ve had great results with the Trader Joe’s version too (slightly thinner, but still crispy). The butter needs to be unsalted so you can control the salt level yourself.
No mini marshmallows? Use regular marshmallows at 10 oz (about 40 large), just cut them into quarters first for even melting. Want extra flavor? Add a pinch of cinnamon or cocoa powder with the cereal. The vanilla is optional but worth it—pure extract tastes better than imitation. Salt can be skipped if you’re using salted butter, but I like the little kick it adds.
These keep at room temperature for 2-3 days in an airtight container. They’ll get a bit firmer over time but still taste great. For longer storage, freeze for up to 6 weeks (cut into squares first, then layer with parchment paper).
Why You’ll Love This Recipe
- One Pot Wonder: I melt the butter, toss in marshmallows, and stir in cereal—cleanup is just one bowl and a spatula.
- That Vanilla Magic: The vanilla extract turns the sweet marshmallow goo into something ridiculously good, not just sugary.
- Crowd Pleaser: I’ve served these at birthday parties, school events, and even Tuesday night snacks—everyone grabs seconds.
- Budget Hero: A box of cereal and a bag of marshmallows feed a crowd for pennies. Honestly, it’s my go-to for cheap, happy treats.
Step-by-Step Instructions for Rice Krispie Treats
This method ensures perfect texture every time—crispy outside, gooey inside.
Step 1: Melt Butter and Prepare Marshmallows
In a large pot, melt the 3 tbsp Unsalted Butter over low heat. I like to use a light-colored pot so I can see when the butter starts to foam—that’s your cue it’s ready for the next step.
Once melted, add the entire 10 oz Mini Marshmallows and stir constantly with a silicone spatula. The marshmallows will start to collapse and melt within 2-3 minutes. Keep the heat low to prevent burning—you want a smooth, glossy mixture, not browned or grainy.
Step 2: Add Flavorings and Combine
As soon as the marshmallows are fully melted, remove the pot from heat. Stir in the 0.5 tsp Vanilla Extract and 0.25 tsp Salt. The vanilla adds depth, while the salt balances the sweetness perfectly.
Here’s the thing—this mixture will be extremely sticky. Work quickly but carefully, as it sets up fast once it starts cooling. You want everything ready to go before you add the cereal.
Step 3: Fold in Rice Krispies Cereal
Immediately add all 6 cups Rice Krispies Cereal to the pot. Using your spatula, fold the cereal into the marshmallow mixture until every piece is evenly coated. This should take 30-45 seconds of gentle but thorough mixing.
You’ll notice the cereal starts to soften slightly as it absorbs the warm marshmallow mixture. Stop mixing as soon as everything is combined to avoid crushing the cereal—you want those crispy bits to stay intact for texture.
Step 4: Press into Pan and Set
Transfer the mixture to a greased 9×13-inch pan (or similar size). I like to use a piece of parchment paper to press it down—this prevents sticking to your hands and makes cleanup easier. Press firmly but don’t compact it too tightly; you want some air pockets for that signature texture.
Let it sit at room temperature for 30-60 minutes to set completely. You’ll know it’s ready when the top feels firm to the touch and the edges start to pull away slightly from the pan. Resist the urge to cut too soon—patience ensures clean squares.
Step 5: Cut and Serve
Once fully set, use a sharp knife to cut into 16 squares. For best results, wipe the knife with a damp cloth between cuts to prevent sticking. The squares should hold their shape but still feel slightly tacky.
Serve at room temperature for the best texture. These keep well in an airtight container for up to 3 days, though they’re so good they probably won’t last that long. The cereal stays crisp while the marshmallow remains perfectly gooey.
Pro Tips For Making Rice Keispie Treat
- Melt Butter Low: Use medium-low heat when melting the butter to prevent browning—burnt butter will make your treats taste bitter.
- Use Fresh Marshmallows: Mini marshmallows that are old or dried out won’t melt as smoothly, leaving your treats lumpy instead of gooey.
- Press While Warm: Shape the mixture into the pan immediately after mixing, while the marshmallows are still pliable—waiting makes it harder to press evenly.
- Butter the Pan: Grease both the pan and your spatula with butter before pressing in the mixture so it doesn’t stick and tear when you cut it.
Serving Suggestions for This rice keispie treat
Party Presentation
For gatherings, cut these into smaller 1-inch squares and arrange on a tiered serving tray. The varied heights create visual interest, and the bite-sized portions encourage guests to grab just one more. I love using a white ceramic platter for contrast against the golden brown treats.
Creative Stacking
Build towers by stacking 2-3 squares with a dollop of melted chocolate or caramel between layers. This works especially well for birthday parties or dessert tables. The towers stay stable at room temperature for up to 2 hours. 🎉
Individual Portions
Press the mixture into mini cupcake liners instead of a pan for single-serving treats. Use a cookie scoop for even portions, then press gently. These are perfect for lunchboxes or portion control, and kids love the fun size.
Dipped Delights
Melt 1 cup chocolate chips with 1 tsp coconut oil and dip half of each square. Place on parchment paper to set. Try white chocolate drizzled with colored sprinkles for a festive touch.
Seasonal Themes
For holidays, add green and red sprinkles at Christmas or pastel-colored cereal for Easter. Press mini chocolate eggs into the top before it sets. These small touches make them feel special for any occasion.
Warm Serving
Microwave individual squares for 10-15 seconds right before serving. This brings back that fresh-from-the-pot gooeyness. Just be careful—they’ll be hot! Serve with a glass of cold milk for the ultimate comfort treat.
Nutrition Facts
Frequently Asked Questions
Can I use regular marshmallows instead of mini?
Yes! Use 10 oz of large marshmallows (about 40 pieces) and cut them into quarters first. This ensures even melting and prevents clumps in your mixture.
Why did my treats turn out hard?
Overcooking the marshmallow mixture or pressing too firmly into the pan can cause this. Keep heat at low and press just enough to shape. Let them set for 30-60 minutes before cutting.
How can I make them extra gooey?
Add an extra 1 cup of marshmallows or use jet-puffed marshmallows for maximum stretch. Warm them for 10-15 seconds in the microwave before serving.
Can I make these ahead of time?
Store in an airtight container at room temperature for up to 3 days. For longer storage, freeze for up to 6 weeks. Thaw at room temperature before serving.

- Jollof Rice Sauce Recipe: West African Tomato and Spice Infusion - September 25, 2026
- Japanese Rice Soup Recipe: Umami-Rich Comfort in a Bowl - September 25, 2026
- Homemade Cream Of Rice Recipe: Silk-Smooth Breakfast in Minutes - September 25, 2026