
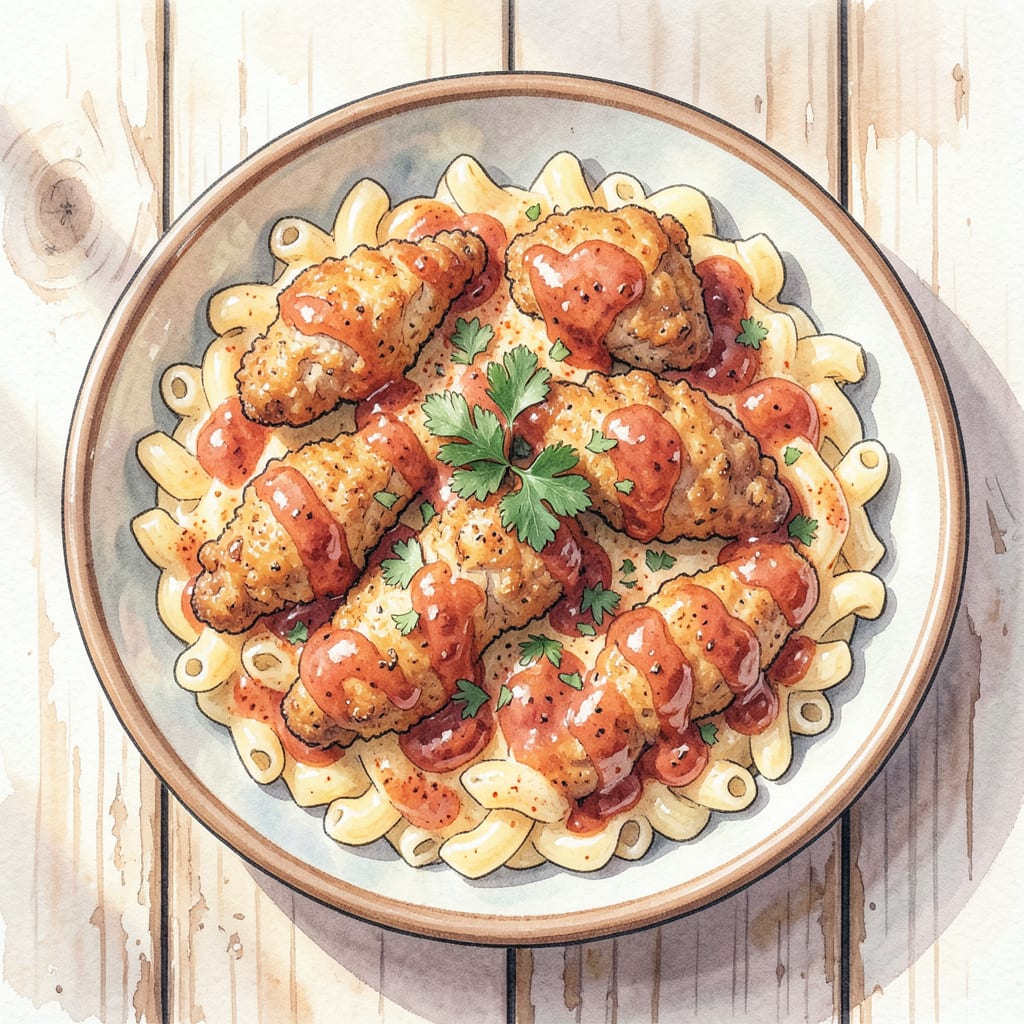
I’m excited to share Gus’ famous fried chicken mac and cheese recipe, a comfort food masterpiece that combines crispy fried chicken with a creamy macaroni and cheese. This dish is perfect for a cozy night in or a crowd-pleasing meal.
The recipe involves cooking the macaroni to perfection, frying chicken to a crispy golden brown, and combining them in a rich, cheesy sauce. With a cooking time of under an hour, this dish is sure to become a family favorite.
Ingredients for Gus Fried Chicken Mac and Cheese
Comfort food at its best with these simple, quality ingredients.
| Ingredient | Amount | Notes |
|---|---|---|
| Macaroni 🍝 | 8 oz | Elbow macaroni preferred |
| Chicken Breasts 🍗 | 1 ½ lb | Boneless, skinless, cut into bite-sized pieces |
| All-Purpose Flour 🌾 | 1 cup | For dredging chicken |
| Paprika 🌶️ | 1 tsp | Smoked or sweet variety |
| Garlic Powder 🧄 | 1 tsp | Not garlic salt |
| Onion Powder 🧅 | 1 tsp | Fresh ground preferred |
| Salt 🧂 | 1 tsp | Kosher or sea salt |
| Black Pepper 🌶️ | ½ tsp | Freshly ground preferred |
| Buttermilk 🥛 | 1 cup | For marinating chicken |
| Vegetable Oil 🫒 | 2 cups | For frying chicken |
| Cheddar Cheese 🧀 | 2 cups | Shredded, sharp or extra-sharp |
| Milk 🥛 | 2 cups | Whole milk for creaminess |
| Unsalted Butter 🧈 | 4 tbsp | For sauce and topping |
For the crispiest fried chicken, Costco’s Kirkland Signature buttermilk makes a difference. If you’re feeling fancy, grab freshly ground black pepper from the spice store. The cheddar? Cabot Clothbound if you can find it—otherwise, any sharp cheddar works.
No buttermilk? Milk with 1 tbsp white vinegar is a decent substitute. Want extra crispy coating? Try Panko breadcrumbs mixed with grated Parmesan. For an even creamier sauce, add 1/2 cup heavy cream to the mix. The type of macaroni matters—De Cecco holds its texture beautifully.
This dish reheats beautifully in the oven at 350°F. Portion into individual containers for 3-4 days in the fridge. Freeze for up to 3 months—just thaw overnight in the fridge before reheating.
Step-by-Step Instructions for Gus’ Fried Chicken Mac and Cheese
Follow these detailed steps to create a creamy, comforting masterpiece that combines crispy fried chicken with rich macaroni and cheese.
Step 1: Prepare the Chicken for Frying
Start by cutting the 1.5 lb Chicken Breasts into bite-sized pieces and placing them in a large bowl. Pour in the 1 cup Buttermilk, making sure all the chicken is fully submerged. Let it marinate for at least 30 minutes in the refrigerator. The acidity in the buttermilk will tenderize the chicken and help the coating adhere.
While the chicken is marinating, mix together the 1 cup All-Purpose Flour, 1 tsp Paprika, 1 tsp Garlic Powder, 1 tsp Onion Powder, 1 tsp Salt, and 0.5 tsp Black Pepper in a shallow dish. This seasoned flour will create a flavorful crust on the chicken.
Step 2: Dredge and Fry the Chicken
Remove the chicken from the buttermilk, allowing any excess to drip off. Dredge the chicken pieces in the seasoned flour mixture, pressing the coating onto the chicken to ensure it adheres well. Heat the 2 cups Vegetable Oil in a large skillet over medium-high heat until it reaches 350°F. Fry the chicken in batches until golden brown and cooked through, about 5-7 minutes per batch. Drain the fried chicken on paper towels.
Maintain the oil temperature between 325°F and 350°F for consistent frying. If the oil gets too hot, the outside will burn before the inside is fully cooked. If it cools too much, the chicken will absorb excess oil and become greasy.
Step 3: Cook the Macaroni and Prepare the Cheese Sauce
Bring a large pot of salted water to a boil and cook the 8 oz Macaroni according to package instructions until al dente. Reserve 1 cup of pasta water before draining. In a separate saucepan, melt 2 tbsp Unsalted Butter over medium heat. Whisk in the 2 cups Milk, and bring to a simmer. Gradually add the 2 cups Cheddar Cheese, whisking constantly until smooth and creamy. Season with salt and pepper to taste.
If the cheese sauce seems too thick, add a little of the reserved pasta water to achieve the desired consistency. The sauce should coat the back of a spoon but still be pourable.
Step 4: Combine the Mac and Cheese with Fried Chicken
In a large mixing bowl, combine the cooked macaroni and cheese sauce, stirring until the pasta is well coated. Add the fried chicken pieces to the macaroni and cheese, gently folding to distribute evenly. Transfer the mixture to a baking dish and top with additional shredded cheese if desired. Dot the top with the remaining 2 tbsp Unsalted Butter.
Bake in a preheated oven at 375°F for 15-20 minutes, or until the top is golden brown and the mac and cheese is heated through. Serve hot, garnished with chopped herbs if desired.
Essential Equipment for Perfect Results
Essential Cooking Equipment
To make Gus’ Fried Chicken Mac and Cheese, you’ll need some essential cooking equipment. A large skillet or fryer is necessary for frying the chicken. I recommend using a cast-iron skillet or a deep fryer with at least 3-4 inches of depth to prevent oil splatters.
Temperature Control
A thermometer is crucial for achieving the perfect fry. You’ll want to monitor the oil temperature to ensure it stays between 325°F and 350°F. I prefer using a digital thermometer for accuracy. Some popular options include ThermoWorks or Taylor Precision Products.
Pasta Cooking Essentials
For cooking the macaroni, you’ll need a large pot with plenty of salted water. A stainless steel or enameled cast-iron pot works well. Don’t forget a colander for draining the pasta. 🔥
Baking Dish
A 9×13 inch baking dish is perfect for combining the mac and cheese with the fried chicken and baking until golden brown. You can use either a glass or ceramic baking dish, depending on your preference.
Additional Tools
Other essential tools include tongs for handling the fried chicken, a whisk for making the cheese sauce, and a wooden spoon for stirring the macaroni. Having these tools on hand will make the cooking process much smoother. 💡
Nutrition Facts

- Jollof Rice Sauce Recipe: West African Tomato and Spice Infusion - September 25, 2026
- Japanese Rice Soup Recipe: Umami-Rich Comfort in a Bowl - September 25, 2026
- Homemade Cream Of Rice Recipe: Silk-Smooth Breakfast in Minutes - September 25, 2026