
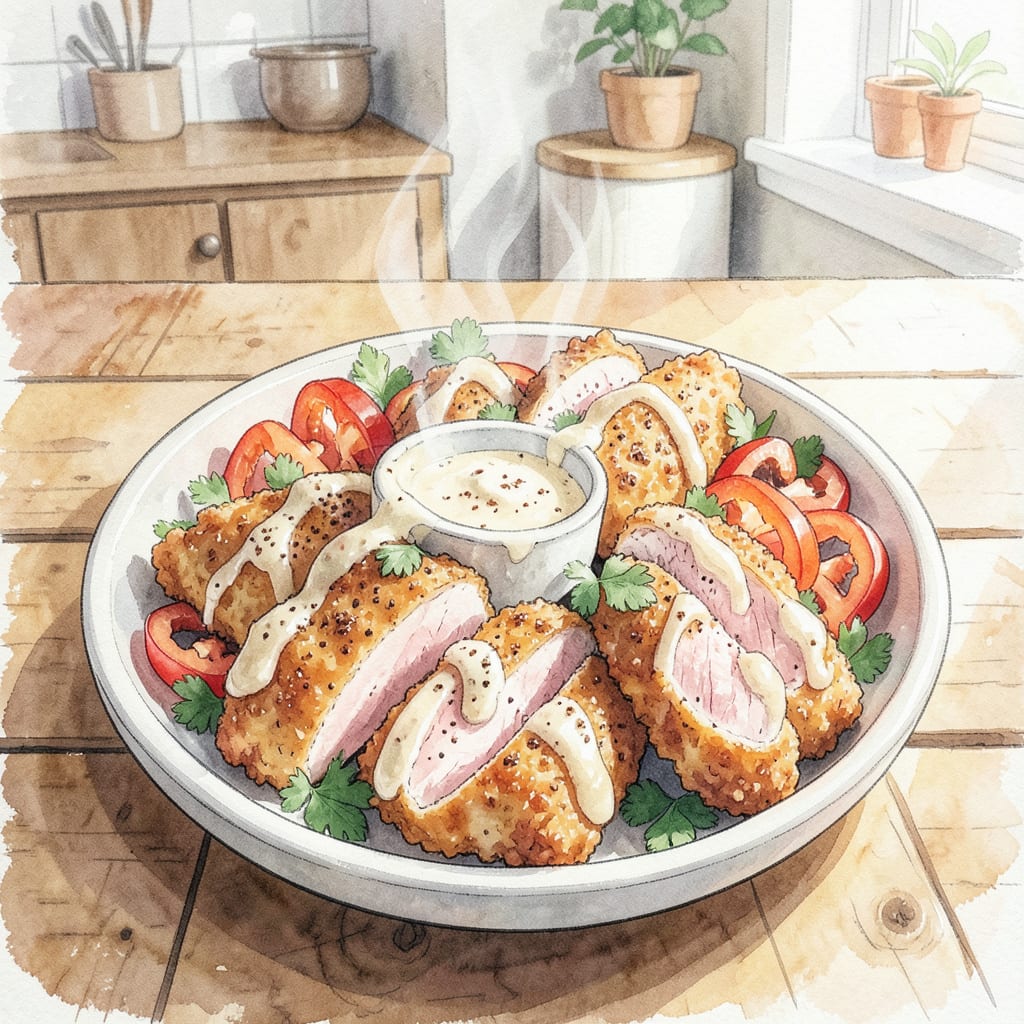
I’ve perfected a Hardee’s-style chicken tenders recipe that delivers crispy exteriors and juicy interiors in just 20 minutes. This recipe uses a special breading technique and precise frying temperatures to achieve that signature fast-food taste at home.
The secret to these tender and flavorful chicken strips lies in the marinade and double-breading process. With simple ingredients and straightforward instructions, you’ll be enjoying restaurant-quality chicken tenders without leaving your kitchen.
Ingredients for Hardee’s Chicken Tenders
Simple ingredients create crispy, tender, and juicy chicken tenders in just 20 minutes.
| Ingredient | Amount | Notes |
|---|---|---|
| Chicken Breast Tenders 🍗 | 1 ½ lb | Pounded to even thickness |
| Buttermilk 🥛 | 1 cup | For marinating chicken |
| All-Purpose Flour 🌾 | 1 ½ cups | For breading station |
| Cornstarch 🌾 | ½ cup | For extra crispiness |
| Paprika 🌶️ | 1 tbsp | Smoked or sweet variety |
| Garlic Powder 🧄 | 1 tbsp | Not garlic salt |
| Onion Powder 🧅 | 1 tbsp | For savory depth |
| Salt 🧂 | 1 tsp | Kosher salt preferred |
| Black Pepper 🌶️ | ½ tsp | Freshly ground preferred |
| Cayenne Pepper 🔥 | ¼ tsp | Optional for heat |
| Large Eggs 🥚 | 2 whole | For egg wash |
| Panko Breadcrumbs 🍞 | 2 cups | For crispy coating |
| Vegetable Oil 🫒 | 2 cups | For frying |
For the crispiest coating, Panko breadcrumbs are essential. Look for them in the international section of most supermarkets or at Asian markets for the best selection. The quality of buttermilk matters here—full-fat gives better results than low-fat. If you can’t find buttermilk, make a substitute by mixing 1 cup of milk with 1 tablespoon of white vinegar or lemon juice.
No buttermilk? Milk with lemon juice or vinegar works as a substitute. For extra crispy coating, try double-breading the chicken tenders. If you prefer a spicier kick, increase the cayenne pepper to 0.5 teaspoon or more to taste. For a gluten-free version, use gluten-free flour and gluten-free Panko.
These chicken tenders are best served immediately, but you can store leftovers in an airtight container in the refrigerator for up to 3 days. To reheat, bake in a preheated oven at 375°F for about 10-15 minutes to maintain crispiness. Freezing is also an option—freeze on a baking sheet, then transfer to a freezer-safe bag for up to 3 months.
Step-by-Step Instructions for Crispy Chicken Tenders
Follow these straightforward steps to achieve perfectly crispy and juicy chicken tenders every time.
Step 1: Marinate Chicken Tenders in Buttermilk
Begin by placing the 1.5 lb Chicken Breast Tenders in a large bowl. Pour in the 1 cup Buttermilk, ensuring the chicken is fully submerged. If necessary, add a little more buttermilk to cover all the tenders. Cover the bowl with plastic wrap and refrigerate for at least 30 minutes or up to 2 hours for maximum tenderness.
The acidity in the buttermilk will break down the proteins in the chicken, resulting in tender and juicy meat. You can also add a pinch of salt to the buttermilk for extra flavor.
Step 2: Prepare the Breading Station
In a shallow dish, mix together the 1.5 cups All-Purpose Flour, 0.5 cup Cornstarch, 1 tbsp Paprika, 1 tbsp Garlic Powder, 1 tbsp Onion Powder, 1 tsp Salt, 0.5 tsp Black Pepper, and 0.25 tsp Cayenne Pepper. Stir until the seasoning is evenly distributed throughout the flour mixture.
In another dish, beat the 2 whole Large Eggs until they are well mixed. In a third dish, place the 2 cups Panko Breadcrumbs. Having a well-organized breading station is crucial for efficient and mess-free coating of the chicken tenders.
Step 3: Bread the Chicken Tenders
Remove the chicken tenders from the buttermilk, allowing any excess to drip off. Dredge the tenders in the flour mixture, coating them evenly. Then, dip the floured tenders in the beaten eggs, ensuring they are fully coated. Finally, roll the tenders in the Panko breadcrumbs, pressing the crumbs gently onto the chicken to ensure they adhere well.
Place the breaded chicken tenders on a plate or tray. This breading process creates a crispy exterior that seals in the juicy chicken inside.
Step 4: Fry the Chicken Tenders
Heat the 2 cups Vegetable Oil in a large skillet or Dutch oven over medium-high heat until it reaches 350°F. Carefully place a few breaded chicken tenders into the hot oil, being cautious not to overcrowd the pan. Fry for 5-7 minutes or until the tenders are golden brown and the internal temperature reaches 165°F.
Using a slotted spoon, transfer the fried chicken tenders to a paper towel-lined plate to drain any excess oil. Repeat the frying process with the remaining chicken tenders.
Step 5: Serve Immediately
Serve the crispy chicken tenders hot with your favorite dipping sauce. The tenders are best enjoyed immediately while the coating is still crispy. You can also pair them with a fresh salad or your favorite sides for a complete meal.
For an extra crispy coating, you can chill the breaded chicken tenders in the refrigerator for 30 minutes before frying. This helps the coating adhere better to the chicken.
Troubleshooting Perfect Results
Common Frying Issues
One of the most frequent problems with frying chicken tenders is achieving the right oil temperature. If the oil is too hot (above 375°F), the exterior will burn before the interior cooks properly. If it’s too cold (below 325°F), the coating absorbs excess oil and becomes greasy. I recommend using a thermometer to monitor the temperature precisely 🔥.
Breading Adhesion Problems
If your breading isn’t sticking properly to the chicken, it might be because the chicken wasn’t dried sufficiently after marinating. Pat the chicken dry with paper towels before dredging in flour to help the coating adhere better. Another trick is to chill the breaded tenders in the refrigerator for 30 minutes before frying, which helps the coating stick during cooking.
Overcrowding the Pan
Frying too many chicken tenders at once can cause the oil temperature to drop significantly, resulting in soggy coating. Fry in batches of 3-4 tenders depending on the size of your pan. This ensures that the oil temperature remains consistent, giving you that perfect crispy exterior. Use a slotted spoon to manage the tenders gently.
Under/Overcooking
Undercooked chicken is a safety risk, while overcooked chicken becomes dry. Use a meat thermometer to check for an internal temperature of 165°F. The tenders should be fried for 5-7 minutes until golden brown. If you’re concerned about doneness, you can finish them in a 375°F oven for a few minutes after frying.
Maintaining Crispiness
To keep your chicken tenders crispy after frying, place them on a wire rack set over a baking sheet. This allows air to circulate around the tenders, preventing sogginess. Avoid stacking them on a paper towel-lined plate as this traps moisture. For large batches, you can keep them warm in a 200°F oven while frying the remaining tenders.
Reheating Leftovers
If you have leftover chicken tenders, reheating them properly is crucial to maintaining their crispiness. The best method is to bake them in a preheated oven at 375°F for 10-15 minutes. Avoid microwaving as it makes the coating soggy. You can also reheat them in an air fryer at 375°F for about 5 minutes for optimal crispiness.
Nutrition Facts

- Jollof Rice Sauce Recipe: West African Tomato and Spice Infusion - September 25, 2026
- Japanese Rice Soup Recipe: Umami-Rich Comfort in a Bowl - September 25, 2026
- Homemade Cream Of Rice Recipe: Silk-Smooth Breakfast in Minutes - September 25, 2026