
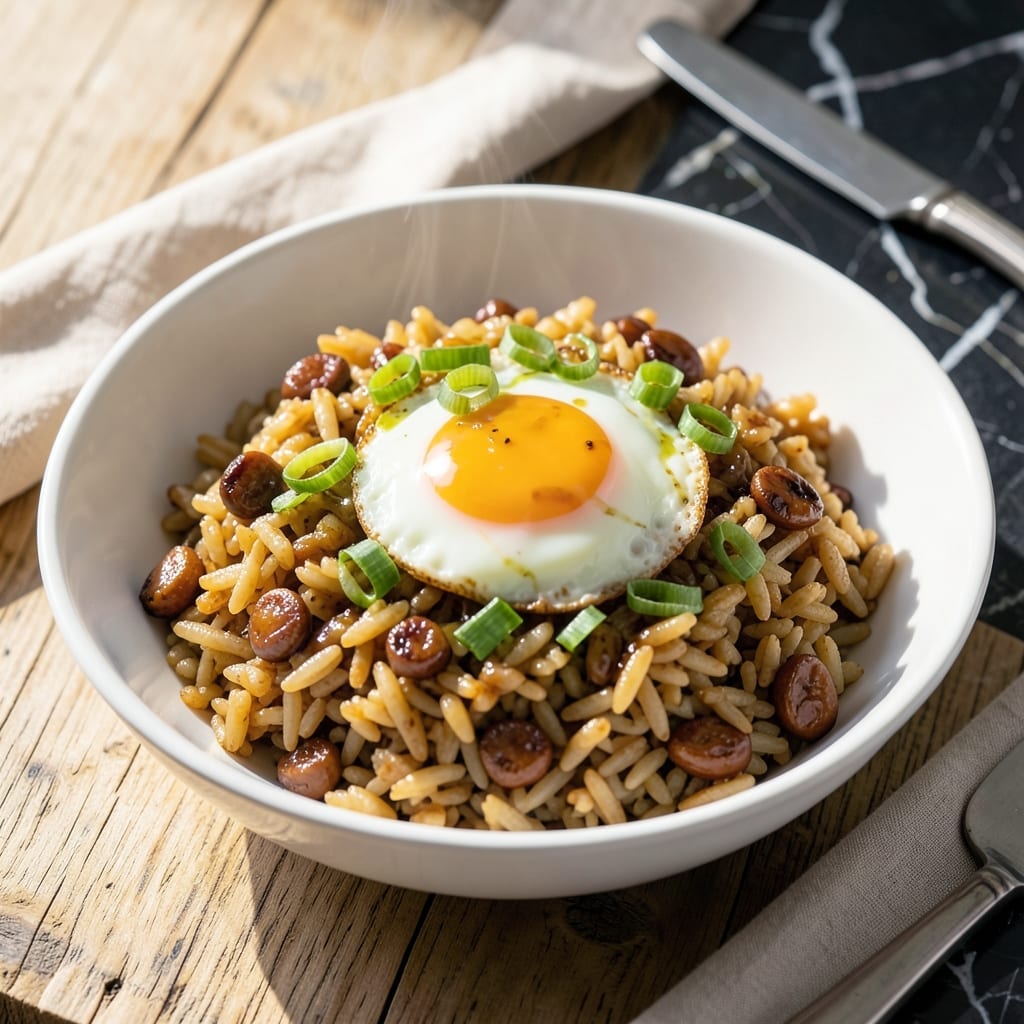
This island-style garlic rice brings authentic Hawaiian flavors to your table with its rich, savory profile. The dish combines simple ingredients with a cooking method that ensures every grain is perfectly seasoned.
With just 20 minutes of active prep, you’ll have a side that pairs beautifully with any protein. The secret lies in toasting the garlic just right for maximum aroma and depth.
Ingredients for Hawaiian Garlic Rice
Simple staples transform into this island-inspired savory side with rich, aromatic depth.
| Ingredient | Amount | Notes |
|---|---|---|
| Jasmine Rice 🍚 | 2 cups | Rinsed until water runs clear |
| Garlic Cloves 🧄 | 8 cloves | Minced for even flavor distribution |
| Unsalted Butter 🧈 | 4 tbsp | Divided for toasting and finishing |
| Low-Sodium Soy Sauce 💧 | 3 tbsp | Aloha or Kikkoman recommended |
| Green Onions 🧅 | 4 whole | Thinly sliced for garnish |
| Large Eggs 🥚 | 2 whole | Lightly beaten for richness |
| White Granulated Sugar 🍚 | 1 tsp | Balances savory flavors |
| Ground White Pepper 🌶️ | ½ tsp | Traditional Hawaiian touch |
| Vegetable Oil 🫒 | 1 tbsp | For toasting garlic |
| Water 💧 | 3 cups | For cooking rice |
| Salt 🧂 | ½ tsp | Adjust to taste |
The garlic is everything here. Fresh cloves only—no pre-minced jars, which lack punch. Hawaiian grocery stores often carry local varieties, but standard supermarket garlic works fine. For the rice, jasmine is ideal for its floral aroma, but long-grain white works in a pinch. The soy sauce should be low-sodium to control the salt level—Aloha brand is a Hawaiian favorite.
No jasmine rice? Basmatis a close second for fragrance. Out of fresh garlic? Garlic powder at one-third the amount (about 2 tsp) in a pinch. The eggs add richness but can be skipped—replace with an extra tbsp of butter if needed. For a gluten-free version, tamari or coconut aminos work perfectly. Green onions can be swapped with chives.
Cooked rice keeps 4-5 days in the fridge, though it’s best fresh. Freeze for up to 3 months—reheat with a splash of water to restore moisture. Toasted garlic butter can be prepped ahead and refrigerated for 1 week.
Why You’ll Love This Recipe
- One Pot Wonder: I just dump everything in a single pan—jasmine rice, minced garlic, butter, and soy sauce—and let it do its thing.
- Garlic Butter Bliss: That rich, buttery garlic aroma hits as soon as it’s cooking, and the green onions add the perfect fresh finish.
- Pair With Anything: Honestly, it’s my go-to side for grilled meats, fried eggs, or even on its own as a quick lunch.
- Budget Stretch: Jasmine rice is cheap, and this transforms it into something crave-worthy without breaking the bank.
Step-by-Step Instructions for Hawaiian Garlic Rice
Master this island-inspired dish with precise technique and authentic flavor balance.
Step 1: Toast the Garlic and Cook the Rice
Heat 1 tbsp vegetable oil and 2 tbsp unsalted butter in a medium pot over medium heat. Add the 8 cloves minced garlic cloves and cook for 1-2 minutes until golden and fragrant, stirring constantly to prevent burning.
Immediately add the 2 cups jasmine rice and toast for 1 minute, stirring to coat each grain in the garlic butter. This step enhances the nutty aroma of the rice. Pour in the 3 cups water and add 0.5 tsp salt, then bring to a boil.
Step 2: Simmer and Steam the Rice
Once boiling, reduce heat to low, cover the pot with a tight-fitting lid, and simmer for 15 minutes. Avoid lifting the lid during this time—releasing steam can result in unevenly cooked rice.
After 15 minutes, turn off the heat and let the rice sit covered for an additional 10 minutes. This resting period allows the grains to steam and absorb any remaining moisture, ensuring fluffy, separate grains.
Step 3: Prepare the Egg Mixture
While the rice cooks, lightly beat the 2 whole large eggs in a small bowl. Stir in the 3 tbsp low-sodium soy sauce, 1 tsp white granulated sugar, and 0.5 tsp ground white pepper until fully combined. The sugar balances the saltiness of the soy sauce, while the white pepper adds a subtle warmth.
Set the mixture aside until the rice is fully cooked. This ensures all components are ready to combine at the same time, maintaining the dish’s optimal texture and temperature.
Step 4: Combine Rice and Egg Mixture
After the rice has rested, uncover the pot and fluff it gently with a fork. Pour the egg and soy sauce mixture evenly over the hot rice. Add the remaining 2 tbsp unsalted butter and fold everything together gently but thoroughly.
The residual heat from the rice will cook the eggs lightly, creating a creamy coating without scrambling them. Continue folding until the rice is evenly coated and the eggs are just set, about 2-3 minutes.
Step 5: Garnish and Serve
Thinly slice the 4 whole green onions and sprinkle them over the rice as a fresh, vibrant garnish. The green onions add a pop of color and a mild oniony bite that complements the rich, savory flavors of the dish.
Serve the rice immediately while still warm. Each grain should be distinct yet coated in the glossy, flavorful sauce, with the aroma of garlic and soy sauce filling the air. This dish pairs perfectly with grilled proteins or as a standalone meal.
Pro Tips For Making Hawaiian Garlic Rice
- Toast the Garlic: Cook the minced garlic in butter on medium-low heat until golden—about 3-4 minutes—then pull it off before it browns. I learned this the hard way after burning three batches and wondering why my rice tasted bitter.
- Use Day-Old Rice: Fresh rice turns to mush when fried. Spread leftover jasmine rice on a tray and refrigerate overnight—it dries out just enough to get that perfect texture.
- Skip the Salt: Low-sodium soy sauce already adds plenty of flavor, so resist the urge to season the rice separately. I used to salt the butter and ended up with an inedible, over-salted mess.
- Finish with Green Onions: Add the chopped green onions at the very end, just before serving. Sounds weird, but it keeps them crisp and bright instead of wilted and sad.
Make-Ahead Tips for This hawaiian garlic rice
Prep Ahead Garlic Butter
The garlic butter base can be made 2 days in advance. Melt 4 tbsp unsalted butter with 1 tbsp vegetable oil, then toast the minced garlic as directed. Store in an airtight container in the fridge. Reheat gently before combining with cooked rice. 💡
Cook Rice Early
Cook the jasmine rice up to 1 day ahead and refrigerate. When ready to serve, let it sit at room temperature for 30 minutes, then microwave with a splash of water to loosen. This prevents dry, clumpy rice when folding in the egg mixture.
Egg Mixture Prep
Whisk the eggs with soy sauce, sugar, and white pepper the night before. Store covered in the fridge. Give it a quick stir before using, as the sugar may settle. This saves 5 minutes of prep time on serving day.
Freezing Instructions
Cool the finished rice completely before freezing. Portion into airtight freezer bags (squeeze out excess air) and freeze for up to 3 months. Thaw overnight in the fridge, then reheat in a skillet with 2 tbsp water to restore moisture. ❄️
Reheating Tips
For best texture, reheat in a skillet over medium-low heat with a splash of water or broth. Stir gently to avoid breaking the rice grains. Microwaving works in 30-second bursts, stirring between each, but the skillet method preserves the dish’s signature fluffiness.
Garnish Last
Always add fresh green onions right before serving—they wilt quickly and lose their crisp texture. If prepping for a crowd, keep sliced onions in a bowl of ice water in the fridge for up to 4 hours to maintain freshness.
Nutrition Facts
Frequently Asked Questions
What type of rice works best?
Jasmine rice is ideal for its floral aroma and sticky texture. Basmati is a good substitute if needed. Avoid instant rice as it won’t absorb the flavors as well.
Can I make this without eggs?
Yes! Skip the eggs and add an extra 1 tbsp butter for richness. The dish will still be flavorful with just the garlic soy sauce mixture.
How do I prevent burning the garlic?
Cook the minced garlic over medium heat and stir constantly. Remove from heat as soon as it turns golden—this takes about 1-2 minutes. Burnt garlic will make the dish bitter.
What can I use instead of soy sauce?
For a gluten-free version, use tamari or coconut aminos. Both provide similar umami depth without altering the dish’s character.

- Ground Beef Rice and Beans Recipe: Slow-Simmered Savory Harmony - October 17, 2026
- Guyanese Fried Rice Recipe: Caribbean Spice With Wok-Charred Aromatics - October 17, 2026
- Hakka Thunder Tea Rice Recipe: Wok-Charred Herbal Infusion - October 17, 2026