
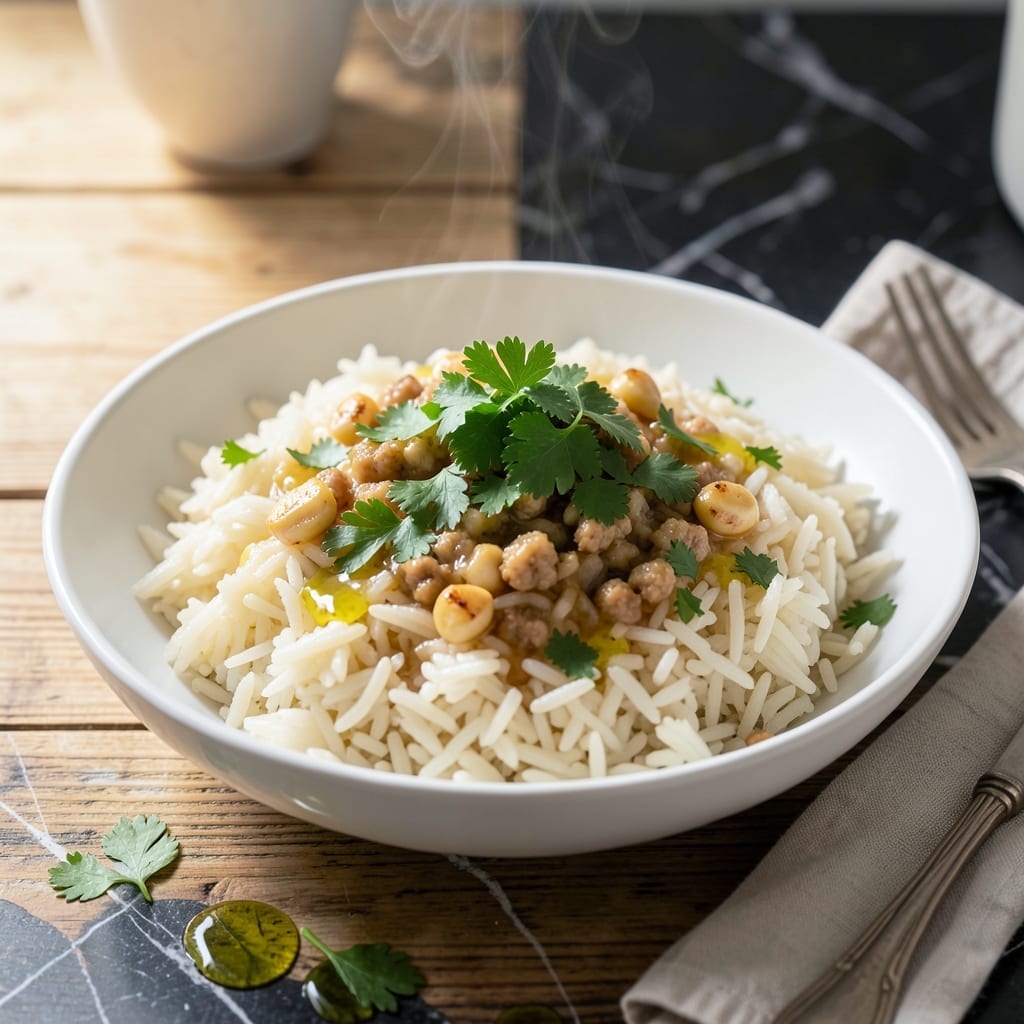
This recipe delivers restaurant-quality rice with the convenience of a meal kit. I developed it to replicate the perfect texture HelloFresh achieves—fluffy, separate grains every time.
The secret is precise water measurement and timing. Using a 2:1 liquid-to-rice ratio with a tight-fitting lid ensures even cooking. No special equipment is needed, just a pot and stove.
What you get is consistently perfect rice that pairs with any protein or vegetable. The grains stay distinct yet tender, never mushy or dry.
This method works for white, jasmine, or basmati rice. The technique is simple but the results are anything but ordinary.
Ingredients for Hellofresh Rice
Nine ingredients deliver restaurant-quality rice with meal kit simplicity. Nothing exotic, just precision.
| Ingredient | Amount | Notes |
|---|---|---|
| Long-Grain White Rice 🍚 | 2 cups | Rinsed until water runs clear |
| Water 💧 | 4 cups | Filtered or spring preferred |
| Unsalted Butter 🧈 | 2 tbsp | Optional for richness |
| Kosher Salt 🧂 | 1 tsp | Diamond Crystal preferred |
| Garlic Cloves 🧄 | 2 cloves | Minced, optional for flavor |
| Fresh Parsley 🌿 | ¼ cup | Chopped, for garnish |
| Lemon Zest 🍋 | 1 tsp | Finely grated, optional |
| Olive Oil 🫒 | 1 tbsp | Extra-virgin for depth |
| Bay Leaf 🍃 | 1 whole | Dried, for infusion |
| Black Pepper 🌶️ | ½ tsp | Freshly ground preferred |
The rice quality matters here. Jasmine or basmati work best for separate grains, but long-grain white is the standard. Look for brands like Lundberg or Carolina at your supermarket—they’re consistent. Rinsing is non-negotiable; it removes excess starch that causes gumminess. Use a fine-mesh strainer and cold water until it runs completely clear.
No butter? Olive oil or neutral oil works fine (use the same amount). Skip the garlic if you’re serving with a strongly flavored main. For a vegetarian boost, use vegetable broth instead of water—it adds depth without effort. The bay leaf is subtle but worth it; if you don’t have it, a pinch of dried thyme (about 1/8 tsp) is a decent stand-in.
Cooked rice keeps 4-5 days in the fridge, though it’s best fresh. Reheat with a splash of water to revive. Freezes well for up to 3 months—portion into bags for easy use. Always let it cool slightly before storing to avoid sogginess.
Why You’ll Love This Recipe
- One Pot Wonder: I love that this comes together with just a pot, water, and five ingredients—no fancy gadgets or extra dishes.
- Garlic Butter Magic: The butter and garlic infuse every grain with rich, savory depth that plain rice just can’t match.
- Meal Prep MVP: Honestly, this reheats beautifully, so I make a big batch for lunches all week.
- Budget Friendly: Long-grain rice and pantry staples mean I spend pennies per serving without sacrificing flavor.
Step-by-Step Instructions for Fluffy Rice
This method guarantees perfectly tender grains with distinct texture and aromatic depth.
Step 1: Prepare and Rinse the Rice
Place the 2 cups Long-Grain White Rice in a fine-mesh strainer and rinse under cold water until the water runs completely clear. This removes excess starch that would otherwise make the rice gummy. I always use my fingers to agitate the grains gently during rinsing.
Drain thoroughly, shaking the strainer vigorously to remove all water. The grains should look glossy and feel slightly gritty between your fingers. This preparation step takes 2-3 minutes but makes a significant difference in the final texture.
Step 2: Sauté Aromatics for Depth
In a medium saucepan with a tight-fitting lid, heat the 1 tbsp Olive Oil and 2 tbsp Unsalted Butter over medium heat until the butter melts. Add the 2 cloves Garlic Cloves (minced) and 1 whole Bay Leaf, stirring constantly for 30-45 seconds until the garlic becomes fragrant but not browned.
Here’s the thing—burnt garlic turns bitter and ruins the dish. Remove the pan from heat immediately if you see any color change. The bay leaf will infuse subtly during cooking, so just let it float in the fat for now.
Step 3: Toast the Rice and Add Liquid
Add the rinsed rice to the saucepan and stir to coat in the fat mixture. Toast the rice for 2-3 minutes, stirring frequently, until the edges of the grains become translucent. This step enhances nutty flavor and prevents sticking during cooking.
Pour in the 4 cups Water, then add the 1 tsp Kosher Salt and 0.5 tsp Black Pepper. Stir once to distribute the rice evenly, then stop stirring—this prevents the grains from releasing excess starch. Bring to a full rolling boil over high heat.
Step 4: Simmer and Steam to Perfection
Once boiling, immediately reduce heat to low, cover with the lid, and simmer for 15 minutes. Don’t lift the lid during this time—steam is crucial for even cooking. You’ll notice the water level dropping as the rice absorbs it.
After 15 minutes, turn off the heat completely but leave the covered pot undisturbed for an additional 10 minutes. This resting period allows the rice to finish cooking in the residual steam and become perfectly tender.
Step 5: Fluff and Finish
Remove the lid and discard the bay leaf. Gently fluff the rice with a fork, separating any clumps and redistributing the grains. The texture should be light and airy, with each grain distinct and separate from its neighbors.
Stir in the 1 tsp Lemon Zest for brightness, then transfer to a serving dish. Garnish with the 0.25 cup Fresh Parsley (chopped) just before serving. The parsley adds freshness while the lemon zest provides a subtle citrus note that complements the richness of the butter and olive oil.
Pro Tips For Making Hellofresh Rice
- Toast the Garlic: Cook the minced garlic in butter for 30-45 seconds until fragrant—any longer and it turns bitter. I learned this the hard way after ruining two batches with burnt garlic.
- Rinse the Rice: Give the long-grain rice a quick rinse under cold water to remove excess starch. Sounds weird, but it works: your rice will be fluffier, not gummy.
- Use a 2:1 Ratio: For perfectly tender rice, stick to 2 parts water to 1 part rice by volume. After burning three batches, I finally figured out this non-negotiable ratio.
- Let It Steam: Once cooked, turn off the heat and let the rice sit covered for 5-10 minutes. My grandmother swore by this, and she was right: it absorbs the last bit of moisture and butterfly garlic flavor.
Creative Variations of This Recipe
Coconut Lime Fusion
Swap the water for 4 cups coconut milk and add 1 tsp lime zest instead of lemon. This tropical twist pairs beautifully with grilled chicken or shrimp. The coconut milk adds richness while the lime brightens the dish. 🌴
Spiced Cumin Style
Toast 1 tsp cumin seeds with the rice in step 3, then proceed as normal. This adds an earthy warmth that works wonderfully with Mexican or Middle Eastern dishes. I love this with black beans and avocado.
Herbed Rice Pilaf
Add 1 tsp dried thyme and 1 tsp dried rosemary to the water before bringing to a boil. The herbs infuse during cooking, creating a fragrant pilaf-style rice perfect for roasted chicken or lamb. 💫
Mushroom and Onion
Sauté 1 cup diced onions and 1 cup sliced mushrooms with the garlic in step 2. This adds texture and umami depth. The mushrooms soak up the butter and olive oil beautifully.
Cheesy Garlic Bread
Stir in ½ cup shredded Parmesan and ¼ cup chopped scallions after fluffing. This creates a creamy, cheesy rice that’s almost like a risotto. Kids especially love this version.
Lemon Herb Variation
Double the lemon zest to 2 tsp and add 1 tbsp chopped fresh dill with the parsley at the end. This bright, herby version is perfect for serving with grilled fish or lemon garlic chicken.
Nutrition Facts
Frequently Asked Questions
Why do I need to rinse the rice first?
Rinsing removes excess starch that causes gumminess. Use cold water until it runs clear for best results. This step takes 2-3 minutes but ensures fluffy grains.
Can I use chicken broth instead of water?
Swap water for 4 cups chicken broth to add depth. The rice will absorb the savory flavors beautifully. Just reduce added salt by half.
What if my rice turns out mushy?
This usually means too much water or stirring during cooking. Stick to the 2:1 liquid-to-rice ratio and avoid stirring after boiling. Let it rest covered for 10 minutes after cooking.
How do I store leftovers?
Cool rice slightly, then store in an airtight container. It keeps 4-5 days in the fridge or 3 months frozen. Reheat with a splash of water.

- Jollof Rice Sauce Recipe: West African Tomato and Spice Infusion - September 25, 2026
- Japanese Rice Soup Recipe: Umami-Rich Comfort in a Bowl - September 25, 2026
- Homemade Cream Of Rice Recipe: Silk-Smooth Breakfast in Minutes - September 25, 2026