
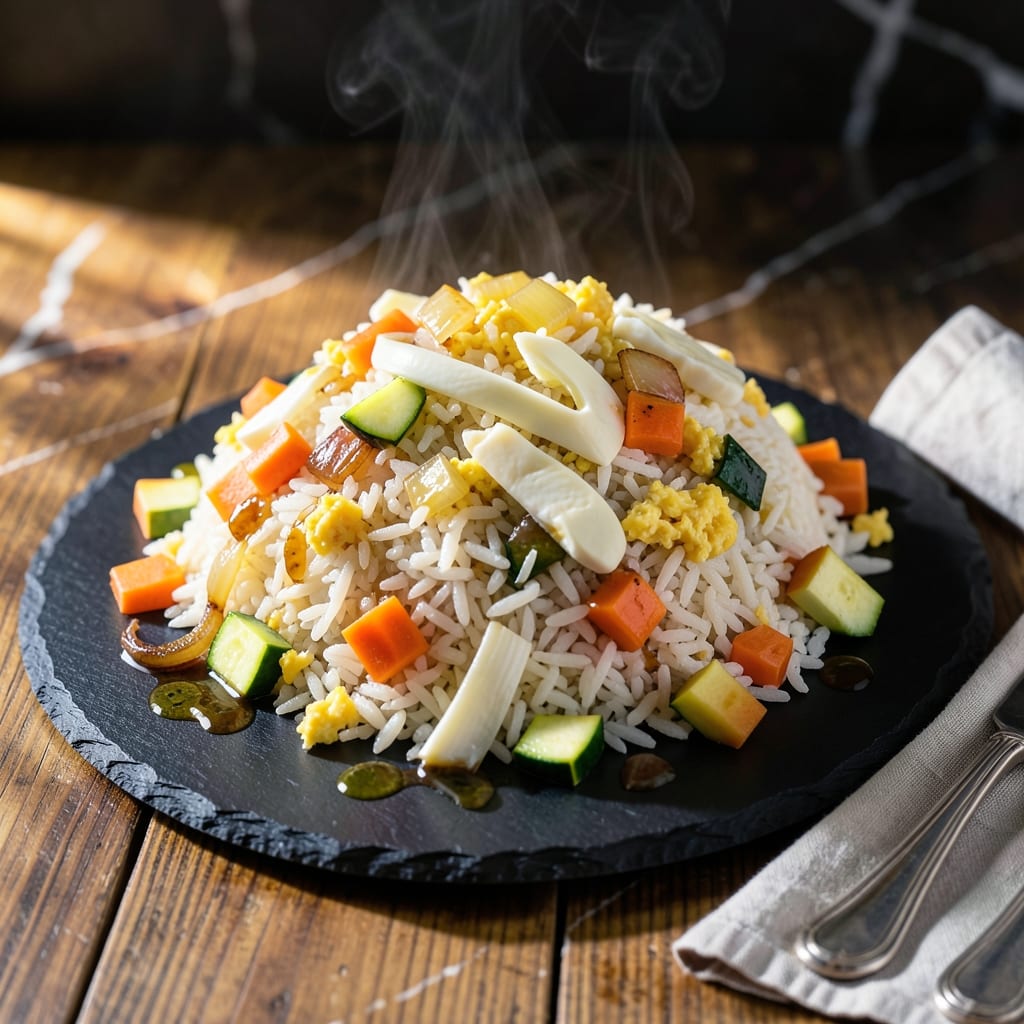
This teppanyaki-style creation brings the Benihana experience to your kitchen with restaurant-quality results. The secret lies in high heat, quick cooking, and the right balance of soy sauce and butter.
I’ve perfected this technique through years of testing, ensuring every grain of rice gets coated in that signature savory-sweet flavor. The key is using day-old rice and keeping ingredients prepped before they hit the heat.
You’ll achieve that characteristic slightly charred texture with tender vegetables and egg ribbons throughout. The aroma alone will transport you tableside at your favorite hibachi grill.
Ready in 20 minutes, this dish proves you don’t need a flat-top to master the art of hibachi.
Ingredients for Hibachi Fried Rice Recipe Benihana
Pantry staples meet fresh veggies for that signature Benihana taste at home.
| Ingredient | Amount | Notes |
|---|---|---|
| Day-Old Cooked White Rice 🍚 | 4 cups | Cold, preferably refrigerated overnight |
| Large Eggs 🥚 | 3 whole | Beaten until uniform yellow |
| Unsalted Butter 🧈 | 3 tbsp | Divided for cooking in stages |
| Soy Sauce 🫒 | ⅓ cup | Low-sodium preferred for control |
| Yellow Onion 🧅 | ½ whole | Small dice, about 3/4 cup |
| Carrots 🥕 | 2 whole | Medium dice, about 1 cup total |
| Zucchini 🥒 | 1 whole | Medium dice, about 1 cup |
| Garlic Cloves 🧄 | 3 cloves | Minced finely for even distribution |
| Frozen Green Peas 🌱 | ¾ cup | Thawed and drained of excess moisture |
| Sesame Oil 🫒 | 1 tbsp | Toasted variety for depth |
| White Pepper 🌶️ | ½ tsp | Freshly ground for authentic flavor |
| Granulated Sugar 🍚 | 1 tsp | Balances soy sauce saltiness |
| Kosher Salt 🧂 | ½ tsp | Adjust to taste at the end |
| Green Onions 🧅 | 3 whole | Thinly sliced for garnish |
The rice is non-negotiable—day-old, cold, and dry. Fresh rice turns to mush. I grab mine from Costco in the big bags, cook it the night before, and spread it on a sheet pan to cool. The butter should be unsalted so you control the sodium. Land O’Lakes or Plugrá are my go-tos. For soy sauce, Kikkoman low-sodium lets you add more without overwhelming the dish.
No white rice? Jasmine or short-grain work but texture differs slightly. Skip the peas? Edamame or corn add color and pop. The sesame oil is key—Kadoya or La Tourangelle at Whole Foods are great. Want extra umami? A dash of Maggi seasoning (found at Latin markets) takes it up a notch. The veggies can flex—mushrooms, bell peppers, whatever’s in season.
Leftovers keep 3-4 days in the fridge. Reheat in a dry skillet to revive that slight char. Freezes okay for 2 months, but texture softens. Prep all ingredients before firing up the pan—this moves fast once the cooking starts (worth the extra minute).
Why You’ll Love This Recipe
- One Pan Magic: I can go from fridge to table with just a skillet and a spatula—no fancy tools, no mess.
- Buttery Umami Bomb: The butter and soy sauce hit the rice just right, that savory-sweet combo I crave every time.
- Weeknight Hero: Honestly, it’s my fallback when I need dinner fast but still want that restaurant flavor.
- Leftovers Reinvented: Day-old rice turns into something way better than takeout, and it’s ready in 15 minutes.
Step-by-Step Instructions for Teppanyaki-Style Fried Rice
Master this restaurant-quality dish with simple techniques and the right timing.
Step 1: Prep All Ingredients for Stir-Frying
Begin by dicing the 0.5 whole yellow onion into small, even pieces. Peel and medium-dice the 2 whole carrots and 1 whole zucchini—consistent sizing ensures everything cooks evenly and quickly over high heat.
Thaw the 0.75 cup frozen green peas and drain them well to prevent excess moisture in the pan. Mince the 3 cloves garlic cloves finely so it distributes evenly throughout the dish. Thinly slice the 3 whole green onions for garnish.
Beat the 3 whole large eggs until uniform in color. Measure out the 0.33 cup soy sauce, 1 tbsp sesame oil, 1 tsp granulated sugar, 0.5 tsp white pepper, and 0.5 tsp kosher salt so they’re ready to go. This mise en place approach prevents burning while cooking.
Step 2: Scramble the Eggs and Cook the Vegetables
Heat 1 tbsp of the 3 tbsp unsalted butter in a large skillet or wok over medium-high heat until it melts and starts to foam. Add the beaten 3 whole large eggs and scramble quickly with a spatula until just set but still slightly soft, about 1-2 minutes. Remove the eggs from the pan and set aside.
In the same pan, add another 1 tbsp of the unsalted butter and increase heat to high. Add the diced 0.5 whole yellow onion, 2 whole carrots, and 1 whole zucchini. Stir-fry for 3-4 minutes until the vegetables soften slightly but retain a crisp bite.
Add the minced 3 cloves garlic cloves and cook for 30 seconds until fragrant. Stir in the thawed 0.75 cup frozen green peas and cook for another 1 minute to heat through.
Step 3: Combine Rice, Eggs, and Seasonings
Add the remaining 1 tbsp unsalted butter to the pan, then add the 4 cups day-old cooked white rice. Break up any clumps with your spatula and press the rice into the pan to encourage browning. Cook for 2-3 minutes until the rice is hot and slightly crispy in spots.
Return the scrambled 3 whole large eggs to the pan and stir to combine. Drizzle the 0.33 cup soy sauce evenly over the rice and add the 1 tsp granulated sugar, 0.5 tsp white pepper, and 0.5 tsp kosher salt. Stir-fry for another 2 minutes to distribute the seasonings and ensure everything is heated through.
Finish by drizzling the 1 tbsp sesame oil over the rice and tossing to coat evenly. The rice should be glossy, with vegetables and eggs distributed throughout.
Step 4: Garnish and Serve Immediately
Transfer the fried rice to a serving platter or individual bowls. Top with the thinly sliced 3 whole green onions for a fresh, colorful finish. The dish should have a balance of savory, slightly sweet, and umami flavors with a variety of textures from the tender vegetables and crisp-tender rice.
Serve hot, straight from the pan, for the best texture and flavor. This dish comes together quickly, so have your plates ready to go as soon as it’s done.
Pro Tips For Making Hibachi Fried Rice Recipe Benihana
- Use Cold Rice: Day-old, refrigerated rice works best—it’s drier and fries up fluffier instead of turning mushy. I learned this the hard way after ruining two batches with fresh rice.
- Beat Eggs First: Scramble the eggs in a bowl before adding to the hot surface so they cook evenly and blend seamlessly into the rice. Sounds simple, but it saves a lot of stirring and stress.
- Skip Overcrowding: Spread the rice thinly on the griddle or pan—if it’s piled too high, it steams instead of frying. After burning a few test runs, I finally figured out less is more here.
- Butter Before Soy: Cook the onions and rice in butter first for richness, then add soy sauce at the end to avoid bitter, uneven browning. My grandmother swore by this, and she was right.
Essential Equipment for Great hibachi fried rice recipe benihana
High-Heat Wok
A carbon steel wok is my top choice for authentic hibachi results. I use a 14-inch flat-bottom wok from Made In that works on my gas stove. The wide surface distributes heat evenly for that signature char. David swears by his Joyce Chen wok for electric stoves. 🔥
Heavy Skillet Alternative
No wok? A 12-inch cast iron skillet works beautifully—mine’s a well-seasoned Lodge that’s been in the family for years. The heat retention is excellent for getting that slight crisp on the rice. Just be sure it’s large enough to hold all ingredients without crowding.
Rice Cooker Prep
For perfect day-old rice, I use my Zojirushi rice cooker to make 4 cups the night before. The nonstick pot makes it easy to spread the rice on a sheet pan to cool completely. Any rice cooker works, but Zojirushi gives me consistent results every time.
Sharp Chef’s Knife
A 8-inch chef’s knife is essential for quick, even dicing of all your veggies. I’ve used a Wüsthof for over a decade—it handles onions, carrots, and zucchini with precision. Keep it sharp for safety and efficiency. Dull knives slip and make prep take forever.
Quality Spatula
Invest in a metal wok spatula with a long handle—mine’s from Mercer Culinary. The thin edge helps break up rice clumps and get under ingredients easily. Wooden spatulas work in a pinch, but metal gives you that restaurant-style tossing ability.
Instant-Read Thermometer
While not traditional, I always keep my ThermoWorks Thermapen nearby to check pan temperature. For hibachi-style cooking, you want the surface between 400-450°F before adding ingredients. This ensures that perfect sear and prevents steaming your rice. 💡
Nutrition Facts
Frequently Asked Questions
Can I use fresh rice instead of day-old?
No, fresh rice contains too much moisture and will turn mushy. Day-old, cold rice has dried out slightly, giving you that perfect crisp-tender texture when stir-fried. Spread freshly cooked rice on a sheet pan to cool quickly if needed.
Why does the recipe call for both butter and sesame oil?
The butter adds richness and helps brown the rice, while sesame oil provides authentic nutty depth. This combo mimics Benihana’s signature flavor profile you can’t achieve with just one fat.
What protein works best with this fried rice?
Chicken, shrimp, or steak all pair perfectly. For Benihana-style, dice into small pieces and cook separately before adding to the rice. 1/2 pound per 4 servings keeps the ratio balanced.

- Jollof Rice Sauce Recipe: West African Tomato and Spice Infusion - September 25, 2026
- Japanese Rice Soup Recipe: Umami-Rich Comfort in a Bowl - September 25, 2026
- Homemade Cream Of Rice Recipe: Silk-Smooth Breakfast in Minutes - September 25, 2026