
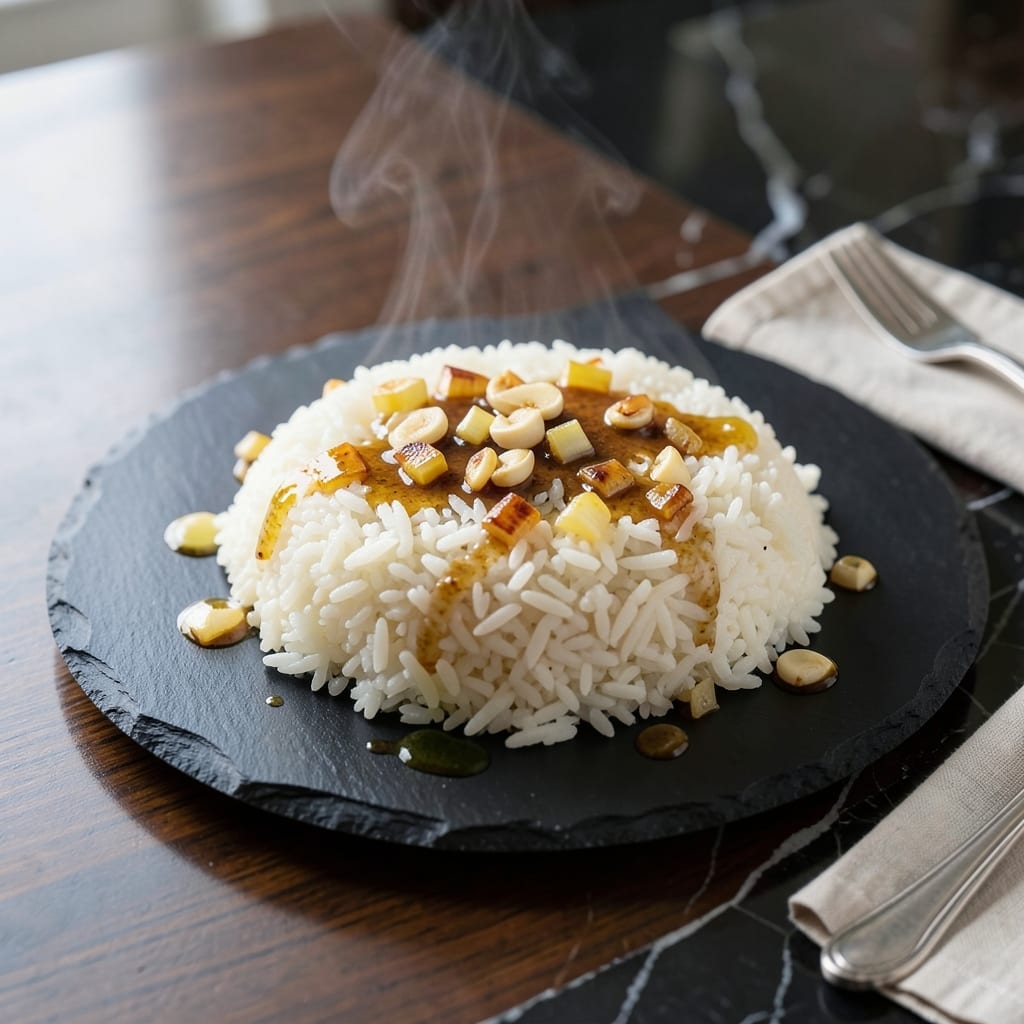
Hibachi restaurants transformed my view of white rice with their signature buttery flavor and subtle aroma. This recipe recreates that magic at home with simple ingredients and one key technique.
The secret lies in toasting the rice before cooking, which develops nutty depth. I tested this method repeatedly to ensure it works in standard home kitchens without specialized equipment.
What emerges is fluffy, slightly sticky rice with that distinctive hibachi taste. The butter and aromatics infuse every grain with rich, savory notes that pair perfectly with any main course.
Perfect as a base for stir-fries or served alongside grilled proteins. This version stays true to the restaurant experience while being completely achievable at home.
Ingredients for Hibachi White Rice
Simple pantry staples plus fresh aromatics create this restaurant-quality white rice at home.
| Ingredient | Amount | Notes |
|---|---|---|
| Jasmine Rice 🍚 | 2 cups | Rinsed until water runs clear |
| Unsalted Butter 🧈 | 4 tbsp | Divided for toasting and finishing |
| Garlic Cloves 🧄 | 4 cloves | Minced finely for even distribution |
| Yellow Onion 🧅 | ½ whole | Finely diced for aromatic base |
| Low-Sodium Soy Sauce 🫒 | 2 tbsp | For umami depth and color |
| Water 💧 | 2 ½ cups | For cooking rice to fluffy perfection |
| Granulated Sugar 🍚 | 1 tsp | Balances savory notes subtly |
| Salt 🧂 | ½ tsp | Diamond Crystal kosher preferred |
| Sesame Oil 🫒 | 1 tsp | Toasted, for finishing aroma |
| Green Onions 🧅 | 3 whole | Thinly sliced for garnish |
| Sesame Seeds 🌾 | 1 tsp | Toasted, for texture and visual appeal |
The rice choice matters here. Jasmine rice delivers the authentic hibachi texture and fragrance—avoid instant or pre-cooked varieties. Lundberg or Thai Hom Mali brands are excellent and widely available at Whole Foods or Asian markets. The butter should be high-quality, like Plugrá or Kerrygold, for that rich, restaurant-style finish.
No jasmine rice? Short-grain sushi rice works at a 1:1 ratio, though the texture will be stickier. For a gluten-free version, swap soy sauce for tamari or coconut aminos. The garlic and onion can be pre-minced in a pinch, but freshly minced tastes far superior. Skip the sesame oil if unavailable, but add a pinch of toasted sesame seeds for that nutty note.
Cooked rice keeps well in the fridge for 4-5 days in an airtight container. Reheat with a splash of water and a pat of butter to restore moisture. For best results, make fresh—this rice is so quick, it’s worth the effort. Freezes for up to 3 months if needed.
Why You’ll Love This Recipe
- One Pot Wonder: I toss everything in a single pot—jasmine rice, butter, garlic—and let it work its magic with almost no cleanup.
- Garlicky Butter Bliss: The combo of butter, garlic, and a splash of soy sauce makes this rice so rich and savory I sneak bites straight from the pot.
- Meal Prep MVP: It pairs with everything from grilled chicken to stir-fried veggies, so I make a big batch on Sunday and use it all week.
- Budget Stretch: Honestly, a pound of jasmine rice and a few pantry staples feed my family for days without breaking the bank.
Step-by-Step Instructions for Hibachi White Rice
Master this technique and you’ll achieve the signature buttery, slightly charred flavor of restaurant-style hibachi rice.
Step 1: Rinse and Prepare the Jasmine Rice
Begin by thoroughly rinsing the 2 cups jasmine rice under cold water until the water runs completely clear. This removes excess starch that could make your rice gummy rather than light and separate. I find that three to four rinses are usually sufficient.
After rinsing, drain the rice well in a fine-mesh strainer. The grains should be clean and free of any cloudy residue. This preparation ensures each grain cooks evenly and absorbs the flavors of the aromatics you’ll add later.
Step 2: Toast Aromatics with Butter
In a large skillet or wok, melt 2 tbsp unsalted butter over medium-high heat. Add the finely diced 0.5 whole yellow onion and cook for 3-4 minutes until the edges begin to turn translucent and lightly golden.
Next, add the minced 4 cloves garlic cloves and cook for an additional 30-45 seconds, stirring constantly to prevent burning. The butter should foam slightly, and the garlic will release its aroma. You’ll notice the mixture becomes fragrant—that’s your cue to proceed.
Step 3: Cook Rice with Seasonings
Add the drained 2 cups jasmine rice to the skillet, stirring to coat the grains in the buttery onion-garlic mixture. Toast the rice for 1-2 minutes until the edges of the grains start to look slightly opaque.
Pour in the 2.5 cups water, 2 tbsp low-sodium soy sauce, 1 tsp granulated sugar, and 0.5 tsp salt. Stir well to combine, then bring the mixture to a boil. Once boiling, reduce heat to low, cover, and simmer for 15-18 minutes until the liquid is fully absorbed and the rice is tender.
Step 4: Finish and Fluff
Remove the skillet from heat and let the rice sit, covered, for 5 minutes. This resting period allows steam to redistribute, ensuring the grains are uniformly cooked. Then, fluff the rice gently with a fork to separate the grains.
Drizzle the remaining 2 tbsp unsalted butter and 1 tsp sesame oil over the rice. Toss lightly to incorporate, ensuring every grain is coated with the rich, aromatic finish. The rice should have a glossy sheen and a subtle buttery fragrance.
Step 5: Garnish and Serve
Transfer the rice to a serving platter or individual bowls. Sprinkle with the thinly sliced 3 whole green onions and 1 tsp sesame seeds for a fresh, nutty contrast. The green onions add a pop of color and a mild sharpness, while the sesame seeds provide texture.
Serve immediately while hot. The rice should be fluffy, slightly sticky, and infused with the deep, savory-sweet flavors of the aromatics and seasonings. This is the perfect base for any hibachi-style protein or vegetable combination.
Pro Tips For Making Hibachi White Rice
- Rinse the Rice: Soak jasmine rice in cold water for 10 minutes, then drain—this removes excess starch so your hibachi rice stays fluffy, not gummy.
- Mince the Garlic Fine: After burning garlic too many times, I now mince it to near-paste consistency so it cooks evenly in the butter without bitter spots.
- Use Medium Heat: I learned this the hard way—cranking the heat too high turns the onions bitter; keep it at medium for sweet, tender results.
- Add Soy Sauce Last: Stir in the low-sodium soy sauce only after the rice is fully cooked and off the heat—this keeps the grains from turning gray and mushy.
Regional Styles of This Recipe
Benihana-Inspired Style
This classic version mirrors what you’d find at Benihana restaurants. The rice is buttery with a light golden hue from the soy sauce, and the garlic-onion base creates that signature hibachi aroma. I use Calrose rice here for its medium-grain stickiness.
Japanese Teppanyaki
In Japan, teppanyaki chefs often use short-grain rice for a stickier texture. They also add mirin (1 tbsp) with the soy sauce for subtle sweetness. The rice is pressed into the griddle to develop a light crust, which adds a fun textural contrast.
Korean hibachi
Korean adaptations often include toasted sesame seeds and a drizzle of gochujang (1 tsp) for a spicy kick. The rice is cooked in a dolsot (stone pot) for a crispy bottom layer. I love the nutty, smoky flavor this method adds.
Chinese-Style Fried
For a bolder take, cook the rice as usual, then spread it on a hot griddle with 1 tbsp vegetable oil to create crispy bits. Add frozen peas and carrots (½ cup each) for color and texture. The result is closer to fried rice but keeps the hibachi spirit. 🔥
Vegetable-Forward
Boost the nutrition by stirring in 1 cup finely chopped mushrooms and ½ cup diced zucchini when toasting the aromatics. The veggies absorb the buttery, savory flavors beautifully. I often use this version for a lighter meal.
Boston Fusion
Growing up in Boston, I sometimes add 1 tsp Old Bay seasoning for a New England twist. It pairs surprisingly well with the soy and butter, giving the rice a seafood-friendly profile. Try it with grilled shrimp or scallops. 💡
Nutrition Facts
Frequently Asked Questions
Can I use a different type of rice?
Yes! Short-grain sushi rice works well but will be stickier. For best results, adjust water to a 1:1 ratio. Avoid instant rice, as it lacks the right texture.
Why toast the rice in butter first?
Toasting develops nutty depth and prevents gumminess. The butter infuses the grains with rich flavor before cooking, mimicking that hibachi restaurant taste.
How do I prevent mushy rice?
Rinse thoroughly to remove excess starch, and avoid stirring while cooking. Letting it rest 5 minutes after cooking ensures fluffy grains.
Can I make this ahead of time?
Store in an airtight container for 4-5 days. Reheat with a splash of water and pat of butter to restore moisture.

- Ground Beef Rice and Beans Recipe: Slow-Simmered Savory Harmony - October 17, 2026
- Guyanese Fried Rice Recipe: Caribbean Spice With Wok-Charred Aromatics - October 17, 2026
- Hakka Thunder Tea Rice Recipe: Wok-Charred Herbal Infusion - October 17, 2026