
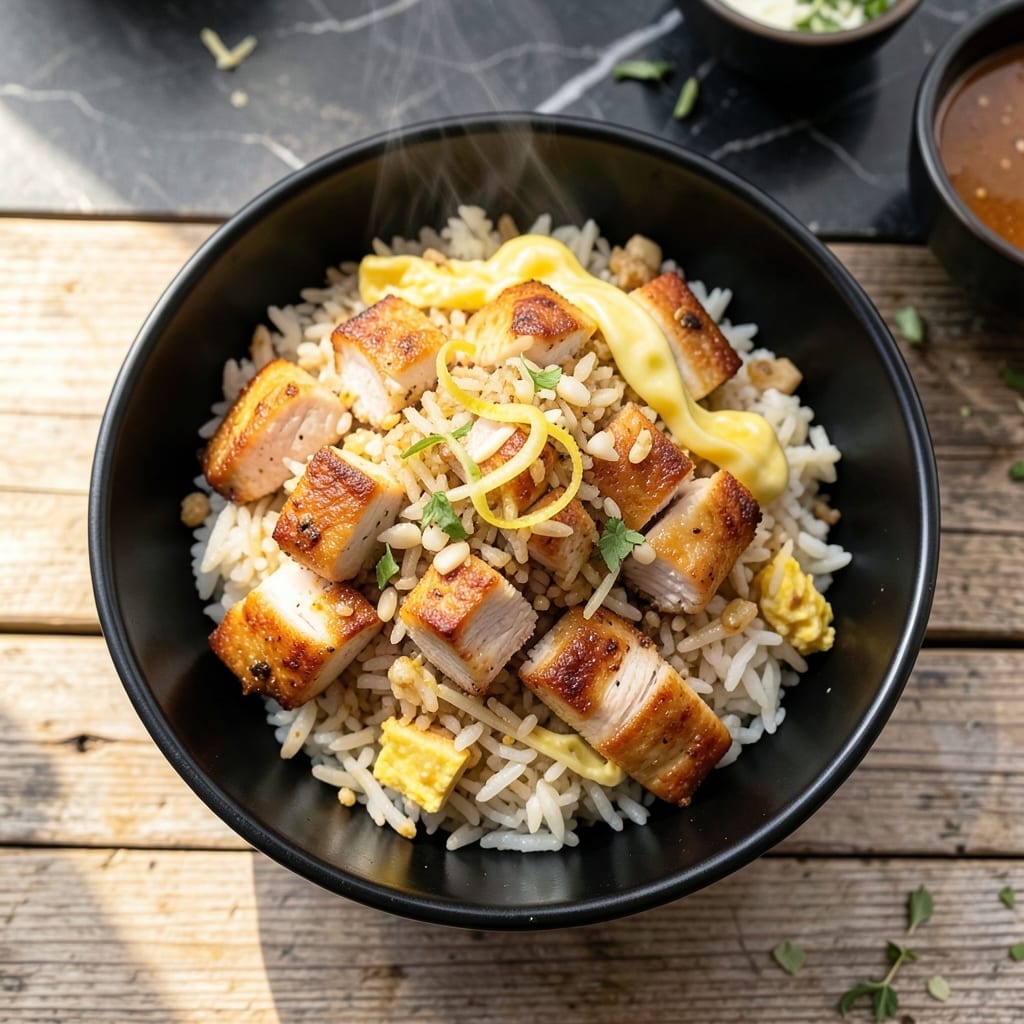
This wok-seared creation delivers crispy texture and serious protein in every bite. I developed this method after years of perfecting fried rice at The Smoky Pig, focusing on high-heat cooking to achieve that signature restaurant-quality finish.
The secret lies in pre-cooking the rice and using lean chicken breast along with eggs for maximum protein. Each ingredient is carefully selected to build layers of flavor while maintaining nutritional balance.
What emerges is a dish with perfectly charred edges, tender chicken, and that coveted wok hei aroma. The rice stays separate and crispy, never soggy, with each grain coated in savory seasoning.
Ready in under 30 minutes, this becomes a weeknight staple that satisfies both taste and nutritional goals. The technique ensures consistent results every time.
Ingredients for High Protein Crispy Chicken Fried Rice
Lean chicken, eggs, and day-old rice form the protein-packed base of this wok-seared dish with signature crispy texture.
| Ingredient | Amount | Notes |
|---|---|---|
| Chicken Breast 🍗 | 1 ½ lb | Boneless, skinless, diced small |
| Large Eggs 🥚 | 3 whole | Lightly beaten for scrambling |
| Long-Grain White Rice 🍚 | 3 cups | Day-old, cooked and chilled |
| Vegetable Oil 🫒 | 3 tbsp | High smoke point, divided |
| Garlic Cloves 🧄 | 4 cloves | Minced finely for even distribution |
| Fresh Ginger 🌿 | 1 tbsp | Peeled and grated |
| Green Onions 🧅 | 4 whole | Thinly sliced, whites and greens separated |
| Frozen Peas and Carrots 🥕 | 1 cup | Thawed and drained |
| Low-Sodium Soy Sauce 💧 | 3 tbsp | Or tamari for gluten-free |
| Oyster Sauce 🫒 | 1 tbsp | Optional for depth of flavor |
| Sesame Oil 🫒 | 1 tsp | Toasted, for finishing |
| Diamond Crystal Kosher Salt 🧂 | ½ tsp | Adjust to taste after cooking |
| Ground White Pepper 🌶️ | ¼ tsp | For authentic wok flavor |
The chicken breast must be fresh and lean—The Smoky Pig always sources air-chilled, antibiotic-free for optimal texture. Use day-old rice (preferably jasmine or long-grain) as fresh rice steams instead of frying. High smoke point oil like peanut or avocado works best for the searing stage, though vegetable oil is perfectly adequate. Look for low-sodium soy sauce to control seasoning precisely.
No oyster sauce? Hoisin or fish sauce (if dietary restrictions allow) work as substitutes at one-third the amount. For gluten-free, tamari replaces soy sauce 1:1. Chicken thighs can substitute for breast, though they render more fat. The eggs are essential for protein—don’t skip them, but liquid egg whites work if watching cholesterol. Fresh ginger is non-negotiable for that restaurant-quality depth.
Cooked rice keeps in the fridge for 3-4 days before frying—ideal for meal prep. The finished dish stores well for 3 days, though it’s best fresh. Reheat in a skillet with a splash of water to restore moisture. For authentic wok hei, cook in small batches over maximum heat.
Why You’ll Love This Recipe
- One Pan Wonder: I love that this comes together in a single skillet—just chicken, eggs, rice, and garlic sizzling in oil.
- Garlic Crisp Magic: The garlic cloves fry up crisp in the oil, adding this deep, savory punch to every bite.
- Meal Prep MVP: I make a big batch on Sunday and it reheats perfectly for lunches all week.
- Budget Stretch: Chicken breast and eggs keep it high-protein without breaking the bank, and it feeds the whole family.
Step-by-Step Instructions for High Protein Crispy Chicken Fried Rice
Master the wok technique for perfectly crispy texture and maximum protein retention.
Step 1: Prep Protein and Aromatics for High Heat
Begin by ensuring all ingredients are prepped and within reach. Dice the 1.5 lb Chicken Breast into ¼-inch pieces for even cooking. Lightly beat the 3 whole Large Eggs in a small bowl. Mince the 4 cloves Garlic Cloves and grate the 1 tbsp Fresh Ginger—these aromatics form the flavor base.
Thinly slice the 4 whole Green Onions, keeping whites and greens separate for layered flavor. Thaw and drain the 1 cup Frozen Peas and Carrots to prevent excess moisture, which would steam the dish instead of frying it.
Step 2: Velvet the Chicken for Tenderness
Heat 1 tbsp Vegetable Oil in a wok or large skillet over high heat until it shimmers. Add the diced chicken and spread it in a single layer. Let it sear undisturbed for 2-3 minutes until the edges turn opaque and lightly golden.
Stir-fry the chicken until just cooked through, about 4-5 minutes total. Transfer it to a plate and set aside. This velveting technique ensures tender, juicy chicken that won’t dry out during the final stir-fry.
Step 3: Scramble Eggs and Build Flavor Layers
In the same wok, add another 1 tbsp Vegetable Oil and heat over medium-high heat. Pour in the beaten eggs and let them set for 10-15 seconds before scrambling with a spatula. Cook until just set but still slightly runny—this ensures they finish cooking in the next step.
Add the minced garlic, grated ginger, and the white parts of the green onions. Stir-fry for 30 seconds until the aromatics become fragrant but not browned. Immediately add the cooked rice, breaking up any clumps with your spatula.
Step 4: Combine and Crisp for Maximum Texture
Increase the heat to high and add the remaining 1 tbsp Vegetable Oil. Return the cooked chicken to the wok along with the peas and carrots. Stir-fry aggressively for 3-4 minutes, pressing the rice into the hot surface to develop golden, crispy bits.
Drizzle the 3 tbsp Low-Sodium Soy Sauce, 1 tbsp Oyster Sauce, and 0.5 tsp Diamond Crystal Kosher Salt around the edges of the wok. Toss everything together, then finish with the 0.25 tsp Ground White Pepper and green onion tops.
Step 5: Finish and Serve with Aromatic Touch
Remove the wok from heat and stir in the 1 tsp Sesame Oil. The rice should have a mix of crispy, golden edges and tender grains, with each bite packed with chicken and vegetables. Taste and adjust seasoning if needed.
Serve immediately while hot, garnished with extra green onions. The high heat and proper layering ensure every grain of rice is coated in flavor and has that coveted crispy texture.
Pro Tips For Making High Protein Crispy Chicken Fried Rice
- Use Day-Old Rice: Fresh rice turns to mush in the wok—I learned this the hard way. Cook your long-grain white rice the day before and refrigerate it uncovered so it dries out just enough to get that crispy texture.
- Velvet the Chicken: Toss diced chicken breast with 1 teaspoon of oil and 1 teaspoon of cornstarch before cooking. Sounds weird, but it works: the coating keeps the pieces tender while they brown in the pan.
- Skip the Crowding: Overloading the pan steams the chicken instead of searing it. Cook the chicken in two batches if needed, giving each piece space to crisp up properly.
- Eggs Last: Push the cooked rice and chicken to one side of the wok, then scramble the eggs in the empty space before mixing everything together. This keeps the eggs fluffy instead of rubbery.
Troubleshooting high protein crispy chicken fried rice
Rice Too Soft
This usually happens with fresh rice. Always use day-old rice that’s been chilled in the fridge—it dries out slightly, creating the perfect texture for crisping. If you must use fresh, spread it on a baking sheet and refrigerate uncovered for 30-45 minutes first. 💡
Chicken Rubbery
Overcooking is the culprit. Velvet the chicken by searing it just until opaque (2-3 minutes), then remove it. It’ll finish cooking when added back to the wok. Use chicken breast cut into ¼-inch cubes for even cooking.
Eggs Overcooked
Scramble the eggs until they’re just set but still slightly runny—they’ll finish cooking when mixed with the hot rice. Pull them from the wok after 10-15 seconds of setting. I learned this trick during my time at The Smoky Pig.
No Crispy Texture
Your wok isn’t hot enough or you’re overcrowding it. Use high heat throughout and cook in batches if needed. Press the rice firmly into the hot surface with your spatula for 30-second intervals to create those golden bits.
Soggy Vegetables
Thaw and drain the peas and carrots thoroughly before adding. Any excess moisture will steam the dish. Pat them dry with a paper towel if needed. Add them in the final 3-4 minutes of cooking.
Bland Flavor
Season in layers. Add soy sauce and oyster sauce around the edges of the wok, not directly on the rice. Finish with sesame oil off heat to preserve its aroma. Taste and adjust with kosher salt at the end. 🌟
Nutrition Facts
Frequently Asked Questions
Why use day-old rice?
Day-old rice has less moisture, which allows it to crisp up properly in the wok. Fresh rice tends to steam instead of fry. For best results, chill cooked rice in the fridge for at least 12 hours before using.
Can I add extra protein?
Try adding ½ cup diced tofu or ¼ lb cooked shrimp for variety. Just ensure all proteins are cooked through before adding to the wok to maintain the signature crispy texture.
What if my wok isn’t hot enough?
High heat is critical for crispiness. If your stove isn’t powerful, cook in smaller batches and allow the wok to reheat between additions. A cast iron skillet can work as a substitute on medium-high.
How do I store leftovers?
Store in an airtight container in the fridge for up to 3 days. Reheat in a skillet with a splash of water to restore moisture and crispiness, avoiding the microwave.

- Jollof Rice Sauce Recipe: West African Tomato and Spice Infusion - September 25, 2026
- Japanese Rice Soup Recipe: Umami-Rich Comfort in a Bowl - September 25, 2026
- Homemade Cream Of Rice Recipe: Silk-Smooth Breakfast in Minutes - September 25, 2026