
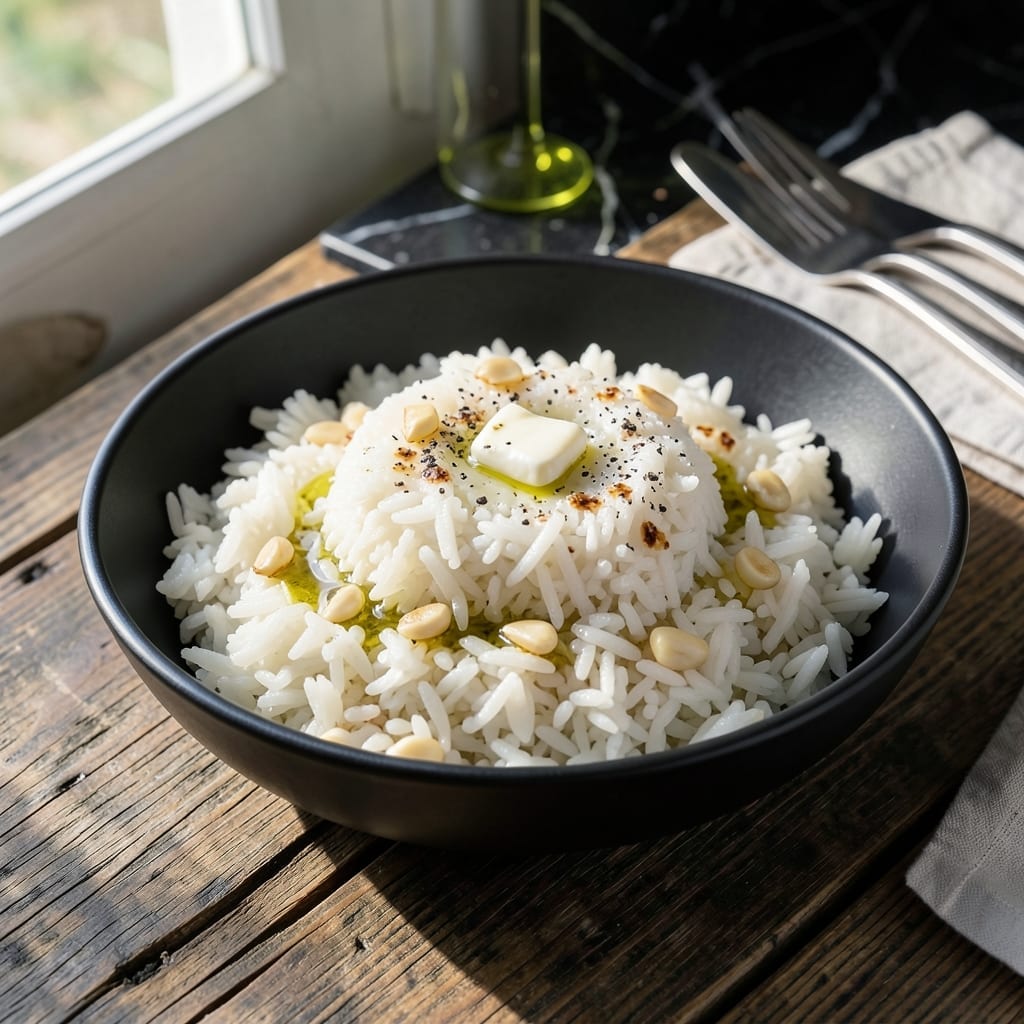
This stovetop rice method delivers perfectly fluffy grains every time with minimal effort. I’ve refined this approach over years of home cooking to ensure consistent results without specialty equipment.
The technique uses a precise ratio of water to rice and controlled heat to achieve tender, separate grains. It works with white or brown rice and adapts easily to different serving sizes.
You’ll get light, airy rice that pairs well with any main dish. The process is straightforward, requiring only a pot, water, and about 20 minutes of hands-off cooking time.
This versatile staple becomes a blank canvas for meals throughout the week. Master this foundation, and you’ll never need another rice recipe.
Ingredients for Home Rice
Simple ingredients deliver perfectly fluffy rice with minimal effort and maximum versatility.
| Ingredient | Amount | Notes |
|---|---|---|
| Long-Grain White Rice 🍚 | 1 ½ cups | Rinsed until water runs clear |
| Water 💧 | 3 cups | Filtered preferred for best flavor |
| Kosher Salt 🧂 | 1 tsp | Diamond Crystal preferred for consistency |
| Unsalted Butter 🧈 | 1 tbsp | Optional for richer flavor |
| Extra-Virgin Olive Oil 🫒 | 1 tbsp | For toasting rice grains |
| Garlic Cloves 🧄 | 2 cloves | Minced finely for aroma |
| Bay Leaf 🌿 | 1 whole | Optional for subtle depth |
| Fresh Parsley 🍃 | 2 tbsp | Chopped for garnish |
| Lemon Juice 🍋 | 1 tsp | Freshly squeezed for brightness |
| Black Pepper 🌶️ | ¼ tsp | Freshly ground for best flavor |
The rice quality matters most here. Long-grain varieties like basmati or jasmine produce the fluffiest results. I source mine from bulk bins at Whole Foods—fresher than pre-packaged, and you can buy exactly what you need. For water, filtered tap works, but if your water is heavily chlorinated, bottled spring water prevents any off flavors. The salt should be Diamond Crystal kosher for even distribution.
No long-grain? Medium-grain works but will be stickier—reduce water by 2 tbsp per cup. Short-grain is better for risotto, not this method. Want more flavor? Toast the rice in oil before adding liquid. Skip the bay leaf? A pinch of dried thyme adds similar depth. Butter can be swapped for ghee if you want a nuttier taste (or omitted entirely).
Store uncooked rice in an airtight container in a cool, dark place for up to 6 months. Cooked rice keeps in the fridge for 4-5 days or freezes beautifully for 3 months. Reheat with a splash of water to restore moisture.
Why You’ll Love This Recipe
- Ready in 20: I toss everything in one pot and walk away—no stirring, no fuss.
- Buttery Comfort: That rich butter and olive oil make every grain taste like home.
- Pairs with Anything: Honestly, it’s my base for stir-fries, stews, or just a side with roasted chicken.
- Budget Stretch: A pound of rice feeds us for days, and it costs pennies per serving.
Step-by-Step Instructions for Home Rice
Master this fundamental technique for perfectly fluffy grains with minimal effort and maximum flavor.
Step 1: Rinse and Toast the Rice
Place the 1.5 cups long-grain white rice in a fine-mesh strainer and rinse under cold water until the water runs completely clear. This removes excess starch, which prevents gummy rice and ensures separate, fluffy grains.
Heat the 1 tbsp extra-virgin olive oil in a medium saucepan over medium heat. Add the drained rice and toast for 2-3 minutes, stirring constantly, until you notice the grains turn slightly translucent and smell nutty. This step enhances the rice’s natural flavor and prevents sticking.
Step 2: Sauté Aromatics and Bloom Spices
Add the 2 cloves minced garlic cloves to the toasted rice and stir for 30 seconds until fragrant but not browned. Garlic burns easily, so keep the heat steady and watch for the moment it releases its aroma.
Stir in the 1 tsp kosher salt and 0.25 tsp black pepper, then add the 1 whole bay leaf. This allows the spices to bloom in the warm oil, infusing the rice with subtle depth. The bay leaf should sizzle slightly when it hits the pan.
Step 3: Add Liquids and Simmer
Pour in the 3 cups water and 1 tbsp unsalted butter, then stir once to combine. Bring the mixture to a rolling boil over medium-high heat. As soon as it boils, reduce the heat to low, cover the pot with a tight-fitting lid, and let it simmer undisturbed.
Cook for 15-18 minutes until all the liquid is absorbed and small craters appear on the surface. Avoid lifting the lid during this time—steam is crucial for even cooking and fluffy texture.
Step 4: Rest and Fluff
Remove the pot from heat and let it sit, covered, for 10 minutes. This resting period allows the rice to steam in its own moisture, ensuring the grains finish cooking evenly and become tender throughout.
After resting, discard the bay leaf and fluff the rice gently with a fork. The grains should be light, separate, and free of any hard bits. Taste and adjust seasoning if needed—this is your final check for perfect balance.
Step 5: Finish and Serve
Transfer the rice to a serving bowl and drizzle with the 1 tsp lemon juice. The acidity brightens the dish and cuts through the richness of the butter and olive oil.
Garnish with the 2 tbsp chopped fresh parsley for a pop of color and freshness. Serve immediately while hot, as the rice will continue to set slightly as it cools. Each grain should be distinct, tender, and infused with subtle aromatic notes.
Pro Tips For Making Home Rice
- Rinse the Rice: I learned this the hard way—unrinsed rice turns out gummy. Give it a quick wash under cold water until the water runs clear to remove excess starch.
- Use the Right Ratio: For long-grain white rice, stick to 1.5 cups water per 1 cup rice. Sounds simple, but I’ve ruined more batches by eyeballing it.
- Toast the Grains: Heat the rice with a little olive oil in the pot for 1-2 minutes before adding water. My grandmother swore by this, and it adds a subtle nutty depth.
- Let It Steam: After cooking, turn off the heat and let it sit covered for 10 minutes—yes, even if you’re hungry. Skipping this leaves you with a wet, uneven texture.
Health Benefits of home rice
Energy Boost
Rice is a fantastic source of complex carbohydrates, providing steady energy that keeps you full for hours. One serving of this dish offers about 45 grams of carbs, perfect for fueling your body throughout the day. I rely on it for sustained energy during busy afternoons. 💪
Low-Fat Foundation
This stovetop method creates a naturally low-fat dish, with less than 2 grams of fat per serving (before adding butter). It’s an ideal base for balanced meals when paired with proteins and vegetables. The minimal oil used keeps it light without sacrificing flavor.
Digestive Friendly
White rice is gentle on the stomach, making this a go-to for digestive comfort. The rinsing process removes excess starch, which can sometimes cause bloating. I find it’s particularly soothing when I need something easy on my system.
Vitamin Enrichment
While white rice is often enriched, this recipe boosts nutrition further with garlic and parsley. These add vitamins A, C, and K, plus antioxidants. The lemon juice provides a dose of vitamin C, enhancing iron absorption from other foods in your meal.
Gluten-Free Staple
Naturally gluten-free, this rice dish is a safe and versatile option for anyone with gluten sensitivities. It’s a blank canvas that works with any gluten-free meal plan, from stir-fries to grain bowls. I always keep some cooked rice on hand for quick, safe meals.
Hydration Support
The cooking process infuses the rice with water, contributing to your daily hydration needs. When prepared with filtered water, as I recommend, it also ensures you’re getting clean, pure hydration with every bite. 💧
Nutrition Facts
Frequently Asked Questions
Why do I need to rinse the rice first?
Rinsing removes excess starch that makes rice gummy. Keep rinsing until the water runs completely clear for perfectly fluffy results. This step takes 1-2 minutes but makes a huge difference.
Can I use brown rice with this method?
Yes, but increase water to 2 cups per 1 cup rice and simmer for 40-45 minutes. Brown rice needs more liquid and time to soften its outer bran layer.
What if my rice turns out mushy?
This usually means too much water or lifting the lid during cooking. Use exactly 2 parts water to 1 part rice and resist peeking until the 15-18 minute simmer is complete.

- Ground Beef Rice and Beans Recipe: Slow-Simmered Savory Harmony - October 17, 2026
- Guyanese Fried Rice Recipe: Caribbean Spice With Wok-Charred Aromatics - October 17, 2026
- Hakka Thunder Tea Rice Recipe: Wok-Charred Herbal Infusion - October 17, 2026