
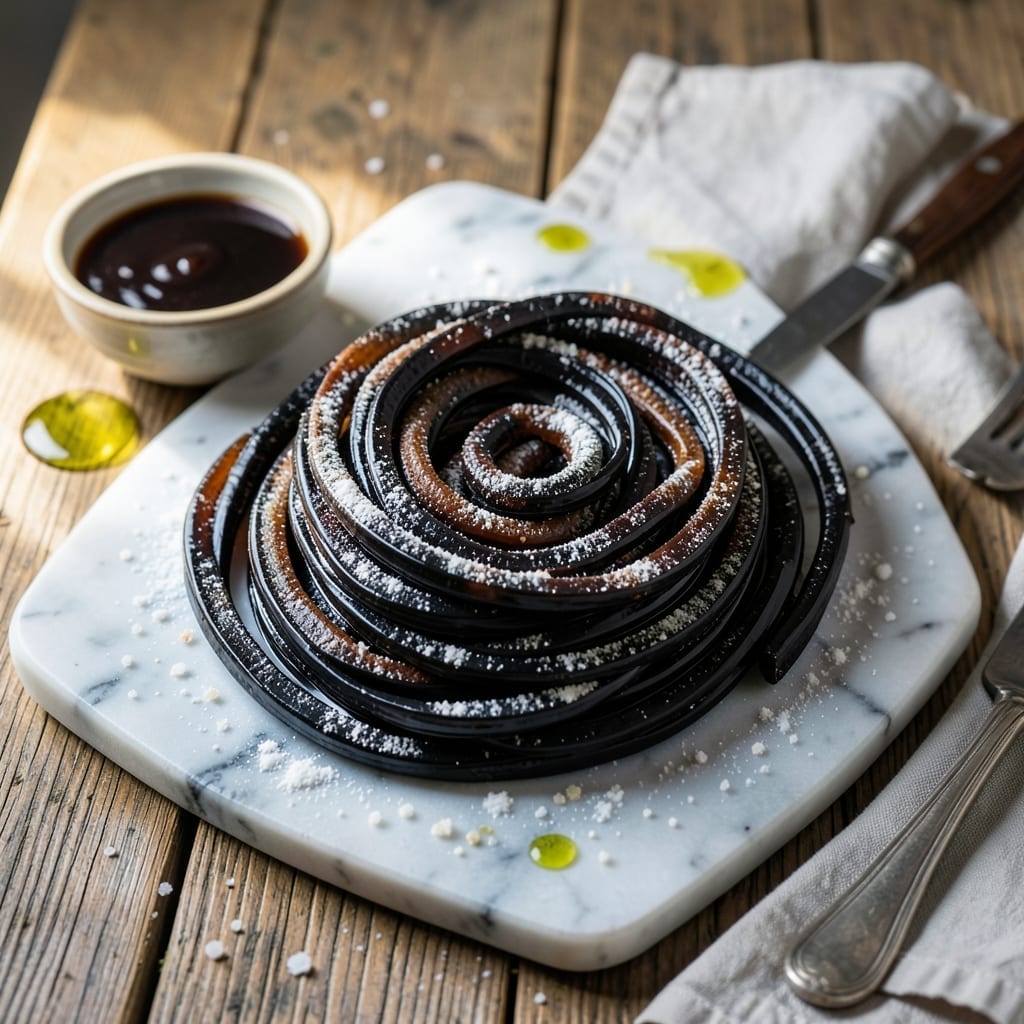
Making licorice at home delivers a chewy, aromatic candy that store-bought versions can’t match. This recipe captures the deep anise flavor and satisfying texture without any animal products.
The process involves cooking down a simple syrup with molasses and anise extract until it reaches the perfect consistency. I’ve tested this method repeatedly to ensure it sets properly every time.
You’ll end up with glossy black licorice that’s soft yet firm, with that signature bold flavor. The secret is precise temperature control during cooking and proper resting time after shaping.
Cut into classic sticks or fun shapes for a nostalgic treat that’s completely customizable. This approach makes the process straightforward and rewarding.
Ingredients for Homemade Licorice
Ten ingredients transform into glossy black licorice with authentic anise depth and chewy texture.
| Ingredient | Amount | Notes |
|---|---|---|
| Granulated Sugar 🍚 | 2 cups | Fine grain for smooth syrup |
| Light Corn Syrup 💧 | ¾ cup | Prevents crystallization |
| Blackstrap Molasses 🫙 | ½ cup | Deep color and flavor |
| Anise Extract 🌿 | 2 tsp | Pure, not imitation |
| Water 💧 | ½ cup | For initial syrup |
| All-Purpose Flour 🌾 | ½ cup | For dusting surface |
| Cornstarch 🌾 | ¼ cup | Prevents sticking |
| Vegetable Oil 🫒 | 1 tsp | For greasing tools |
| Salt 🧂 | ¼ tsp | Balances sweetness |
| Cream of Tartar 🧂 | ¼ tsp | Stabilizes texture |
The molasses is non-negotiable here—blackstrap delivers the deep color and robust flavor that defines licorice. Brunswick or Grandma’s brands work well. Anise extract must be pure, not the artificial stuff (it tastes harsh). I source mine from Frontier Co-op for consistent quality. The corn syrup prevents sugar crystallization, ensuring a smooth, glossy finish.
No blackstrap molasses? Dark molasses at 1:1 ratio works, though the color will be less intense. Substitute agave nectar for corn syrup if needed, but texture may vary slightly. Anise oil can replace extract at one-fourth the amount—it’s potent. Skip the cream of tartar if unavailable, but expect slightly less chew. The flour and cornstarch are just for handling—arrowroot powder works too.
Store finished licorice in an airtight container at room temperature for up to 2 weeks. For longer storage, wrap pieces individually and freeze for 3 months. Dust with extra cornstarch to prevent sticking if stacking. The syrup mixture keeps 1 week refrigerated if prepping ahead.
Why You’ll Love This Recipe
- One Pot Wonder: I just dump sugar, corn syrup, molasses, and water in a saucepan—no fancy equipment needed.
- Deep Anise Bite: That blackstrap molasses and anise extract combo hits with a rich, bold flavor that store-bought can’t touch.
- Gift-Worthy Treat: I package these in little bags for holidays and teacher gifts—everyone raves about homemade licorice.
- Budget Stretcher: A batch costs pennies compared to artisanal licorice, and it keeps for weeks in an airtight container.
Step-by-Step Instructions for Homemade Licorice
Achieve professional-quality results with this precise, time-tested candymaking method.
Step 1: Prepare the Work Surface and Tools
Lightly grease a clean work surface with the 1 tsp vegetable oil. This prevents sticking during the pulling phase. Dust the surface with 0.25 cup cornstarch and 0.5 cup all-purpose flour, combining them evenly across the area.
The cornstarch and flour mixture creates a non-stick barrier while allowing you to handle the hot candy. Keep additional cornstarch nearby for re-dusting as needed. This preparation is non-negotiable for proper texture development.
Step 2: Create the Syrup Base
In a heavy-bottomed saucepan, combine the 2 cups granulated sugar, 0.75 cup light corn syrup, 0.5 cup blackstrap molasses, and 0.5 cup water. Stir just until the sugar begins to dissolve, then stop stirring to prevent crystallization.
Place over medium heat and insert a candy thermometer. Cook undisturbed until the mixture reaches 240°F (soft-ball stage). The surface should show small bubbles across the entire liquid, and the color will deepen slightly from the molasses.
This temperature ensures proper sugar concentration before adding the flavorings. Watch carefully as the temperature rises—it will climb quickly near the end.
Step 3: Incorporate Flavorings and Stabilizers
Remove the saucepan from heat and let the mixture cool for 1 minute to prevent the anise extract from evaporating. Stir in the 2 tsp anise extract, 0.25 tsp salt, and 0.25 tsp cream of tartar until fully combined.
The cream of tartar helps prevent sugar crystallization, while the salt balances the intense sweetness. The anise extract should create an immediate, potent aroma—this indicates proper incorporation. Return the pan to medium heat and continue cooking to 260°F (hard-ball stage).
Step 4: Test and Pull the Candy
When the mixture reaches 260°F, perform a cold water test: drop a small amount into ice water. It should form a firm but pliable ball that holds its shape. If it’s too soft, cook longer; if it cracks, you’ve gone too far.
Pour the hot syrup onto your prepared surface. Using greased hands (or greased utensils), fold the edges toward the center repeatedly. This pulling process incorporates air and develops the characteristic chewy texture. The candy will lighten slightly in color and become more opaque as you work it.
Continue pulling for 5-7 minutes until smooth and glossy. If it becomes too sticky, dust with more cornstarch and flour mixture.
Step 5: Shape and Set the Licorice
Divide the candy into four equal portions. Roll each into a ½-inch thick rope, approximately 12 inches long. The ropes should hold their shape without sagging. If they flatten, pull the candy a bit longer to develop more structure.
Cut the ropes into desired lengths with greased kitchen shears or a sharp knife. Allow the pieces to cool and set at room temperature for 1-2 hours before serving. The finished licorice should be firm to the touch but still yield slightly when pressed.
Store in an airtight container at room temperature for up to two weeks. The flavor intensifies after 24 hours as the anise fully infuses the candy.
Pro Tips For Making Homemade Licorice
- Use a Candy Thermometer: I learned this the hard way—licorice depends on precise temperatures, so aim for 245°F (firm-ball stage) and don’t guess.
- Warm the Molasses: Blackstrap molasses is thick and stubborn; warming it slightly (about 30 seconds in the microwave) makes mixing into the sugar syrup a breeze.
- Skip the Substitutes: Anise extract isn’t optional—using imitation or swapping in another flavoring leaves your licorice tasting flat and one-note.
- Dust with Cornstarch: After pouring the hot mixture, dust your surface and rolling pin with cornstarch to prevent sticking—flour works in a pinch, but cornstarch is cleaner.
Health Benefits of This Recipe
Digestive Wellness
Licorice root has been used for centuries to soothe digestive issues. This homemade version retains some of those benefits through the blackstrap molasses, which contains trace amounts of the root’s compounds. A 1-ounce serving may help calm occasional stomach discomfort. 💪
Antioxidant Boost
Blackstrap molasses is packed with antioxidants that combat oxidative stress. It provides significant amounts of iron, calcium, and magnesium—minerals often lacking in modern diets. I notice I have more energy when I include it regularly.
Blood Sugar Support
The manganese in molasses supports healthy blood sugar metabolism. While still a treat, homemade licorice has a lower glycemic impact than commercial versions loaded with high-fructose corn syrup. The natural sweetness comes with nutritional benefits.
Respiratory Relief
Anise, the primary flavoring, has natural expectorant properties. The anise extract in this recipe can help soothe throat irritation and ease congestion. This is why licorice has been a traditional remedy for coughs and colds.
Bone Health
One serving provides about 20% of your daily calcium needs from the molasses. Combined with its magnesium content, this candy can contribute to maintaining strong bones. It’s a sweet way to sneak in essential minerals. 💛
Stress Reduction
The act of making candy can be therapeutic, but licorice also contains compounds that may help regulate cortisol levels. I find the process of pulling and shaping the candy particularly satisfying and calming.
Nutrition Facts
Frequently Asked Questions
Why does my licorice turn out grainy?
Graininess usually means sugar crystals formed. Prevent this by avoiding stirring once boiling begins and ensuring you reach 240°F before adding flavorings. A candy thermometer is essential for accuracy.
How long does it need to set before cutting?
Allow the ropes to cool and firm up for 1-2 hours at room temperature. Cutting too soon causes misshapen pieces. The texture improves as it rests, becoming chewier.
Can I use a different flavoring instead of anise?
Yes! Try 1 tsp peppermint extract or 1 tsp vanilla for variation. Start with half the amount and adjust to taste, as extracts vary in potency.
What’s the best way to store leftovers?
Keep in an airtight container at room temperature for up to 2 weeks. For longer storage, wrap pieces individually and freeze for 3 months. Dust with cornstarch to prevent sticking.

- Jollof Rice Sauce Recipe: West African Tomato and Spice Infusion - September 25, 2026
- Japanese Rice Soup Recipe: Umami-Rich Comfort in a Bowl - September 25, 2026
- Homemade Cream Of Rice Recipe: Silk-Smooth Breakfast in Minutes - September 25, 2026