
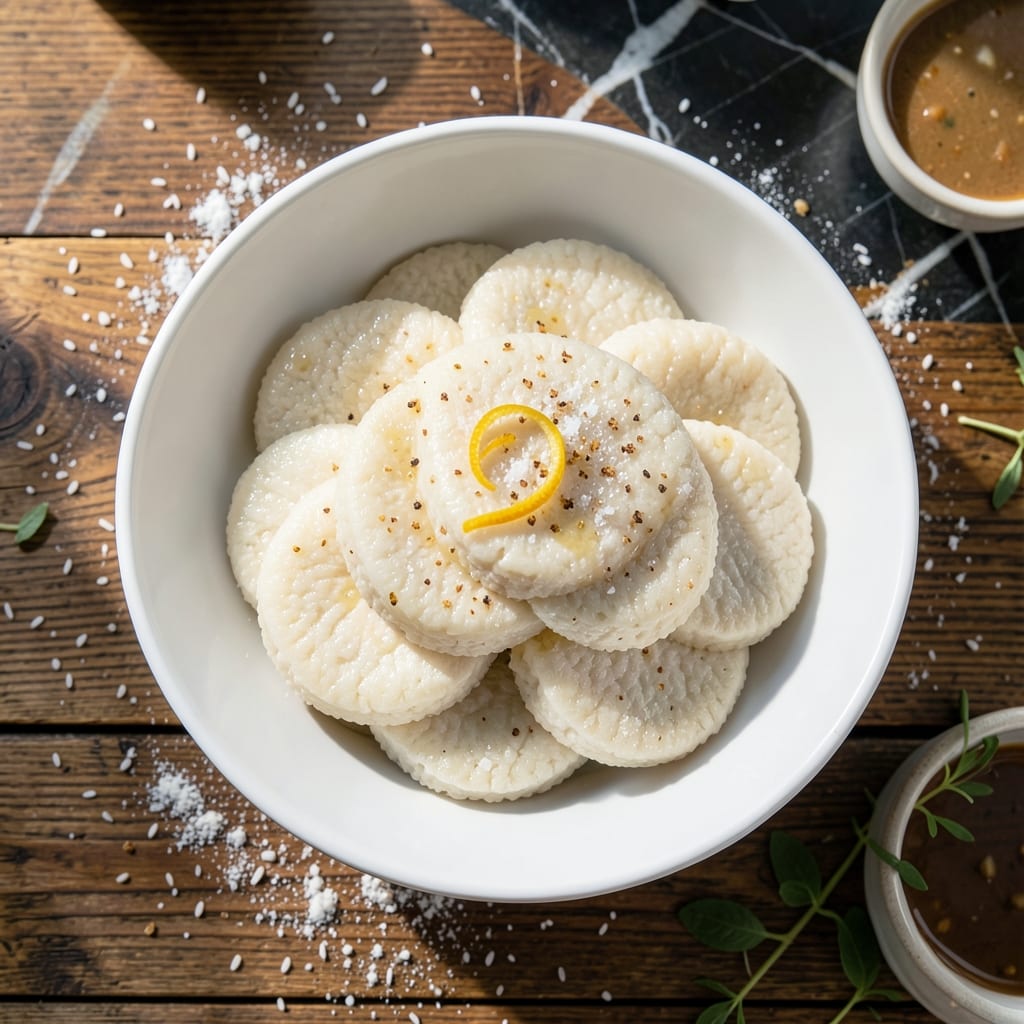
I’ve spent years perfecting this method for achieving crispy, chewy rice cakes that rival the best Korean street food stalls. The key lies in the right rice flour blend and precise steaming technique.
This process transforms simple ingredients into soft, elastic cakes that develop a satisfying exterior when pan-fried. The texture balance is everything—tender inside with just the right resistance when you bite.
What sets this version apart is its ability to hold shape while delivering that signature bounce. The steaming step ensures even cooking, while quick frying creates the crispy edges that make these so addictive.
Once mastered, these become a blank canvas for savory or sweet toppings. The foundation is solid, but the variations are endless.
Ingredients for Homemade Rice Cake
Transform simple rice flours into authentic Korean street food with these core ingredients.
| Ingredient | Amount | Notes |
|---|---|---|
| Glutinous Rice Flour 🌾 | 2 cups | Also called sweet rice flour |
| Regular Rice Flour 🌾 | ½ cup | For texture balance |
| Water 💧 | 1 ½ cups | Warm for better absorption |
| Salt 🧂 | 1 tsp | Fine sea salt preferred |
| Sugar 🍚 | 1 tbsp | Optional for slight sweetness |
| Neutral Oil 🫒 | 2 tbsp | For greasing and frying |
| Sesame Oil 🫒 | 1 tsp | For authentic flavor |
| Garlic Powder 🧄 | ½ tsp | Enhances savory depth |
| Onion Powder 🧅 | ½ tsp | Complements garlic flavor |
| Scallions 🧅 | 2 whole | Finely chopped for garnish |
| Toasted Sesame Seeds 🌰 | 1 tbsp | For topping texture |
The rice flour blend is critical here. Glutinous rice flour (often labeled sweet rice flour) provides the chewy texture, while regular rice flour adds structure. Look for brands like Bob’s Red Mill or Mochiko at well-stocked supermarkets or Asian grocery stores. Avoid substituting with all-purpose or other flours—it won’t deliver the right bounce. The glutinous flour should be fine and white, not coarse or off-white.
Need to adjust? Tapioca starch at half the amount can replace glutinous rice flour in a pinch, though the texture won’t be identical. Skip the sugar if you prefer purely savory cakes. The sesame oil is non-negotiable for authentic flavor, but avocado oil works for neutral frying. For gluten-free validation, ensure your rice flours are certified—some brands process in shared facilities.
Store rice flours in airtight containers in a cool, dark place for up to 6 months. Once mixed, the batter can rest in the fridge for 24 hours before steaming. Cooked cakes keep in the fridge for 3 days or freeze for 1 month—reheat in a dry pan to restore crispness.
Why You’ll Love This Recipe
- One Bowl Wonder: I just mix the glutinous rice flour, regular rice flour, water, salt, and sugar in a single bowl—no fancy equipment needed.
- Sweet-Salty Magic: That subtle sugar hint with a touch of salt makes these rice cakes irresistibly moreish.
- Feeds a Crowd: I make a big batch for parties, and they disappear faster than I can steam them.
- Budget Stretch: A pound of rice flour makes dozens, and honestly, it costs pennies compared to store-bought.
Step-by-Step Instructions for Korean Rice Cakes
Master the technique for achieving the ideal balance of crispy exterior and chewy interior.
Step 1: Combine Dry Ingredients for the Base
In a large mixing bowl, whisk together the 2 cups Glutinous Rice Flour and 0.5 cup Regular Rice Flour until fully integrated. The regular rice flour prevents excessive stickiness while maintaining the traditional chewy texture.
Add the 1 tsp Salt, 1 tbsp Sugar, 0.5 tsp Garlic Powder, and 0.5 tsp Onion Powder to the flour mixture. These seasonings create a savory foundation that complements the natural sweetness of the glutinous rice flour. Whisk thoroughly to distribute the dry ingredients evenly.
Step 2: Form the Batter and Rest
Gradually pour in the 1.5 cups Water while stirring continuously with a wooden spoon. The batter should be smooth and thick, resembling pancake batter. If you notice any lumps, keep stirring until they dissolve completely.
Drizzle in the 1 tsp Sesame Oil and mix again. This adds authentic Korean flavor while enriching the batter. Cover the bowl with a clean kitchen towel and let the batter rest at room temperature for 20 minutes. This resting period allows the flours to fully hydrate, which is essential for the proper texture.
Step 3: Steam the Rice Cake Base
Line a 9-inch round cake pan with parchment paper, leaving an overhang on the sides for easy removal. Lightly grease the paper with 1 tbsp Neutral Oil to prevent sticking. Pour the batter into the pan and smooth the top with a spatula.
Place the pan in a steamer over boiling water, ensuring the pan doesn’t touch the water. Cover and steam for 30 minutes. Check that the center is set and a toothpick inserted comes out clean. The surface should look matte, not sticky, when properly steamed.
Step 4: Cool and Cut the Rice Cake
Remove the pan from the steamer and let it cool completely at room temperature, about 30 minutes. This step is crucial—cutting while warm will cause the pieces to stick together. Once cooled, lift the rice cake from the pan using the parchment overhang.
Transfer to a cutting board and slice into ½-inch thick rectangles or your preferred shape. For clean cuts, wet your knife between slices. The cooled rice cake should be firm enough to hold its shape but still slightly tacky to the touch.
Step 5: Pan-Fry for Crispy Texture
Heat the remaining 1 tbsp Neutral Oil in a large nonstick skillet over medium-high heat. Working in batches to avoid crowding, add the rice cake pieces in a single layer. Cook for 3-4 minutes per side until the surfaces are golden brown and crispy.
Finely chop the 2 whole Scallions and sprinkle them over the rice cakes along with the 1 tbsp Toasted Sesame Seeds during the last minute of cooking. This adds freshness and a nutty crunch to the finished dish. Serve immediately while hot and crispy.
Pro Tips For Making Homemade Rice Cake
- Steam Evenly: Use a tight-fitting lid when steaming the batter—otherwise, condensation drips back in and creates dense spots. I learned this the hard way after three lopsided cakes.
- Mix the Flours Right: Combine the glutinous and regular rice flour with a whisk first to break up lumps, then gradually add warm water. Sounds fussy, but it prevents grainy texture.
- Skip Cold Water: Always use warm water (around 110°F) when mixing the batter. Cold water makes the flours seize up, and your cakes will turn out gummy instead of chewy.
- Rest the Batter: Let the batter sit for 10 minutes after mixing—it hydrates fully and saves you from stirring frantically when it thickens too fast. I was skeptical until I tried it.
Make-Ahead Tips for homemade rice cake
Batter Prep Ahead
Mix your 2 cups Glutinous Rice Flour and 0.5 cup Regular Rice Flour with dry seasonings the night before. Store the dry mix in an airtight container at room temperature. This saves 10 minutes on cooking day. 💡
Rest the Batter
Combine the dry mix with 1.5 cups warm water and 1 tsp Sesame Oil up to 24 hours before steaming. The longer rest develops better texture, but 20 minutes is the minimum for proper hydration.
Steam in Advance
Steam the entire cake base up to 1 day ahead. Let it cool completely, then wrap tightly in plastic. Store in the fridge until ready to cut and fry. This actually improves the chewy texture.
Freeze for Later
After steaming and cooling, slice into pieces and freeze on a tray for 1 hour before transferring to bags. Freeze for up to 1 month. Thaw in the fridge overnight before frying. ❄️
Re-Crisp Technique
For pre-made cakes, heat your skillet over medium-high heat with 1 tbsp Neutral Oil. Add rice cakes in a single layer and cover for 2 minutes to steam, then uncover to crisp.
Storage Tips
Keep uncooked batter in the fridge for 1 day max. Cooked but unfried cakes last 3 days refrigerated. Always reheat in a dry pan to restore that perfect crispy-chewy balance.
Nutrition Facts
Frequently Asked Questions
Can I use only glutinous rice flour?
No, the blend is essential. Regular rice flour adds structure while glutinous rice flour provides chew. Using just one will result in either a gummy or crumbly texture.
Why does my rice cake stick when frying?
Ensure it’s fully cooled before cutting and use enough neutral oil in the pan. Also, medium-high heat prevents sticking while creating that perfect crisp.
Can I bake instead of steam?
Steaming creates the signature chewy texture. Baking will make them dense and dry. Stick with steaming for 30 minutes for best results.
How do I make them extra crispy?
Pat the pieces dry before frying and don’t crowd the pan. Cook at medium-high heat for 3-4 minutes per side until golden.

- Jollof Rice Sauce Recipe: West African Tomato and Spice Infusion - September 25, 2026
- Japanese Rice Soup Recipe: Umami-Rich Comfort in a Bowl - September 25, 2026
- Homemade Cream Of Rice Recipe: Silk-Smooth Breakfast in Minutes - September 25, 2026