
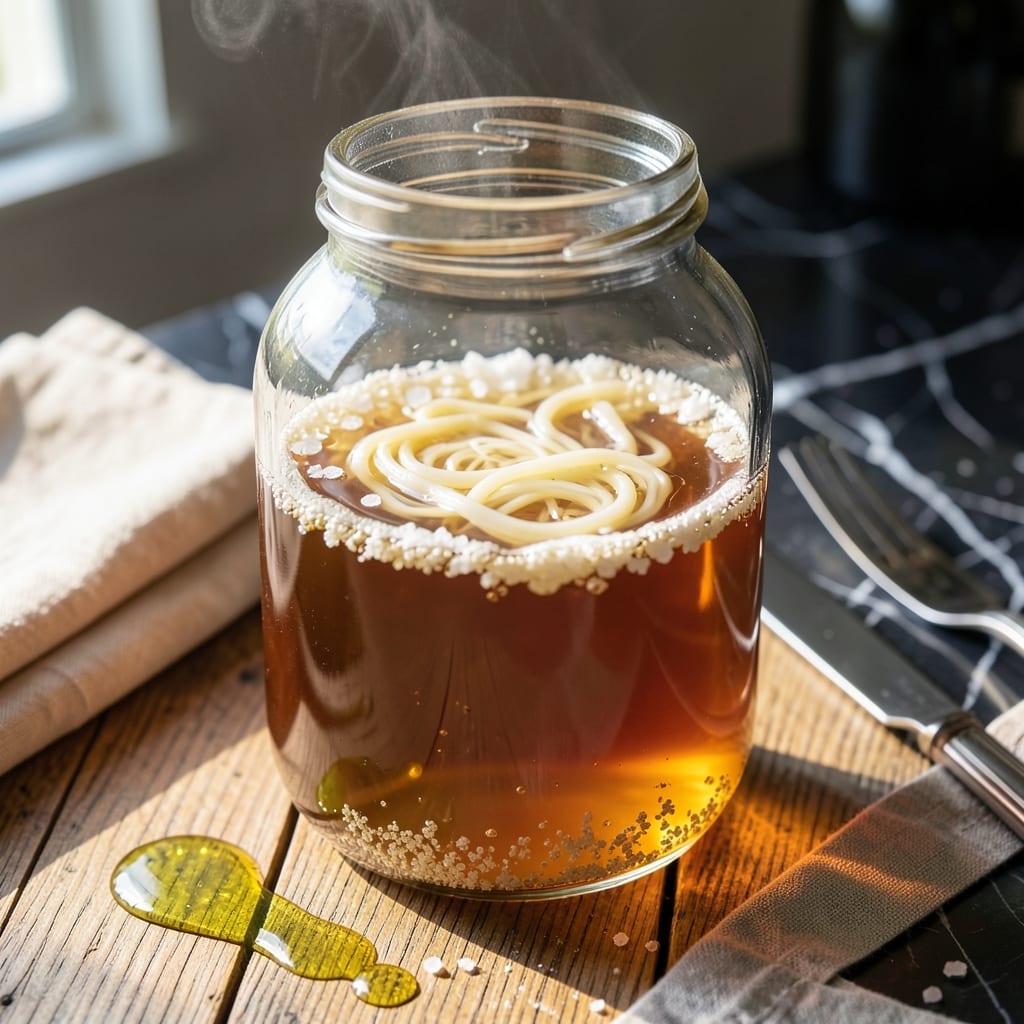
Crafting authentic rice vinegar at home unlocks a depth of flavor commercial versions can’t match. This traditional fermentation method transforms simple ingredients into a tangy, complex condiment that elevates any dish.
The process begins with rice wine or sake as the base, which develops its signature sharpness through natural fermentation. Patience is key—allowing the mixture to mature for 4 to 6 weeks ensures the best results.
What emerges is a bright, slightly sweet vinegar with layered acidity, perfect for dressings, marinades, or pickling. Its versatility makes it a staple for authentic Asian cooking.
Once ready, store it in a cool, dark place to preserve its bold character. This homemade version will redefine how you use vinegar.
Ingredients for Homemade Rice Vinegar
Eight simple ingredients transform into authentic fermented rice vinegar at home.
| Ingredient | Amount | Notes |
|---|---|---|
| Rice Wine 🍶 | 2 cups | Or sake as base liquid |
| Rice Vinegar Mother 🍚 | ¼ cup | Or wheat vinegar mother |
| White Sugar 🍚 | ¼ cup | Organic preferred for fermentation |
| Water 💧 | 1 cup | Filtered, room temperature |
| Sea Salt 🧂 | 1 tsp | Non-iodized preferred |
| Dried Yeast 🍞 | ¼ tsp | Optional, accelerates fermentation |
| Rice Bran 🌾 | 2 tbsp | Provides nutrients for mother |
| Apple Cider Vinegar 🍏 | ½ cup | Starter for initial batch |
The rice wine base is critical—sake works best for traditional flavor, but any good quality rice wine will do. Asian markets carry the best selection, though well-stocked Whole Foods locations often have decent options. For the vinegar mother, look for raw, unpasteurized versions (often found in health food stores). The sugar should be organic to avoid additives that might inhibit fermentation.
No rice wine? Dry white wine at half the quantity works in a pinch, though the flavor profile will differ. Skip the yeast if you prefer a slower, more traditional fermentation. For a quicker start, apple cider vinegar with mother can substitute for both the starter and mother. The rice bran is optional but recommended for first-time fermenters as it provides nutrients.
This will ferment at room temperature for 4-6 weeks. Store the finished vinegar in a glass jar in a cool, dark place—it keeps indefinitely. A dark cabinet works perfectly. Always use clean utensils when handling to prevent contamination during fermentation.
Why You’ll Love This Recipe
- Set and Forget: I mix rice wine, sugar, and water, then let the vinegar mother do its magic over a few weeks—no babysitting required.
- Bright Tangy Kick: The balance between sweet and sharp is spot-on, way more vibrant than store-bought.
- Salad to Stir-Fry: Honestly, it’s my go-to for dressings, marinades, even quick pickles when I’m prepping meals for the week.
- Penny-Pincher Win: A bottle of rice wine and a mother culture stretch into gallons of vinegar, saving me trips to the store.
Step-by-Step Instructions for Homemade Rice Vinegar
This traditional fermentation process yields authentic flavor with minimal hands-on time.
Step 1: Prepare the Starter Culture
In a clean glass jar, combine the 0.5 cup Apple Cider Vinegar with the 0.25 cup Rice Vinegar Mother. I use a wooden spoon for this—metal can react with the acids during fermentation. The mother should float, but if it sinks, don’t worry; it will rise as fermentation begins.
Add the 2 tbsp Rice Bran to provide nutrients for the culture. This step kickstarts the microbial activity that will convert the alcohol to acid. Stir gently to distribute the bran evenly without damaging the mother.
Step 2: Create the Sugar Solution
In a small saucepan, warm the 1 cup Water over low heat just until it feels tepid—about 110°F. This is warm enough to dissolve the sugar but cool enough to preserve the yeast if you’re using it.
Stir in the 0.25 cup White Sugar and the 1 tsp Sea Salt until fully dissolved. The sugar feeds the bacteria, while the salt helps control unwanted microbial growth. Let this solution cool to room temperature before proceeding—adding it hot could kill your starter culture.
Step 3: Combine and Ferment
Pour the cooled sugar solution into your jar with the starter culture. Then add the 2 cups Rice Wine—this provides the alcohol that will be converted to acetic acid during fermentation. If using, sprinkle the 0.25 tsp Dried Yeast on top; it will activate and speed up the initial alcohol production.
Stir everything together with your wooden spoon. The mixture should look cloudy with bits of mother suspended throughout. This is normal and indicates a healthy, active culture ready for fermentation.
Step 4: Cover and Store for Fermentation
Cover the jar with a breathable cloth or paper towel secured with a rubber band. This allows airflow while keeping out dust and insects. Store the jar in a dark place at room temperature (68-72°F)—a kitchen cabinet works perfectly.
You should see bubbles forming within 24-48 hours as fermentation begins. Over the next 2-4 weeks, the mixture will develop a tangy aroma and the mother will grow a new layer on top. Stir the mixture daily to ensure even fermentation and prevent mold growth.
Step 5: Taste and Bottle When Ready
Begin tasting your vinegar after 2 weeks. It should have a sharp, tangy flavor with a complex depth characteristic of homemade vinegar. The longer it ferments, the more pronounced the flavor will become—up to 6 weeks for maximum tang.
Once it reaches your desired flavor, strain out the mother and any solids through a fine-mesh sieve. Transfer the liquid to clean glass bottles and store in a cool, dark place. The mother can be reused for your next batch, and the vinegar will keep indefinitely.
Pro Tips For Making Homemade Rice Vinegar
- Use Glass Containers: I learned this the hard way—plastic or metal can react with the vinegar mother. A clean glass jar with a breathable cloth cover is the only way to go.
- Keep It Warm: Store your fermenting vinegar in a spot that stays between 70-80°F. My first batch stalled in a cold pantry—now I keep it near the oven (but not too close).
- Skip Tap Water: Chlorine in tap water can kill the vinegar mother. Use filtered or boiled-and-cooled water to guarantee the fermentation takes off.
- Stir Weekly: Sounds weird, but it works: give it a gentle stir every 5-7 days to prevent mold and keep the mother active. I skip this when I’m lazy, but the vinegar develops faster when I don’t.
Troubleshooting Perfect Results
No Fermentation Activity
If you don’t see bubbles after 48 hours, your starter may need a boost. Add 1 tbsp of raw honey or 1 tsp sugar to feed the bacteria. Ensure your jar is in a warm spot—70-75°F is ideal. Avoid refrigeration at this stage, as cold temperatures halt fermentation. 🌡️
Mold Growth
If you spot fuzzy mold on top, discard the batch immediately—this is non-negotiable for safety. To prevent this, ensure all utensils are sterilized and the cloth cover is secure. Use filtered water to avoid chlorine, which can inhibit good bacteria while allowing harmful ones to thrive.
Weak or Bland Flavor
If your vinegar lacks tang after 4 weeks, extend fermentation for another 1-2 weeks. Check the temperature—cooler environments slow the process. Stirring daily helps distribute the mother and speeds up acid production. I’ve found batches in winter often need extra time.
Cloudy Vinegar
Cloudiness is normal and doesn’t affect safety or flavor. It’s usually residual mother or sediment. For clearer vinegar, let it settle for 24 hours after fermentation, then carefully pour off the liquid, leaving the sediment behind. A coffee filter can also help during straining.
Strong Alcohol Smell
If your mixture smells strongly of alcohol early on, it’s normal—the bacteria are still converting it to acid. If the smell persists after 3 weeks, your culture may be weak. Add ¼ cup of active vinegar mother from a trusted source to restart the process. 💡
Storage Issues
Once bottled, if you notice a new mother forming, it’s harmless but can look unappealing. To prevent this, pasteurize your vinegar by heating it to 140°F for 10 minutes before bottling. However, this kills the beneficial bacteria, so only do this if appearance is critical.
Nutrition Facts
Frequently Asked Questions
How long does fermentation take?
Fermentation typically takes 4 to 6 weeks for full flavor development. You can start tasting after 2 weeks, but the tang will deepen with more time. Store in a dark, warm spot for best results.
Can I use a different type of wine?
Yes, dry white wine works in a pinch, but rice wine or sake gives the most authentic flavor. Use half the quantity of dry wine compared to rice wine for similar results.
What if my vinegar smells like alcohol?
This is normal early on as bacteria convert alcohol to acid. If the smell persists after 3 weeks, add more vinegar mother to restart the process.
Do I need to refrigerate it?
No, store bottled vinegar in a cool, dark place. Refrigeration isn’t needed and can slow down any remaining fermentation. It keeps indefinitely.

- Gambia Jollof Rice Recipe: West African One-Pot Spice Fusion - October 5, 2026
- Cream of Wild Rice Soup Recipe Minnesota: Northwoods Creaminess With Foraged Grains - October 5, 2026
- Frozen Cauliflower Fried Rice Recipe: Quick Low-Carb Wok Magic - October 5, 2026