
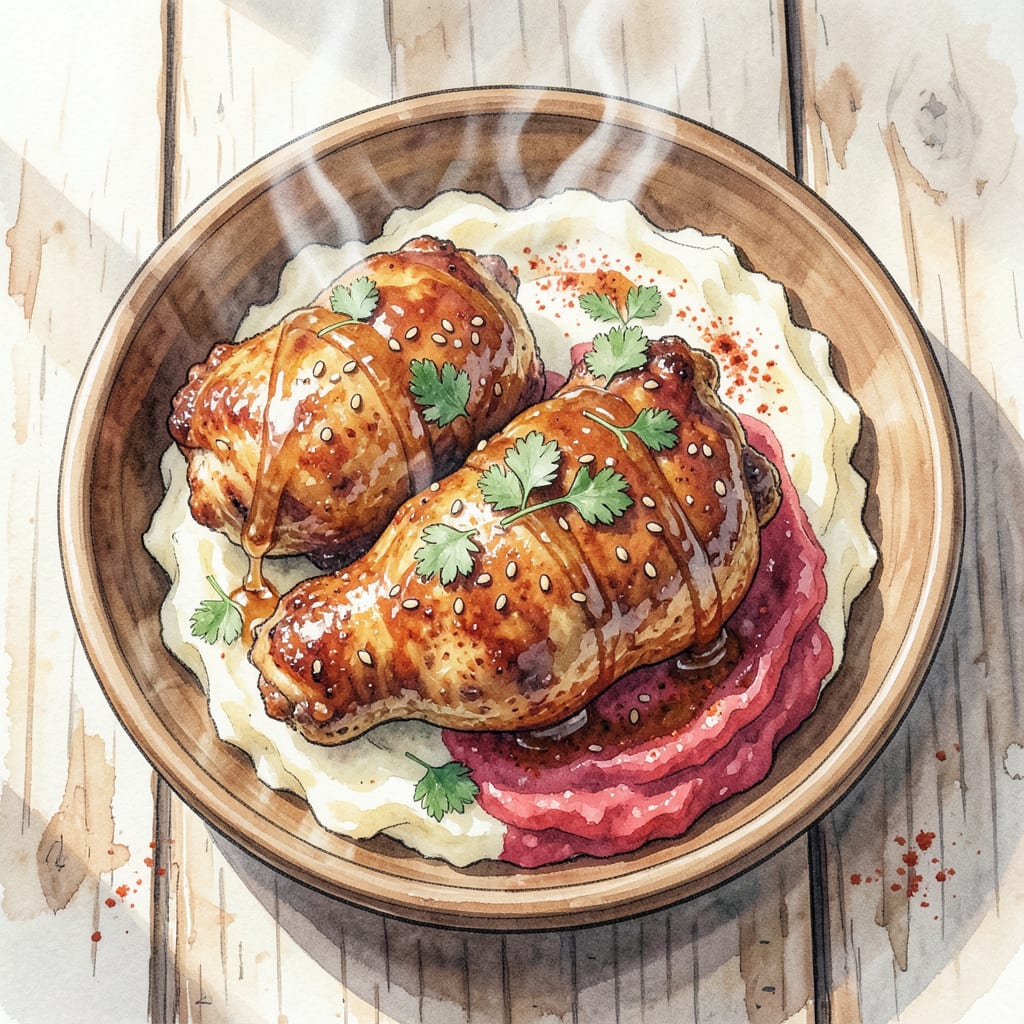
I’m sharing my secret recipe for crispy honey fried chicken that delivers ultimate Southern comfort food. This dish combines perfectly seasoned chicken with a golden crust and a sweet honey glaze.
Ready in under an hour, this recipe yields tender chicken with a satisfying crunch. Serve with mashed potatoes or coleslaw for a classic comfort meal that’s sure to please.
Ingredients for Honey Fried Chicken
Crispy Southern-style honey fried chicken requires these key ingredients and quality staples.
| Ingredient | Amount | Notes |
|---|---|---|
| Chicken Thighs 🍗 | 2 lb | Bone-in, skin-on preferred |
| All-Purpose Flour 🌾 | 1 ½ cups | For dredging chicken |
| Cornstarch 🌾 | ½ cup | For crispy coating |
| Paprika 🌶️ | 2 tbsp | Smoked or sweet variety |
| Garlic Powder 🧄 | 1 tbsp | Not garlic salt |
| Onion Powder 🧅 | 1 tbsp | For depth of flavor |
| Cayenne Pepper 🔥 | ½ tsp | Adjust for heat preference |
| Salt 🧂 | 1 ½ tsp | Kosher or sea salt |
| Black Pepper 🌶️ | 1 tsp | Freshly ground preferred |
| Buttermilk 🥛 | 2 cups | For marinating chicken |
| Vegetable Oil 🫒 | 2 cups | For frying chicken |
| Pure Honey 🍯 | ½ cup | For glaze |
For the crispiest coating, Pillsbury or Gold Medal all-purpose flour works best. The buttermilk is non-negotiable—don’t skip it. If you don’t have it, make a substitute with 1 cup milk and 1 tbsp white vinegar. For the best flavor, use high-quality honey for the glaze.
No smoked paprika? Regular paprika works, but add a splash of liquid smoke to the buttermilk marinade. Want more heat? Increase cayenne to 1 tsp. For an extra crispy coating, try adding 1/4 cup cornstarch to the flour mixture. If you don’t have buttermilk, you can use plain yogurt thinned with milk.
This recipe keeps well in an airtight container in the fridge for up to 3 days. Reheat in the oven at 375°F to maintain crispiness. The honey glaze can be made ahead and stored in the fridge for 1 week.
Step-by-Step Instructions for Honey Fried Chicken
Mastering this Southern classic requires attention to detail, but the result is worth it.
Step 1: Prepare the Chicken and Marinade
Start by trimming any excess skin from the 2 lb Chicken Thighs if needed. I like to keep the skin on for extra crispiness. Place the chicken in a large bowl or zip-top bag. Pour in the 2 cups Buttermilk, making sure the chicken is fully submerged. If necessary, weigh down the chicken with a plate to keep it under the liquid. Refrigerate for at least 2 hours or overnight for best results.
The acidity in the buttermilk will tenderize the chicken and help the coating adhere. Don’t skip this step—the marinade makes all the difference in texture and flavor.
Step 2: Create the Crispy Coating
In a large bowl, combine the 1.5 cups All-Purpose Flour, 0.5 cup Cornstarch, 2 tbsp Paprika, 1 tbsp Garlic Powder, 1 tbsp Onion Powder, 0.5 tsp Cayenne Pepper, 1.5 tsp Salt, and 1 tsp Black Pepper. Whisk thoroughly to ensure the spices are evenly distributed. The cornstarch is key here—it helps create that ultra-crispy exterior.
I like to use a fork to mix the dry ingredients, ensuring there are no lumps and everything is well incorporated. This coating mixture will be the foundation of your crispy fried chicken.
Step 3: Dredge and Fry the Chicken
Remove the chicken from the buttermilk marinade, letting any excess drip off. Dredge the chicken pieces in the flour mixture, pressing the coating onto the chicken to ensure it adheres well. For extra crunch, you can double-dip by dipping the coated chicken back into the buttermilk and then into the flour mixture again.
Heat the 2 cups Vegetable Oil in a large cast-iron skillet or Dutch oven to 350°F. Fry the chicken in batches to avoid overcrowding, cooking for 8-10 minutes until golden brown and the internal temperature reaches 165°F. Drain on wire racks set over paper towels.
Step 4: Glaze with Honey
While the chicken is frying, prepare the honey glaze. In a small saucepan, gently warm the 0.5 cup Pure Honey over low heat until it becomes more fluid. This makes it easier to brush over the fried chicken. Once all the chicken is fried and drained, brush the warm honey glaze generously over the pieces.
The honey adds a sweet contrast to the savory, spicy coating. For an extra sticky glaze, you can increase the honey to ¾ cup, but be aware it will be quite sweet.
Step 5: Serve Immediately
Serve the honey fried chicken hot, garnished with fresh herbs if desired. The combination of the crispy exterior, juicy interior, and sweet honey glaze is irresistible. For the best experience, serve immediately while the chicken is still warm and crispy.
Leftovers can be stored in an airtight container in the refrigerator for up to 3 days. To reheat, bake in a 375°F oven until crispy again, about 15-20 minutes. Avoid microwaving as it will make the coating soggy.
Pro Cooking Tips for honey fried chicken
Mastering the Marinade
The buttermilk marinade is crucial for achieving tender and flavorful chicken. I always make sure the chicken is fully submerged in the marinade by weighing it down with a plate if necessary. Refrigerate for at least 2 hours or overnight.
Perfecting the Coating
A great coating requires proper mixing of dry ingredients. I use a fork to combine the 1.5 cups All-Purpose Flour, 0.5 cup Cornstarch, and spices, ensuring everything is well incorporated. The cornstarch is key to that ultra-crispy exterior. 🔥
Frying Techniques
Maintaining the correct oil temperature is critical. Heat 2 cups Vegetable Oil to 350°F in a large cast-iron skillet or Dutch oven. Fry chicken in batches to prevent overcrowding, cooking for 8-10 minutes until golden brown and reaching 165°F internally.
Honey Glaze Tips
Gently warming the 0.5 cup Pure Honey over low heat makes it easier to brush over the fried chicken. For an extra sticky glaze, you can increase the honey to ¾ cup. The honey adds a sweet contrast to the savory coating.
Serving and Storage
Serve the honey fried chicken hot, garnished with fresh herbs if desired. For leftovers, store in an airtight container in the refrigerator for up to 3 days. Reheat in a 375°F oven for 15-20 minutes to maintain crispiness. ❄️
Nutrition Facts
Frequently Asked Questions
What’s the best way to keep honey fried chicken crispy?
To maintain crispiness, serve immediately after frying. If you need to wait, place cooked chicken on a wire rack over a baking sheet in a 200°F oven. Avoid covering or stacking the chicken as this can make it soggy.
Can I make honey fried chicken ahead of time?
While best served fresh, you can fry chicken ahead and reheat it in a 375°F oven for 15-20 minutes until crispy again. Store leftovers in an airtight container in the refrigerator for up to 3 days.
How do I prevent the honey glaze from making the coating soggy?
To prevent sogginess, brush the honey glaze onto the fried chicken immediately after frying while it’s still warm. You can also let the glazed chicken sit on a wire rack for a few minutes to help the glaze set before serving. This helps maintain the crispy texture.
Can I use a different type of oil for frying?
Yes, you can use other oils with high smoke points like peanut or avocado oil. Avoid olive oil as it has a lower smoke point and can burn easily at 350°F. The key is to maintain the proper frying temperature for the best results.

- Jollof Rice Sauce Recipe: West African Tomato and Spice Infusion - September 25, 2026
- Japanese Rice Soup Recipe: Umami-Rich Comfort in a Bowl - September 25, 2026
- Homemade Cream Of Rice Recipe: Silk-Smooth Breakfast in Minutes - September 25, 2026