
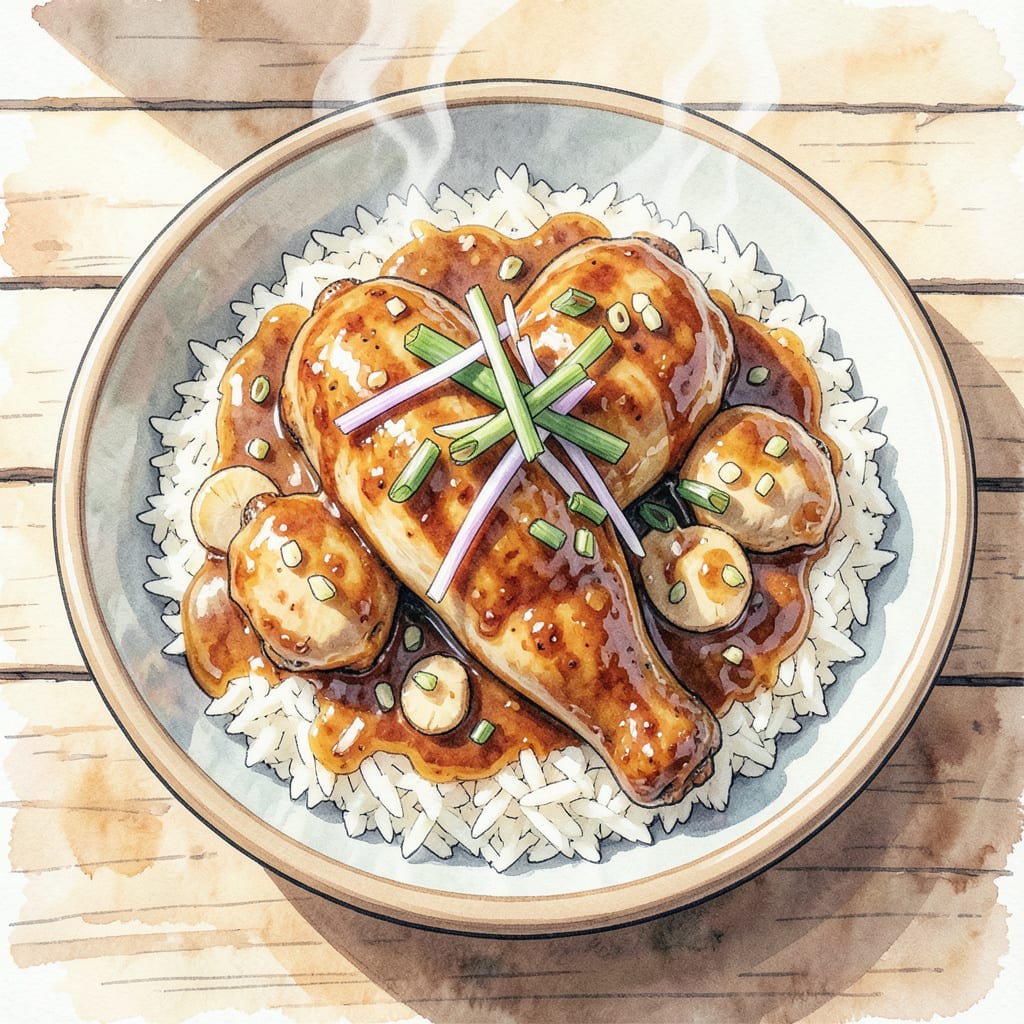
I’ve perfected my honey kettle chicken recipe to deliver sweet glazed perfection every time. This dish combines tender chicken with a rich, sticky honey glaze that’s sure to become a family favorite.
With simple ingredients and straightforward instructions, you’ll achieve restaurant-quality results at home. The key is in the balance of sweet honey and savory spices that create a complex flavor profile in just 30 minutes.
Ingredients for Honey Kettle Chicken
Simple ingredients come together to create this sweet glazed chicken dish perfectly.
| Ingredient | Amount | Notes |
|---|---|---|
| Chicken Thighs 🍗 | 1 ½ lb | Boneless, skinless preferred |
| Honey 🍯 | ½ cup | Pure, raw honey recommended |
| Soy Sauce 💧 | ¼ cup | Low-sodium for better control |
| Brown Sugar 🍮 | 2 tbsp | Dark brown for richer flavor |
| Garlic Cloves 🧄 | 4 cloves | Minced for best flavor |
| Ginger 🌿 | 1 tbsp | Freshly grated, not ground |
| Black Pepper 🌶️ | 1 tsp | Freshly ground preferred |
| Olive Oil 🫒 | 2 tbsp | For browning chicken |
| Sesame Oil 🫒 | 1 tsp | For finishing, optional |
| Green Onions 🌿 | ¼ cup | Chopped, for garnish |
| Sesame Seeds 🌼 | 1 tbsp | For garnish, optional |
| Red Pepper Flakes 🔥 | ¼ tsp | For some heat, optional |
The honey matters here – look for raw, pure honey at farmers markets or local beekeepers for the best flavor. For the chicken, boneless, skinless thighs work best as they stay juicy. Most grocery stores carry them pre-cut. I prefer organic chicken when available.
No soy sauce? Coconut aminos are a great substitute with less sodium. Fresh ginger is ideal, but ground ginger works at one-third the amount. If you like a little heat, add the red pepper flakes – start with 1/8 teaspoon and adjust up. For an extra sticky glaze, brush it on during the last 5 minutes of cooking.
This dish keeps beautifully in the fridge for up to 4 days. Reheat gently in the microwave or oven. The glaze will thicken when chilled – just whisk in a tablespoon of water to loosen it back up. Freezes well for 3 months too.
Step-by-Step Instructions for Honey Kettle Chicken
Here’s the method that delivers perfect glazed chicken every time – straightforward and delicious.
Step 1: Prepare the Chicken and Marinade
Start by prepping the 1.5 lb Chicken Thighs. I like to pat them dry with paper towels to remove excess moisture, which helps the marinade adhere better. In a large bowl, whisk together the 0.5 cup Honey, 0.25 cup Soy Sauce, 2 tbsp Brown Sugar, 4 cloves Garlic Cloves (minced), 1 tbsp Ginger (freshly grated), and 1 tsp Black Pepper until well combined. The marinade should be smooth and fragrant.
Add the chicken thighs to the marinade and toss to coat evenly. Cover the bowl with plastic wrap and refrigerate for at least 2 hours or overnight for maximum flavor penetration. The longer it marinates, the more tender and flavorful the chicken will be.
Step 2: Sear the Chicken
Preheat a large skillet or wok over medium-high heat and add the 2 tbsp Olive Oil. Once the oil is hot and shimmering, remove the chicken thighs from the marinade (let excess drip off) and add them to the pan. Sear the chicken for 5-7 minutes per side until they develop a nice golden-brown crust. You’ll know they’re ready to flip when they release easily from the pan.
Transfer the seared chicken to a plate and set aside. The chicken won’t be fully cooked at this point, but that’s okay – it’ll finish cooking in the glaze.
Step 3: Create the Glaze and Finish Cooking
In the same skillet (don’t clean it – those browned bits are flavor gold), pour in the reserved marinade. Bring the mixture to a boil over medium-high heat, then reduce to medium-low and let it simmer for 5-7 minutes until it thickens into a syrupy glaze. You’ll see it transform from thin to thick and develop a beautiful sheen.
Return the chicken to the skillet and spoon the glaze over the top of each thigh. Continue cooking for another 5-10 minutes until the chicken reaches an internal temperature of 165°F and the glaze is caramelized and sticky. If the glaze gets too thick, you can thin it with a splash of water.
Step 4: Finish and Garnish
Once the chicken is cooked through and glazed to perfection, remove it from the heat. Drizzle with 1 tsp Sesame Oil (if using) for added depth of flavor. Sprinkle the chopped 0.25 cup Green Onions, 1 tbsp Sesame Seeds, and 0.25 tsp Red Pepper Flakes (if using) over the top for garnish. The fresh onions add a nice crunch, while the sesame seeds provide a nutty flavor.
Serve the honey kettle chicken hot, garnished beautifully. The glaze should be sticky and sweet, with a nice balance of savory from the soy sauce and a hint of spice from the ginger and garlic. This dish is perfect served over rice or with steamed vegetables.
Common Mistakes When Making This Recipe
Marinade Mistakes
One common error is not letting the chicken marinate long enough. I recommend at least 2 hours, but overnight is best for maximum flavor. Don’t skip this step as it makes the chicken tender and flavorful. 🔥
Searing Errors
Many people rush the searing process. Take your time to get a good golden-brown crust on the chicken. Cook for 5-7 minutes per side over medium-high heat until it releases easily from the pan.
Glaze Troubleshooting
If your glaze isn’t thickening, it might be because you didn’t simmer it long enough. Let it reduce for 5-7 minutes until it reaches your desired consistency. Watch for that beautiful sheen – it’s a sign it’s ready. 💡
Cooking Temperature Tips
Always use a meat thermometer to ensure your chicken reaches 165°F internally. This prevents undercooking while keeping the meat juicy. I like to check the temperature in multiple pieces to be sure.
Final Touches
Don’t skip the resting time after glazing. Letting it sit for a few minutes allows the flavors to meld together. Add your garnishes just before serving – fresh green onions and sesame seeds make a great finish.
Common Pitfalls
Avoid overcrowding the pan when searing the chicken. Cook in batches if necessary. This ensures even browning and prevents steaming instead of searing. Your patience will pay off in the final result.
Nutrition Facts

- Jollof Rice Sauce Recipe: West African Tomato and Spice Infusion - September 25, 2026
- Japanese Rice Soup Recipe: Umami-Rich Comfort in a Bowl - September 25, 2026
- Homemade Cream Of Rice Recipe: Silk-Smooth Breakfast in Minutes - September 25, 2026