
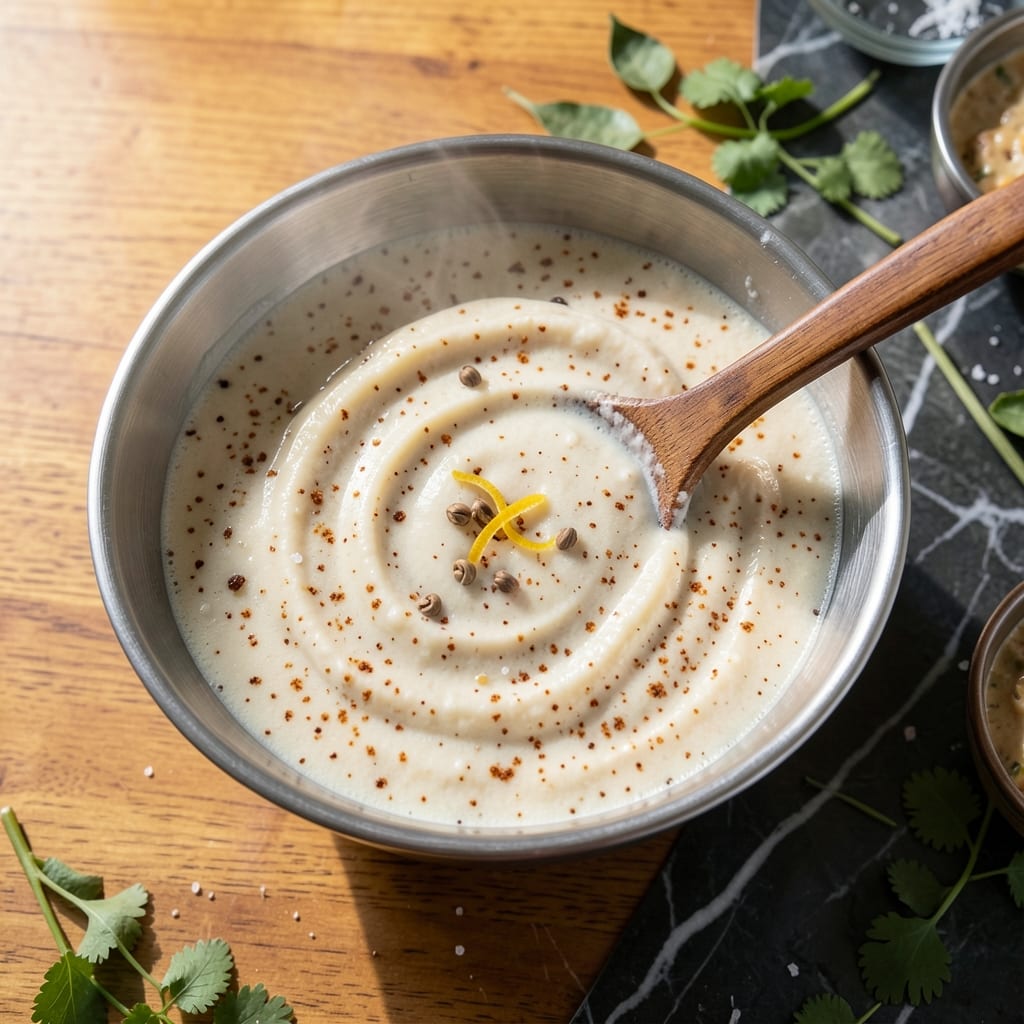
Making soft, fluffy idli at home is simpler than you think with this rice flour method. This approach skips traditional fermentation while still delivering authentic texture and taste.
The batter comes together quickly with just a few pantry staples—no special equipment required. I developed this version after testing multiple techniques to find the most reliable way to achieve perfect results every time.
You’ll get light, airy steamed cakes that are naturally vegan and ready in minutes. The rice flour base ensures a consistent texture without the wait of overnight fermentation.
Serve with coconut chutney or sambar for a complete meal. This method proves that authentic flavors don’t require complicated processes.
Ingredients for Idli Batter Recipe with Rice Flour
Pantry staples come together for airy, authentic steamed cakes. Simple and quick.
| Ingredient | Amount | Notes |
|---|---|---|
| Idli Rice Flour 🌾 | 2 cups | Fine, store-bought or homemade |
| Urad Dal Flour 🌱 | ½ cup | Black gram flour, essential |
| Semolina 🌾 | ¼ cup | Fine variety for texture |
| Water 💧 | 2 ½ cups | Room temperature preferred |
| Salt 🧂 | 1 ½ tsp | Adjust to taste later |
| Fenugreek Seeds 🌿 | ½ tsp | Optional for fermentation aid |
| Cumin Seeds 🌿 | ½ tsp | Lightly toasted, optional |
| Ginger 🌿 | 1 tsp | Freshly grated for flavor |
| Green Chile 🌶️ | 1 whole | Finely chopped, optional |
| Curry Leaves 🌿 | 8 pieces | Fresh or dried, optional |
| Baking Soda 🧂 | ½ tsp | For instant fluffiness |
| Coconut Oil 🥥 | 1 tbsp | For greasing idli molds |
The rice flour is key—Bob’s Red Mill or any fine-milled South Indian brand works best. Urad dal flour is non-negotiable for that authentic texture and tang. Most Indian grocery stores carry both, or find them online at Amazon or Patel Brothers. Semolina adds a subtle grit that mimics traditional idli batter. Skip the coarse kind; fine is what you want (the good stuff, not the pasta kind).
No urad dal flour? Soaked and blended whole urad dal works, but it adds prep time. Short on fenugreek seeds? Skip them—the baking soda will still give you lift. The cumin and curry leaves are flavor boosters, not deal-breakers. Want heat? Add an extra green chile or a pinch of black pepper (frozen works in a pinch).
Batter keeps in the fridge for 24 hours—best used fresh. Leftover idli freeze beautifully for up to 1 month. Just steam to reheat. The urad dal flour smells strong straight from the bag, but don’t worry, it mellows out once cooked.
Why You’ll Love This Recipe
- No Soaking Needed: I skip the overnight soak—just mix the rice flour, urad dal flour, and semolina with water, and it’s ready to ferment.
- Soft and Fluffy: The combo of rice flour and semolina gives idlis that perfect pillowy texture every single time.
- Breakfast in a Jiffy: I prep the batter the night before, and morning idlis are on the table in 15 minutes flat.
- Budget-Friendly Staple: A bag of rice flour and urad dal flour lasts forever, and it’s way cheaper than buying pre-made batter.
Step-by-Step Instructions for Idli Batter With Rice Flour
Here’s the method. Straightforward, tested, works every time for fluffy idlis.
Step 1: Mix Dry Ingredients and Prepare Flavor Base
In a large mixing bowl, combine the 2 cups Idli Rice Flour, 0.5 cup Urad Dal Flour, and 0.25 cup Semolina. I whisk these together thoroughly to break up any lumps and ensure an even distribution of flours, which is critical for consistent texture.
Next, in a small pan, dry toast the 0.5 tsp Fenugreek Seeds and 0.5 tsp Cumin Seeds over low heat for 1-2 minutes until they release their aroma. Remove from heat and set aside to cool slightly.
Step 2: Combine Wet Ingredients and Spices
Gradually add the 2.5 cups Water to the dry flour mixture, stirring continuously to prevent clumping. The batter should be thick but pourable—think pancake batter consistency. It’s okay if it seems a bit lumpy at this stage; the resting time will smooth it out.
Add the 1.5 tsp Salt, 1 tsp Ginger, finely chopped 1 whole Green Chile, and the 8 pieces Curry Leaves. Stir in the lightly toasted fenugreek and cumin seeds. This step infuses the batter with the aromatic base that defines the flavor of your idlis.
Step 3: Activate the Leavening Agent
Sprinkle the 0.5 tsp Baking Soda evenly over the batter. Gently fold it in using a circular motion, ensuring it’s fully incorporated. You’ll notice the batter will immediately start to rise and become slightly frothy—this is the baking soda reacting with the acidic components in the flours.
Let the batter rest for 10-15 minutes. This resting period allows the baking soda to work its magic, creating tiny air pockets that will make your idlis light and fluffy. The batter should look visibly aerated and slightly increased in volume.
Step 4: Prepare Molds and Steam
While the batter rests, prepare your idli molds. Lightly brush each mold with 1 tbsp Coconut Oil to prevent sticking. I use a pastry brush for an even, thin coating—this ensures the idlis release cleanly without tearing.
Pour the batter into the greased molds, filling each about ¾ full. Place the molds in a steamer with 1-2 inches of boiling water, ensuring the water doesn’t touch the batter. Cover with a lid and steam on medium-high heat for 10-12 minutes.
Step 5: Check for Doneness and Serve
After 10 minutes, check for doneness by inserting a toothpick into the center of an idli—it should come out clean. The idlis should be puffed up and slightly domed, with a matte, non-sticky surface.
Remove the molds from the steamer and let them cool for 2-3 minutes before gently unmolding. Serve warm with your favorite chutney or sambar. The texture should be soft, fluffy, and slightly spongy, with a mild, aromatic flavor from the spices and ginger.
Pro Tips For Making Idli Batter Recipe With Rice Flour
- Ferment Longer: Give the batter at least 8-12 hours to ferment—any less and your idlis will be dense instead of light and fluffy. I learned this the hard way after serving hockey pucks for breakfast once.
- Use Warm Water: Mix the flours with warm water (about 105°F) to kickstart fermentation. Cold water slows it down, and you’ll be waiting all day for the batter to rise.
- Skip the Overmixing: Stir the batter just until combined—overmixing develops gluten in the urad dal flour, making your idlis tough instead of tender.
- Add Semolina Last: Fold in the semolina right before steaming to keep it from absorbing too much moisture and turning your batter thick and gummy. Sounds weird, but it works.
Regional Styles of These Flavors
South Indian Classic
In Tamil Nadu, the batter often ferments overnight for that signature tangy flavor. They use a 3:1 ratio of rice to urad dal, soaking both before grinding. The fermentation develops complex flavors that baking soda can’t replicate, but adds 8-12 hours to prep time. I’ve tried this method in my tiny Boston kitchen—worth the effort for special occasions. 💛
Karnataka Variation
Here, they add ½ cup beaten yogurt to the batter for extra softness. The yogurt also helps with fermentation if you’re using the traditional method. Karnataka idlis are slightly smaller and often served with kesari bath, a sweet semolina dessert.
Mangalorean Style
This coastal version incorporates ½ cup grated coconut into the batter, giving the idlis a subtle sweetness. They also use toddy (palm wine) instead of water for fermentation, which creates a unique flavor profile. Hard to find in Boston, but coconut water works as a substitute.
Mumbai Street Food
Vendors make mini idlis, steaming them in special molds for 5-6 minutes. These bite-sized versions are served with spicy green chutney and sev (crispy chickpea noodles) on top. I recreate this at home using a mini muffin tin for the molds.
Kerala Approach
They use raw rice instead of parboiled for a different texture. The batter is ground coarser, resulting in idlis with a slightly grainy mouthfeel. Kerala idlis are often paired with vegetable stew rather than the traditional sambar.
Nutrition Facts
Frequently Asked Questions
Can I make this without urad dal flour?
You can, but the texture won’t be the same. Urad dal flour is essential for that authentic fluffy texture. If you must substitute, try soaked and blended whole urad dal, but it adds prep time.
Why does the batter need to rest?
The 10-15 minutes rest allows the baking soda to create air pockets for light, fluffy idlis. Skipping this step may result in dense cakes.
How do I store leftover batter?
Keep it in the fridge for up to 24 hours. Stir well before using, as it may thicken slightly. For best results, use fresh batter.
What if my idlis turn out dense?
Check your baking soda freshness and ensure you folded it in gently. Overmixing or old leavening agents can prevent proper rise.

- Mujadara Rice and Lentils Recipe: Earthy Spiced Lentils With Caramelized Onions - November 1, 2026
- Naija Fried Rice Recipe: Street-Style Spice With Veggie Crunch - November 1, 2026
- Mushy Rice Recipe: Fluffy Grains Transformed in Minutes - November 1, 2026