
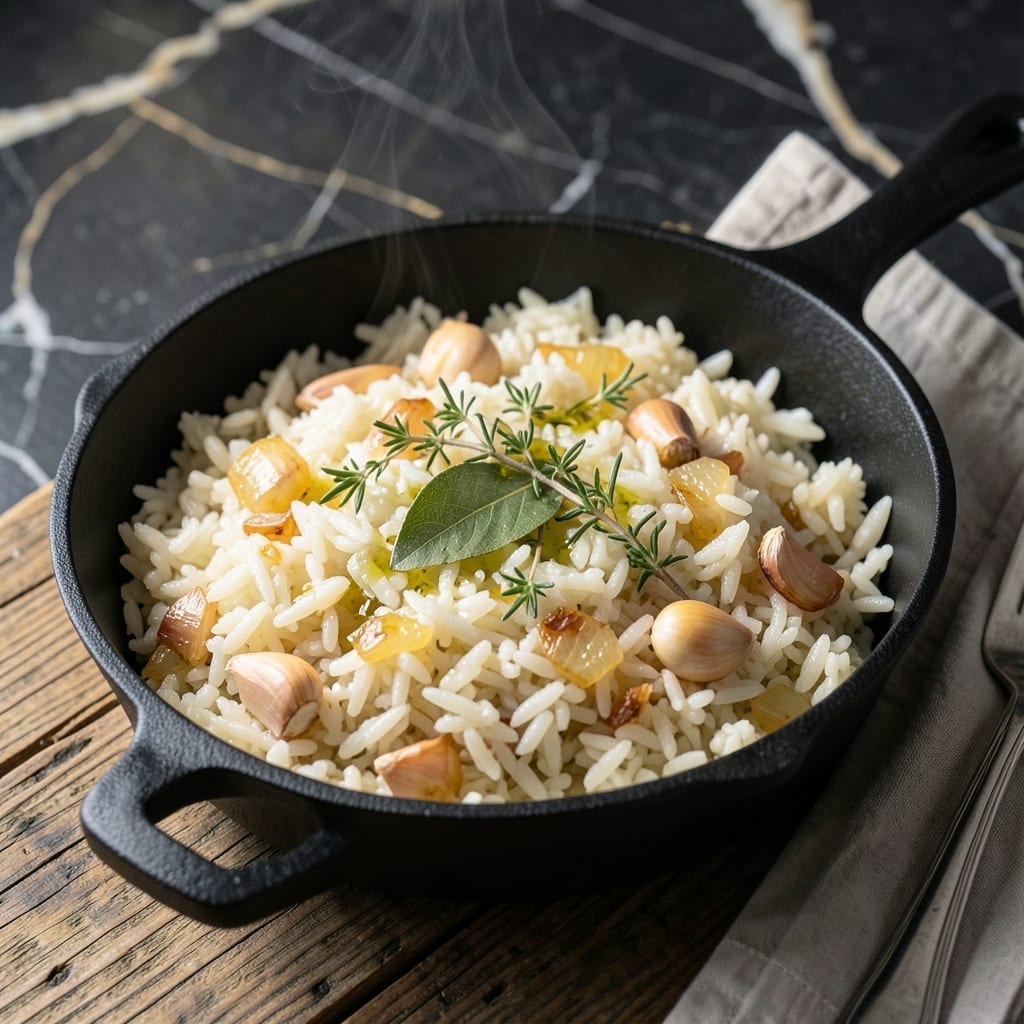
This method transforms plain rice into a fragrant centerpiece with minimal effort. The secret lies in blooming aromatics in hot fat before adding liquid, which layers complex flavors into every grain.
Whether using herbs, citrus peels, or spices, the technique remains simple yet precise. One pot, 20 minutes, and basic pantry staples deliver restaurant-quality results at home.
You’ll achieve perfectly cooked grains that absorb the infusion completely, with no mushy texture or bland bites. The aroma alone signals you’ve elevated a staple dish.
Serve as a side or base for proteins and vegetables. The versatility makes it ideal for any meal.
Ingredients for Infused Rice
Transform plain rice with these aromatic ingredients into a fragrant, restaurant-quality dish at home.
| Ingredient | Amount | Notes |
|---|---|---|
| Long-Grain White Rice 🍚 | 1 ½ cups | Rinsed until water runs clear |
| Chicken Stock 🥣 | 2 ½ cups | Low-sodium preferred for control |
| Unsalted Butter 🧈 | 2 tbsp | Or substitute neutral oil |
| Yellow Onion 🧅 | 1 whole | Finely diced for even infusion |
| Garlic Cloves 🧄 | 3 cloves | Minced for maximum aroma release |
| Fresh Thyme Sprigs 🌿 | 4 sprigs | Leaves stripped from stems |
| Bay Leaf 🍃 | 1 whole | Removed before serving |
| Lemon Peel 🍋 | 1 piece | 2-inch strip, no pith |
| Ground Cumin 🌶️ | ½ tsp | Toasted briefly in fat first |
| Kosher Salt 🧂 | ¾ tsp | Diamond Crystal preferred |
| Freshly Ground Black Pepper 🌶️ | ½ tsp | Added at the end |
| Dried Rosemary 🌿 | ½ tsp | Crushed to release oils |
The stock is non-negotiable for depth of flavor—homemade chicken stock delivers the cleanest taste, but Better Than Bouillon paste dissolved in hot water works in a pinch. For the butter, Plugrá or European-style has higher fat content, which means better bloom for your aromatics. The rice itself should be long-grain (jasmine or basmati) for separate, fluffy grains. Avoid instant rice; it lacks the structure to hold the infusion.
No fresh thyme? Dried thyme at one-third the amount works, but add it with the liquid, not the fat—burnt dried herbs taste bitter. Substitute lemon zest for the peel if you’re short on time (just add it at the end). For a vegetarian version, vegetable stock with a splash of white wine adds complexity. Skip the bay leaf if you must, but the cumin is doing heavy lifting here—don’t omit it.
Cooked rice holds for 4-5 days refrigerated, but the aroma fades after day two. Reheat with a splash of water and a pat of butter to revive. For make-ahead, cook the rice halfway, spread on a tray to cool, then finish with the infusion when ready to serve. This prevents mushy grains.
Why You’ll Love This Recipe
- One Pot Magic: I toss everything in together and let the rice soak up the chicken stock and butter while I do something else.
- Golden Depth: The onions and garlic caramelize in the butter, giving every bite this rich, savory warmth.
- Pairs With Anything: Honestly, it’s my base for stir-fry one night and a side for roasted chicken the next.
- Stretches Far: A single batch makes enough for leftovers, and it reheats just as good the next day.
Step-by-Step Instructions for Infused Rice
Master the technique of building layered flavor through careful aromatic and liquid preparation.
Step 1: Toast Aromatics in Fat
Melt the 2 tbsp unsalted butter in a heavy saucepan over medium heat. When it stops foaming, add the finely diced yellow onion and cook for 3-4 minutes until translucent and just beginning to caramelize.
Add the minced garlic cloves, 0.5 tsp ground cumin, and 0.5 tsp dried rosemary, stirring constantly for 1 minute until fragrant. The cumin should deepen in color slightly and the garlic should not brown—this indicates their essential oils are releasing into the fat.
Step 2: Build the Infusion Base
Pour in the 2.5 cups chicken stock, then add the 4 sprigs fresh thyme sprigs, 1 whole bay leaf, and 1 piece lemon peel. Increase heat to medium-high and bring to a gentle boil.
This is where the magic happens—the stock will take on the complex aromatics from the toasted spices, herbs, and citrus. Let it simmer for 2-3 minutes to allow the flavors to meld before adding the rice. The liquid should smell brightly aromatic with no raw garlic or onion notes remaining.
Step 3: Cook the Rice to Absorption
Add the 1.5 cups long-grain white rice and 0.75 tsp kosher salt to the simmering liquid. Stir once to distribute the grains, then do not stir again—this prevents releasing excess starch and creating gummy rice.
Reduce heat to low, cover tightly, and cook for 18-20 minutes. You want the liquid to absorb completely and the rice to become tender. Resist the urge to peek during cooking—each time you lift the lid, you release precious steam and extend the cooking time.
Step 4: Rest and Finish
Remove from heat and let the rice rest covered for 10 minutes. This crucial step allows the grains to steam in their own moisture, becoming uniformly tender and fluffy.
Discard the thyme sprigs, bay leaf, and lemon peel. Stir in the 0.5 tsp freshly ground black pepper and fluff the rice gently with a fork. The grains should be separate yet moist, with each bite carrying the layered flavors of the aromatic infusion.
Pro Tips For Making Infused Rice
- Toast the Rice: Cook the rice in butter for 2-3 minutes before adding liquid—this deepens the nutty flavor and prevents a mushy texture. I learned this the hard way after too many bland batches.
- Sauté Onions Slow: Let the yellow onions soften fully in butter for 8-10 minutes before adding garlic; rushing this step leaves a harsh raw bite. Sounds tedious, but it actually changes the outcome.
- Skip Cold Stock: Use warm chicken stock straight from the tap or microwave—adding cold liquid drops the temperature and makes the rice take forever to cook. My grandmother swore by this, and she was right.
- Rest Before Serving: Let the rice sit covered for 5-10 minutes off the heat after cooking. This lets the grains absorb the last of the infused liquid and steam to perfect fluffiness.
Dietary Considerations for This infused rice
Gluten-Free Friendly
This dish is naturally gluten-free, as long as you use certified gluten-free rice. I prefer Lundberg Family Farms for their dedicated gluten-free facility, which prevents cross-contamination. Always check your chicken stock label—some brands add wheat as a thickener. 💪
Vegetarian Adaptation
Swap the chicken stock for vegetable stock—I recommend Imagine Foods or Swanson for clean flavor. The aromatic base remains the same, delivering the same depth without meat. For extra umami, add 1 tsp soy sauce to the stock.
Vegan Version
Use olive oil instead of butter and vegetable stock to make this fully vegan. The flavor infusion works just as well with plant-based fats. I’ve tested this with California Olive Ranch oil with great results.
Low-Sodium Option
Use low-sodium chicken stock and reduce the added salt to ¼ tsp. The natural sodium in the stock provides enough seasoning. Taste before serving and adjust with flaky sea salt at the table if needed. ✨
Allergen Notes
This recipe contains no common allergens, but always verify your stock and rice packaging. For onion-free versions, skip the diced onion and add ½ tsp onion powder with the cumin. The garlic can be omitted without substitution.
Diabetic Considerations
White rice has a high glycemic index, so for diabetic diets, consider using brown rice or cauliflower rice. If using brown rice, increase liquid to 3 cups and cooking time to 40-45 minutes. The infusion technique works identically.
Nutrition Facts
Frequently Asked Questions
Can I use brown rice for this method?
Yes, but increase liquid to 3 cups and cook for 40-45 minutes. Brown rice needs more water and time to absorb the infusion fully. The flavor profile remains just as rich.
What if my rice turns out mushy?
Avoid stirring after adding rice and ensure tight lid coverage. Peeking releases steam, causing uneven cooking. Use the exact 1.5 cups rice to 2.5 cups liquid ratio for perfect texture.
Can I make this in a rice cooker?
Sauté aromatics in a pan first, then transfer to the rice cooker with rice and liquid. Use the standard white rice setting. The infusion process works the same way.
How do I store leftovers?
Keep in an airtight container for 4-5 days refrigerated. Reheat with a splash of water and butter to restore moisture and aroma. Freezing isn’t recommended.

- Mujadara Rice and Lentils Recipe: Earthy Spiced Lentils With Caramelized Onions - November 1, 2026
- Naija Fried Rice Recipe: Street-Style Spice With Veggie Crunch - November 1, 2026
- Mushy Rice Recipe: Fluffy Grains Transformed in Minutes - November 1, 2026