
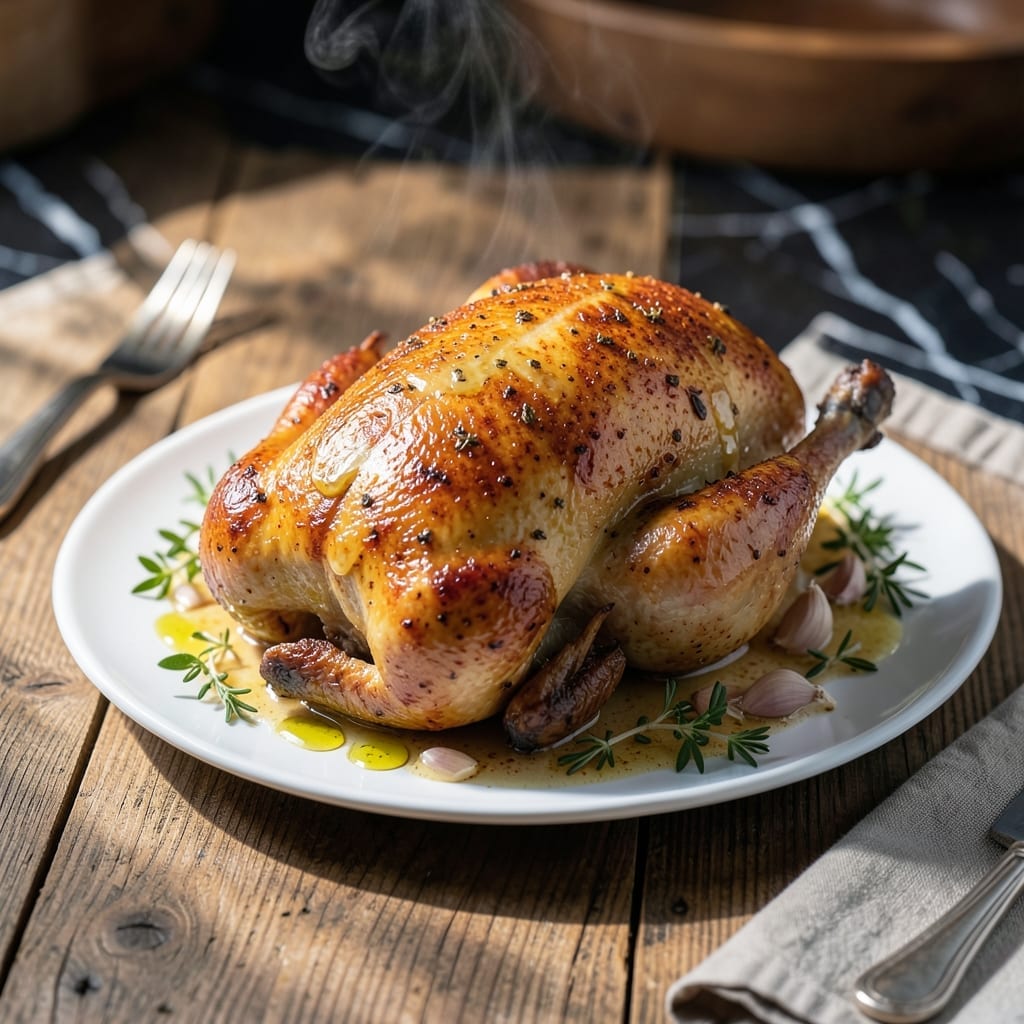
This injection method revolutionizes how you cook chicken, guaranteeing moist results that stay juicy throughout the cooking process. I’ve tested numerous approaches, and this technique consistently delivers the best texture and flavor penetration.
The process involves carefully injecting a flavorful marinade directly into the meat, ensuring every bite is infused with taste. It works beautifully with whole chickens, breasts, or thighs, and requires minimal additional prep time.
You’ll achieve tender, succulent chicken that retains its natural juices while absorbing the injection liquid’s flavors. The exterior develops a beautiful golden color, while the interior remains perfectly moist.
Whether grilling, smoking, or oven-roasting, this method elevates your chicken to new heights of flavor and texture.
Ingredients for Inject Chicken
Pantry staples and a few fresh ingredients transform chicken into something extraordinary.
| Ingredient | Amount | Notes |
|---|---|---|
| Whole Chicken 🍗 | 4 lb | Or 4 chicken breasts or 8 thighs |
| Chicken Broth 🍲 | 2 cups | Low-sodium preferred for control |
| Unsalted Butter 🧈 | ½ cup | Melted for injection liquid |
| Garlic Cloves 🧄 | 6 cloves | Minced for maximum flavor infusion |
| Worcestershire Sauce 🫒 | 2 tbsp | Adds depth and umami complexity |
| Dijon Mustard 🟡 | 1 tbsp | Smooth variety for even distribution |
| Lemon Juice 🍋 | 2 tbsp | Freshly squeezed for brightness |
| Hot Sauce 🌶️ | 1 tsp | Optional, adjust to preference |
| Onion Powder 🧅 | 1 tsp | Balances the injection liquid |
| Paprika 🌶️ | 1 tsp | Smoked or sweet variety works |
| Kosher Salt 🧂 | 1 tsp | Diamond Crystal preferred for even seasoning |
| Black Pepper 🌶️ | ½ tsp | Freshly ground for best results |
| Olive Oil 🫒 | 1 tbsp | For rubbing exterior before cooking |
The chicken itself is the foundation—whole birds from Costco give you the best value, but bone-in, skin-on thighs are my go-to for extra juiciness (and they’re almost foolproof). For the broth, Better Than Bouillon is my secret weapon—just mix with hot water. If you’re injecting a whole bird, make sure it’s fully thawed (cold meat makes injection harder and uneven).
Out of Worcestershire? Soy sauce plus a pinch of sugar works in a pinch. No Dijon? Yellow mustard at half the amount—just know the flavor will be milder. The hot sauce is totally optional (I skip it for the kids), but Crystal or Tabasco add a nice kick without overpowering. If you’re cooking for a crowd, double the injection liquid—you’ll regret not having enough.
The injection liquid keeps in the fridge for 3 days, but honestly it’s best used fresh. Cooked chicken stays moist for 4 days refrigerated. Leftovers? Shred for tacos or sandwiches—still tastes amazing.
Why You’ll Love This Recipe
- One Pan Wonder: I just toss the chicken in, inject it with that buttery garlic-Worcestershire mix, and let the oven do the rest.
- Rich Juicy Bite: The broth and butter injection keeps every piece impossibly moist with that deep, savory punch.
- Weekend to Weeknight: Honestly, I’ve served this for Sunday dinner and packed leftovers for lunch—equally good both times.
- Stretches Far: One whole chicken feeds my family for two meals, and the bones make killer stock afterward.
Step-by-Step Instructions for Injecting Chicken
Here’s the method I’ve perfected for juicy, flavor-packed chicken that never dries out.
Step 1: Prepare the Injection Liquid
In a saucepan over medium heat, melt the 0.5 cup Unsalted Butter with the 2 cups Chicken Broth. As it warms, whisk in the 2 tbsp Worcestershire Sauce, 1 tbsp Dijon Mustard, 2 tbsp Lemon Juice, 1 tsp Hot Sauce, 1 tsp Onion Powder, and 1 tsp Paprika until fully combined.
Bring the mixture to a gentle simmer, then remove from heat. Let it cool to room temperature—this is crucial. Injecting hot liquid can begin cooking the chicken prematurely, leading to uneven texture. The mixture should be smooth with no separated butter.
Step 2: Inject the Chicken Thoroughly
Pat the 4 lb Whole Chicken dry with paper towels. Using a meat injector, fill it with the cooled injection liquid. I start by injecting deep into the breast meat, then move to the thighs and legs. Aim for 1-2 tablespoons of liquid per injection site, distributing it evenly throughout the bird.
Work systematically: inject the thickest parts first, then move to thinner sections. You’ll notice the chicken plumping up as it absorbs the liquid. Don’t rush—this step ensures every bite is infused with flavor. If you hit bone, pull back slightly and redirect the needle.
Step 3: Season and Prep for Cooking
Rub the entire surface of the chicken with the 1 tbsp Olive Oil. This creates a base for the dry seasoning to adhere. In a small bowl, combine the 1 tsp Kosher Salt and 0.5 tsp Black Pepper, then sprinkle this evenly over all sides of the chicken.
I like to get my hands in there and really work the seasoning into every crevice. Don’t forget the cavity—season inside as well. For extra flavor, I sometimes add a few of the 6 cloves Garlic Cloves (minced) to the cavity before cooking. Let the seasoned chicken rest for 15-20 minutes while your cooking method preheats.
Step 4: Cook to Perfection
Preheat your grill, smoker, or oven to 375°F. For oven cooking, place the chicken breast-side up on a rack in a roasting pan. For grilling or smoking, position it over indirect heat. The injection liquid will keep the meat moist throughout the cooking process.
Cook until the internal temperature reaches 165°F in the thickest part of the breast and 175°F in the thickest part of the thigh. This usually takes about 1 hour 15 minutes to 1 hour 30 minutes for a whole chicken, depending on your cooking method. Baste the chicken with any remaining injection liquid halfway through cooking for extra flavor.
Pro Tips For Making Inject Chicken
- Warm the Broth: Heat your chicken broth to just below boiling before injecting—cold liquid makes the meat seize up and can leave pockets of unabsorbed flavor.
- Mince Garlic Fine: Press or finely mince the garlic cloves before mixing with butter and Worcestershire, or you’ll get uneven bursts of raw garlic instead of smooth, balanced flavor in every bite.
- Avoid Overfilling: Inject slowly and don’t force too much liquid into one spot—I learned this the hard way when my first few chickens leaked broth all over the pan instead of staying juicy.
- Rest Before Roasting: Let the injected chicken sit uncovered in the fridge for 30 minutes after injecting so the broth settles into the meat instead of pooling at the bottom during cooking.
Common Mistakes When Making Great inject chicken
Over-injecting the Meat
It’s easy to get carried away with the injector, but too much liquid creates pockets that can burst during cooking, leading to uneven texture. Stick to 1-2 tablespoons per injection site and space them 1-2 inches apart. I learned this the hard way with a soggy first attempt. 💡
Using Hot Injection Liquid
Injecting hot liquid will start cooking the chicken immediately, resulting in dry spots where the heat hit first. Always let your mixture cool to room temperature before injecting. I place mine in the freezer for 10 minutes to speed this up when I’m in a hurry.
Skipping the Dry Run
Pat the chicken completely dry before injecting to help the liquid distribute evenly. Moisture on the surface can cause the injection liquid to bead up and roll off rather than absorb. Use paper towels and press firmly to remove all surface moisture.
Uneven Injection Distribution
Focus on the thickest parts first—the breasts and thighs—then work to thinner sections. Inject at multiple angles to ensure full coverage. I use a grid pattern on whole chickens to hit every major muscle group.
Ignoring the Needle Depth
Don’t inject too shallow or you’ll just flavor the surface. Go deep—about 1 inch into the meat—but avoid hitting bones. If you feel resistance, pull back slightly and redirect. A 2-3 inch needle works best for most chicken pieces.
Forgetting to Rest
After injecting, let the chicken rest for at least 15 minutes before cooking. This gives the liquid time to distribute throughout the meat. Skipping this step means your injection efforts might pool and leak out during cooking. 🔥
Nutrition Facts
Frequently Asked Questions
What’s the best injector for this method?
A 2-3 inch needle meat injector works best for most chicken pieces. Look for one with a large 1 oz capacity to minimize refills. Stainless steel is easiest to clean.
Can I use this method for turkey?
The same technique works perfectly for turkey. Just increase the injection liquid quantity and use a longer needle to reach deeper into the meat.
How do I store leftover injection liquid?
Keep it in an airtight container in the fridge for up to 3 days. Reheat gently before using, but ensure it’s cooled to room temperature before injecting.
Why does my chicken sometimes leak liquid?
This happens if you inject too much in one spot or don’t let the chicken rest after injecting. Space injections 1-2 inches apart and rest for 15 minutes before cooking.

- Rice A Roni Pork Fried Rice Recipe: Quick Wok-Style Meal with Savory Bites - September 25, 2026
- Mandhi Rice Recipe: Yemeni Spiced Lamb and Rice Feast - September 25, 2026
- Chuy’s Green Chili Rice Copycat Recipe: Spicy Southwest Flavor in Every Bite - September 25, 2026