
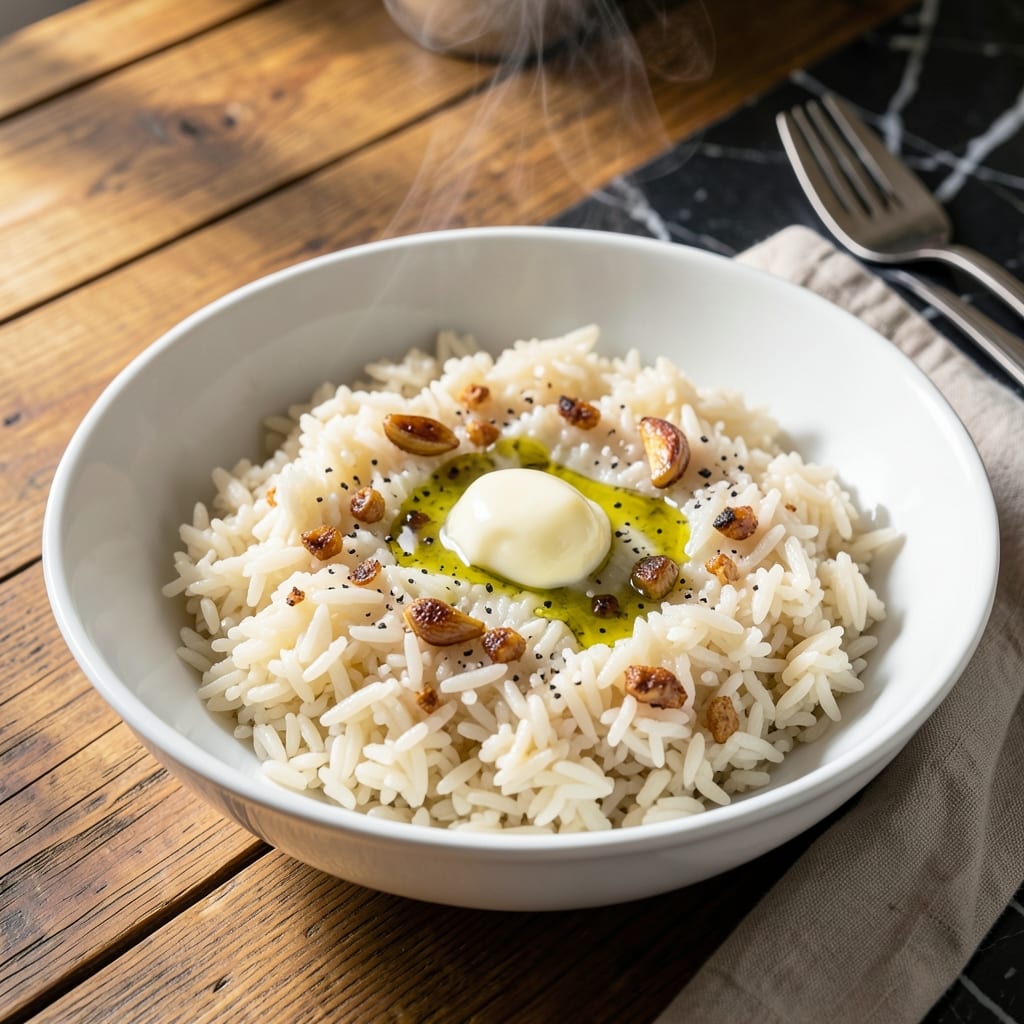
Making perfect rice in an instant cooker is simpler than most realize. This method delivers fluffy, separate grains every time with minimal effort.
After testing ratios and times in my small Boston kitchen, I found the ideal balance. The cooker’s pressure creates steam that penetrates each grain evenly, eliminating guesswork.
What results is rice that’s tender yet firm, with no sticky clumps or dry spots. The process is nearly foolproof, even for beginners.
Ready in 15 minutes, this becomes a reliable staple for busy weeknights.
Ingredients for Instant Cooker Rice
Minimal ingredients, maximum fluff. Ready in a flash for perfect rice every time.
| Ingredient | Amount | Notes |
|---|---|---|
| Long-Grain White Rice 🍚 | 2 cups | Rinsed until water runs clear |
| Water 💧 | 2 ½ cups | Filtered or distilled preferred |
| Kosher Salt 🧂 | ½ tsp | Diamond Crystal brand recommended |
| Unsalted Butter 🧈 | 1 tbsp | Optional, for richness |
| Garlic Cloves 🧄 | 2 cloves | Minced, optional for flavor |
| Olive Oil 🫒 | 1 tbsp | Extra-virgin for depth |
| Bay Leaf 🌿 | 1 whole | Removed before serving |
| Fresh Parsley 🍃 | 2 tbsp | Chopped, for garnish |
| Lemon Juice 🍋 | 1 tsp | Freshly squeezed, optional |
| Vegetable Broth 🥕 | ½ cup | Low-sodium for control |
The rice is the star here—long-grain white rice (jasmine or basmati) gives you those separate grains. Rinsing is non-negotiable; it removes excess starch that causes stickiness. I grab mine from Trader Joe’s or the bulk bins at Whole Foods. Water ratio matters more than you think—too much and you get mush, too little and it’s crunchy. Stick to the 1:1.25 rice-to-water ratio for foolproof results.
No long-grain white? Basmati or jasmine work identically (they’re technically long-grain anyway). Swap water for vegetable or chicken broth for extra flavor—just reduce any added salt. Skipping the rinse? Use 2 tbsp less water to compensate for the starch. Butter can be olive oil or coconut oil if you’re avoiding dairy. Fresh herbs like thyme or cilantro can stand in for parsley.
Cooked rice keeps 4-5 days in the fridge, though it’s best fresh. Reheat with a splash of water to revive the texture. Freeze for up to 6 months in portions—perfect for meal prep. Pro tip: spread on a tray to cool before storing to prevent sogginess.
Why You’ll Love This Recipe
- Set It and Forget: I toss everything in the instant cooker, press a button, and walk away—no stirring, no watching the pot.
- Garlic Butter Magic: The butter and garlic infuse into every grain, making plain rice taste like a restaurant side dish.
- Meal Prep Hero: I make a big batch Sunday and pair it with proteins and veggies all week.
- Pennywise Perfection: Long-grain rice and a few pantry staples stretch into multiple meals without breaking the bank.
Step-by-Step Instructions for Instant Cooker Rice
Here’s the method I use every time to get perfectly fluffy rice with zero guesswork.
Step 1: Rinse and Toast the Rice
First, rinse the 2 cups Long-Grain White Rice under cold water until the water runs completely clear. This removes excess starch that can make your rice gummy. I like to swirl it around with my hand to ensure every grain gets rinsed.
Next, set your instant cooker to the sauté function. Add the 1 tbsp Olive Oil and 1 tbsp Unsalted Butter, then add the drained rice. Toast for 2-3 minutes, stirring frequently, until the rice becomes slightly translucent and smells nutty. Don’t let it brown—just a light toast to enhance flavor.
Step 2: Sauté Aromatics for Depth
Add the 2 cloves minced Garlic Cloves to the rice and cook for 30 seconds, stirring constantly. Garlic burns quickly, so keep it moving. The aroma should be fragrant but not sharp or bitter.
Toss in the 1 whole Bay Leaf and stir for another 10 seconds just to wake up its flavors. The bay leaf adds a subtle earthy note that complements the rice beautifully. This quick sauté step builds a flavor foundation that makes the dish taste far from basic.
Step 3: Add Liquids and Pressure Cook
Pour in the 2.5 cups Water and 0.5 cup Vegetable Broth, then stir to combine. Add the 0.5 tsp Kosher Salt and give it another quick stir. The liquid should come about 1 inch above the rice—this is the perfect ratio for fluffy grains.
Secure the lid on your instant cooker and set it to cook on high pressure for 3 minutes. Yes, just 3 minutes—the instant cooker does the rest. Once the cooking cycle finishes, let the pressure release naturally for 10 minutes, then quick-release any remaining pressure. This natural release prevents the rice from becoming mushy.
Step 4: Fluff and Finish with Freshness
Carefully remove the lid and discard the Bay Leaf. Using a fork, gently fluff the rice to separate the grains. The rice should be tender, with each grain distinct and not clumped together. If there’s any excess liquid at the bottom, let it sit covered for another 2-3 minutes to absorb fully.
For a bright finish, drizzle the 1 tsp Lemon Juice over the rice and sprinkle with the 2 tbsp Fresh Parsley. The lemon juice adds a subtle acidity that balances the richness, while the parsley brings freshness and color. Stir gently to distribute, then serve immediately while hot and fluffy.
Pro Tips For Making Instant Cooker Rice
- Rinse the Rice: I learned this the hard way—unrinsed rice turns gummy in the instant cooker. A quick rinse removes excess starch and guarantees fluffier grains.
- Sauté the Garlic: Sounds weird, but it works: blooming the garlic in butter for 30 seconds before adding water adds way more flavor than dumping it in raw.
- Use Less Water: After burning three batches, I finally figured out instant cookers need about 10% less water than stovetop—start with a 1:1 rice-to-water ratio.
- Let It Steam: My grandmother swore by this, and she was right: let the rice sit in the cooker for a full 10 minutes after cooking—no peeking.
Storing and Reheating This Dish
Refrigerator Storage
Let the rice cool completely before storing—spread it on a tray to speed this up. Transfer to airtight containers and refrigerate at 40°F or below for up to 4 days. I use glass containers from Pyrex for visibility and easy reheating.
Freezer Storage
For longer storage, portion the rice into freezer bags, squeezing out excess air. It freezes well for 6 months without texture loss. I love using quart-size bags for single-serving portions. Label with the date to track freshness.
Stovetop Reheating
Add the rice to a skillet with 2 tbsp water or broth and heat over medium-low for 5-7 minutes. Stir occasionally to break up any clumps. This method revives the texture beautifully, almost like freshly made. 🔥
Microwave Reheating
Place rice in a microwave-safe dish, sprinkle with 1 tbsp water, and cover with a damp paper towel. Heat on 50% power for 1-2 minutes, stir, then repeat until hot. This prevents drying out.
Pro Storage Tip
If your rice seems dry after storage, add a splash of liquid before reheating. Vegetable broth works better than water for flavor. I learned this the hard way after a batch dried out in my tiny Boston kitchen.
Meal Prep Friendly
This rice is perfect for weekly meal prep. Cook a big batch, store in portions, and reheat as needed. It pairs well with proteins and veggies all week long, saving time and stress. 💡
Nutrition Facts
Frequently Asked Questions
Do I need to rinse the rice first?
Yes, rinsing removes excess starch that can make rice gummy. Swirl in cold water until it runs clear for best results.
Can I use brown rice instead?
Yes, but increase water to 3 cups and cook time to 22 minutes on high pressure. Brown rice needs more liquid and time.
Why did my rice turn out mushy?
Likely too much water or not enough natural pressure release. Stick to the 1:1.25 rice-to-water ratio and let it sit for 10 minutes after cooking.
Can I double this recipe?
Yes, but never exceed 2/3 full capacity in your cooker. Double all ingredients and keep the 3 minute cook time.

- Indian Jasmine Rice Recipe: Fragrant Basmati-Free Elegance - October 19, 2026
- KFC Rizo Rice Recipe: Copycat Side Dish With Savory Spice Blend - October 19, 2026
- Jeerakasala Rice Recipe: Fragrant Cumin-Infused Kerala Delight - October 19, 2026