
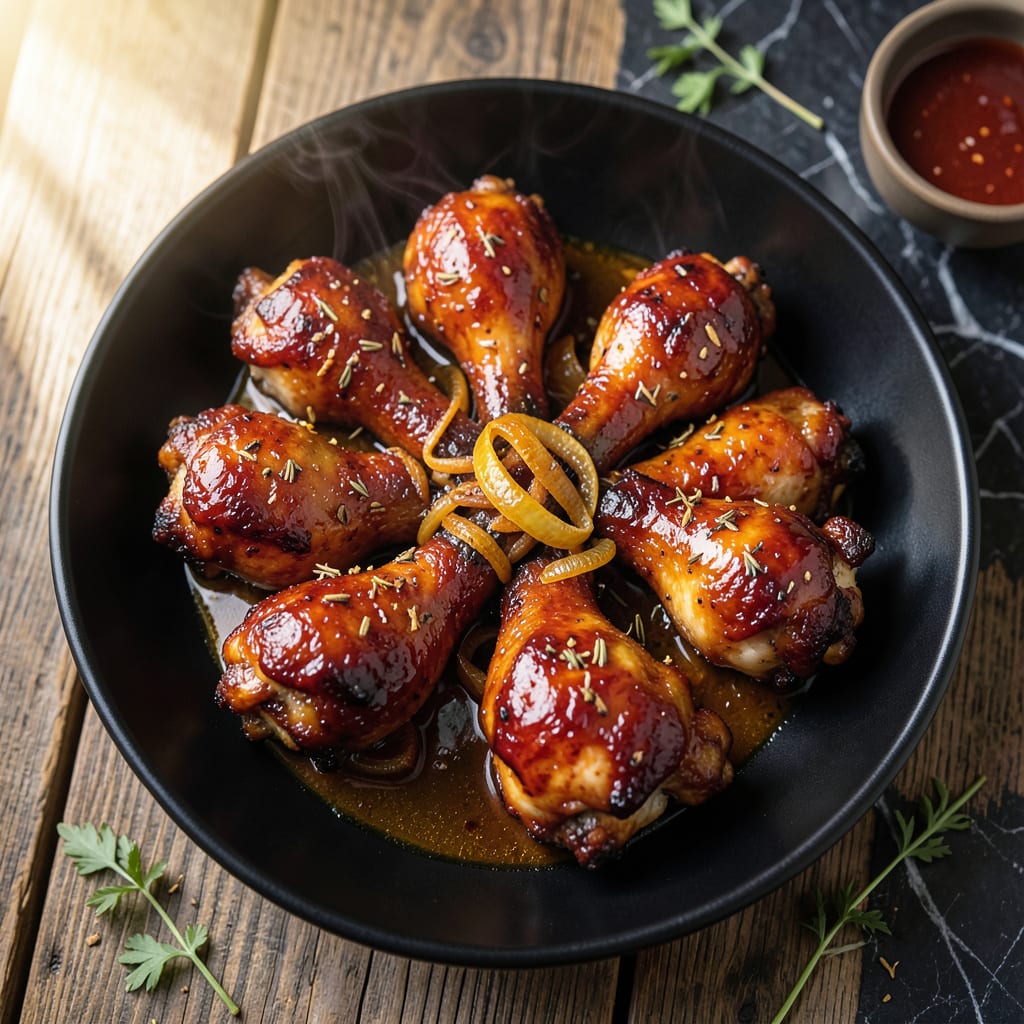
I’ve perfected a method for Instant Pot BBQ chicken drumsticks that guarantees fall-off-the-bone tenderness every time. The pressure cooker locks in moisture while infusing the meat with smoky barbecue flavor.
With just 30 minutes and minimal effort, you’ll have juicy, flavorful drumsticks ready for any weeknight meal. The secret lies in the quick sear followed by pressure cooking for maximum tenderness.
Ingredients for Instant Pot Bbq Chicken Drumsticks
Pantry staples plus chicken drumsticks. That’s all you need for this.
| Ingredient | Amount | Notes |
|---|---|---|
| Chicken Drumsticks 🍗 | 2 ½ lb | Skin-on, bone-in preferred |
| Barbecue Sauce 🍯 | 1 ½ cups | Your favorite brand or homemade |
| Olive Oil 🫒 | 1 tbsp | For searing chicken |
| Chicken Broth 🥣 | ¾ cup | Low-sodium preferred |
| Apple Cider Vinegar 🍏 | 1 tbsp | Balances sweetness |
| Brown Sugar 🍚 | 2 tbsp | Light or dark variety |
| Garlic Powder 🧄 | 1 tsp | Not garlic salt |
| Onion Powder 🧅 | 1 tsp | Fresh ground preferred |
| Smoked Paprika 🌶️ | 1 tsp | Adds depth of flavor |
| Dried Thyme 🍃 | ½ tsp | Crushed between fingers |
| Salt 🧂 | 1 tsp | Kosher or sea salt |
| Black Pepper 🌶️ | ½ tsp | Freshly ground preferred |
| Worcestershire Sauce 🍶 | 1 tbsp | Adds umami depth |
[recipeingredientscaler]
The chicken drumsticks are the star here. Skin-on, bone-in gives you the juiciest results—boneless just doesn’t hold up as well to the pressure cooking. I grab mine from Costco for the best price per pound, but any grocery store will do. Look for drumsticks that are similar in size so they cook evenly. If they’re huge, you might need to add a few extra minutes under pressure.
No barbecue sauce on hand? Ketchup plus a splash of vinegar and brown sugar gets you close in a pinch. Fresh out of apple cider vinegar? White vinegar or lemon juice works too (just reduce to 2 tsp). The Worcestershire sauce adds that deep, savory note—soy sauce or coconut aminos can sub in if needed. For a sweeter glaze, add an extra tablespoon of brown sugar.
Leftovers keep beautifully—actually taste better the next day. Store in an airtight container for up to 4 days in the fridge or freeze for 3 months. Reheat in the Instant Pot or oven to keep the chicken from drying out.
Why You’ll Love This Recipe
- Set and Forget: I toss everything in the Instant Pot, press a button, and walk away—no babysitting required.
- Sticky Sweet Magic: The apple cider vinegar cuts through the rich barbecue sauce, making each bite tangy and finger-licking good.
- Weeknight Hero: Honestly, it’s my Tuesday lifesaver when I need dinner on the table fast but still want that slow-cooked taste.
- Budget Stretcher: Chicken drumsticks are cheap, and this recipe turns them into a meal that feels like a special treat.
Step-by-Step Instructions for Instant Pot BBQ Chicken Drumsticks
Here’s the method. Straightforward, tested, works every time.
Step 1: Season and Sear the Chicken Drumsticks
Pat the 2.5 lb Chicken Drumsticks dry with paper towels. In a bowl, combine 1 tsp Salt, 0.5 tsp Black Pepper, 1 tsp Garlic Powder, 1 tsp Onion Powder, 1 tsp Smoked Paprika, and 0.5 tsp Dried Thyme. Rub this mixture evenly over all the drumsticks.
Set your Instant Pot to the Sauté function and add 1 tbsp Olive Oil. Once hot, sear the drumsticks in batches for 2-3 minutes per side until golden brown. Don’t overcrowd the pot—this ensures a good sear rather than steaming. Remove and set aside.
Step 2: Create the Sauce Base
In the same pot, add 0.75 cup Chicken Broth, 1 tbsp Apple Cider Vinegar, 2 tbsp Brown Sugar, and 1 tbsp Worcestershire Sauce. Stir well to deglaze the bottom, scraping up all the browned bits. These flavorful bits will dissolve into the sauce, adding depth.
Let this mixture simmer for 1-2 minutes until the brown sugar fully dissolves. The liquid should look slightly syrupy. This base will combine with the barbecue sauce later to create a rich, sticky glaze.
Step 3: Pressure Cook to Tender Perfection
Return the seared drumsticks to the pot, stacking them if necessary. Pour 1.5 cups Barbecue Sauce evenly over the top. Secure the lid, set the valve to Sealing, and cook on High Pressure for 8 minutes.
The Instant Pot will take about 10-15 minutes to come to pressure before the cooking begins. Once done, let the pressure release naturally for 5 minutes, then quick-release any remaining pressure. This gradual release helps the drumsticks stay moist and tender.
Step 4: Finish and Thicken the Sauce
Remove the lid and set the Instant Pot to Sauté mode again. Simmer the drumsticks in the sauce for 3-5 minutes until the sauce thickens slightly and coats the back of a spoon. Stir occasionally to prevent sticking.
You’ll know it’s ready when the sauce has reduced and the drumsticks are fully coated with a glossy, sticky glaze. If the sauce is too thin, let it simmer a bit longer. If it’s too thick, add a splash of water or broth to loosen it.
Pro Tips For Making Instant Pot Bbq Chicken Drumsticks
- Brown the Drumsticks: Sear the chicken for 3-4 minutes per side in the Instant Pot first—it locks in flavor and keeps the meat from tasting steamed. I learned this the hard way after skipping it once and ending up with pale, sad drumsticks.
- Thin the Sauce: Add a splash of chicken broth to your barbecue sauce before pressure cooking, about 1/4 cup. It prevents the sauce from burning and makes it easier to coat the chicken evenly.
- Skip the Overcrowding: Don’t stack the drumsticks—arrange them in a single layer, even if it means doing two batches. Crowding steams the chicken instead of letting it cook properly, and you’ll end up with mushy skin.
- Finish with Vinegar: Stir in the apple cider vinegar at the end, not the beginning. It brightens the flavor of the barbecue sauce without making the chicken tough during cooking. Sounds weird, but it works.
Storing and Reheating This Recipe
Refrigerator Storage
Let your drumsticks cool for no more than 2 hours before transferring to airtight containers. They’ll keep in the fridge at 40°F or below for up to 4 days. I love using glass containers—they’re easy to stack and reheat. ❄️
Freezer Storage
For longer storage, freeze your drumsticks for up to 3 months without losing quality. I recommend using quart-sized freezer bags—they save space and thaw quickly. Squeeze out excess air to prevent freezer burn and label with the date.
Instant Pot Reheating
Add your drumsticks and ¼ cup Chicken Broth to the Instant Pot. Cook on High Pressure for 3 minutes, then quick-release. This method keeps them incredibly moist and tender. I do this for meal prep all the time. 🔥
Oven Reheating
Preheat your oven to 350°F and place drumsticks on a baking sheet. Cover with foil and reheat for 15-20 minutes. Uncover the last 5 minutes to let the sauce caramelize slightly.
Microwave Option
For a quick fix, microwave individual portions covered with a damp paper towel. Use 70% power for 2-3 minutes, stir, then heat in 30-second bursts until reaching 165°F. Add a splash of broth if they seem dry.
Nutrition Facts
Frequently Asked Questions
Do I need to sear the drumsticks first?
Searing is highly recommended for the best flavor and texture. It caramelizes the sugars and creates fond for the sauce. Skip it only if you’re in a hurry, but expect slightly less depth in flavor.
Can I use frozen drumsticks directly?
Yes, but add 5 minutes to the pressure cooking time. Thawed drumsticks cook more evenly, so thawing first is ideal. Never exceed 13 minutes total pressure time for safety.
How do I prevent the sauce from burning?
Always deglaze the pot thoroughly after searing. Add at least ½ cup liquid before pressure cooking. If the sauce thickens too much, stir in ¼ cup broth to loosen it.
What if my drumsticks aren’t falling off the bone?
They likely need more time. Return them to the pot with extra ½ cup broth, then pressure cook for another 3-5 minutes. Check tenderness before serving.

- Jollof Rice Sauce Recipe: West African Tomato and Spice Infusion - September 25, 2026
- Japanese Rice Soup Recipe: Umami-Rich Comfort in a Bowl - September 25, 2026
- Homemade Cream Of Rice Recipe: Silk-Smooth Breakfast in Minutes - September 25, 2026