
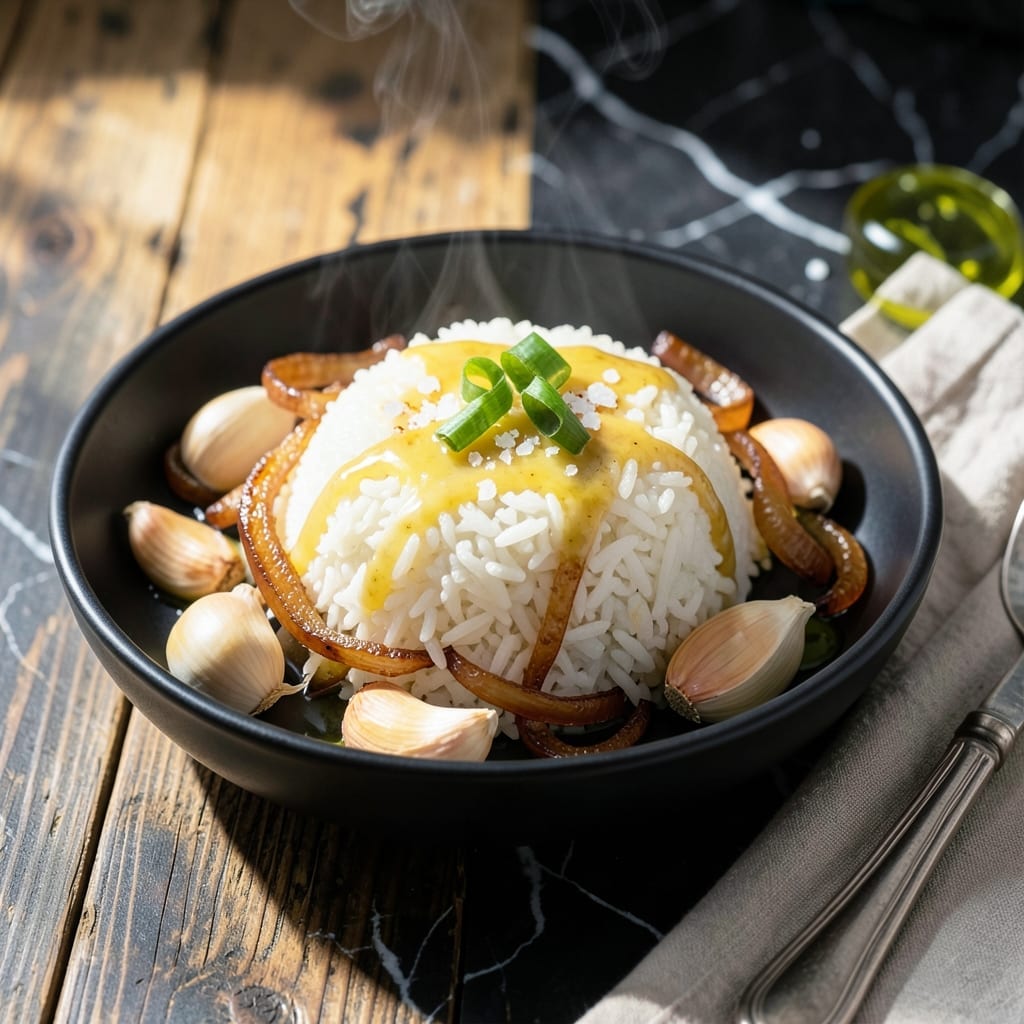
Achieving perfectly crispy rice in the Instant Pot Duo Crisp is simpler than you think. This method delivers golden, crunchy results every time without constant monitoring.
The Duo Crisp’s air fryer lid is the game-changer, transforming ordinary rice into something extraordinary. With precise temperature control and even air circulation, it creates that coveted crispy texture on the bottom layer.
What you get is rice with a satisfying crunch on the surface and fluffy, tender grains underneath. The process takes just minutes of active prep, with the machine handling the rest.
No special skills required—just follow the steps for restaurant-quality results at home. This technique works with white or brown rice for versatile meal options.
Ingredients for Instant Pot Duo Crisp Rice
Precision ingredients transform ordinary rice into golden crispy perfection with minimal effort.
| Ingredient | Amount | Notes |
|---|---|---|
| Jasmine Rice 🍚 | 2 cups | Rinsed until water runs clear |
| Water 💧 | 2 ½ cups | Or vegetable broth for extra flavor |
| Butter 🧈 | 2 tbsp | Unsalted, melted for crisping |
| Garlic Cloves 🧄 | 3 cloves | Minced for aroma |
| Onion 🧅 | ½ whole | Finely diced yellow onion |
| Sea Salt 🧂 | 1 tsp | Fine grain for even distribution |
| Black Pepper 🌶️ | ½ tsp | Freshly ground preferred |
| Olive Oil 🫒 | 1 tbsp | For sautéing aromatics |
| Soy Sauce 🥢 | 1 tbsp | Low-sodium or tamari |
| Sesame Oil 🫒 | ½ tsp | Toasted for finishing |
| Green Onions 🧅 | 3 whole | Thinly sliced for garnish |
| Eggs 🥚 | 2 whole | Optional for topping |
The rice quality matters here. Jasmine or short-grain white rice yields the best crispy bottom—avoid basmati as it stays too dry. Lundberg or Nishiki brands are reliable for consistent texture. Rinse thoroughly to remove excess starch, which can create a gummy layer instead of crisp. For brown rice, expect a slightly chewier texture but still excellent results.
Butter can be swapped for coconut oil (neutral flavor) or avocado oil for higher smoke points. Low-sodium soy sauce prevents over-salting—tamari works for gluten-free needs. No green onions? Chopped chives or cilantro add freshness. The eggs are optional but recommended—they soak up the crispy bits beautifully (trust me on this).
Leftover crispy rice reheats well in the air fryer for 2-3 minutes at 350°F. Store in an airtight container for up to 3 days—the texture softens but the flavor holds. For meal prep, crisp just before serving for best results.
Why You’ll Love This Recipe
- Set It & Forget: I toss in the rice, water, and butter, press a button, and walk away—no babysitting required.
- Garlic Butter Magic: The sizzle of garlic and onion in that crispy rice layer? Honestly, it’s the part I sneak bites of before serving.
- Meal Prep MVP: I make a double batch on Sunday and the leftovers reheat beautifully for lunches all week.
- Budget Stretch: A pound of jasmine rice, a few pantry staples, and I’ve got a filling side for pennies per serving.
Step-by-Step Instructions for Instant Pot Duo Crisp Rice
This method ensures perfectly cooked rice with a golden, crispy bottom using precise technique.
Step 1: Rinse and Prepare the Jasmine Rice
Place the 2 cups Jasmine Rice in a fine-mesh strainer and rinse under cold running water until the water runs completely clear. This removes excess starch that can make the rice gummy. I rinse for about 2-3 minutes, swirling the rice with my hand to ensure all grains are cleaned.
Drain well and transfer to a bowl. The rice should be damp but not dripping. This step is crucial for achieving the right texture in your final dish. Properly rinsed rice cooks up fluffy and separate, which is essential for the crisping process later.
Step 2: Sauté Aromatics and Toast the Rice
Set your Instant Pot to the Sauté function on medium-high heat. Add the 1 tbsp Olive Oil and 2 tbsp Butter. Once the butter melts, add the 0.5 whole Onion (finely diced) and cook for 3-4 minutes until translucent and beginning to soften.
Add the 3 cloves Garlic Cloves (minced) and cook for an additional 30 seconds until fragrant. Stir in the rinsed rice and cook for 2 minutes, stirring constantly, until the grains appear slightly translucent at the edges. This toasting step enhances the nutty flavor and prepares the rice for crisping.
Step 3: Pressure Cook the Rice to Perfection
Add the 2.5 cups Water, 1 tbsp Soy Sauce, 1 tsp Sea Salt, and 0.5 tsp Black Pepper to the pot. Stir to combine, making sure to scrape up any browned bits from the bottom. These flavorful bits will infuse the rice with depth as it cooks.
Secure the lid, set the valve to Sealing, and cook on high pressure for 3 minutes. After cooking, allow for a natural pressure release for 10 minutes, then quick-release any remaining pressure. The rice should be tender but still firm enough to crisp in the next step.
Step 4: Crisp the Rice to Golden Perfection
Remove the lid and switch the Instant Pot to the Air Fry function at 400°F. Use a silicone spatula to gently spread the rice into an even layer, pressing down lightly to create maximum surface contact. This ensures an even crisp across the bottom of the pot.
Air fry for 8-10 minutes until the bottom layer becomes deep golden brown and crispy. You’ll hear a slight sizzling and smell a nutty aroma when it’s ready. Avoid stirring during this process to maintain the crispy layer’s integrity.
Drizzle with the 0.5 tsp Sesame Oil and gently fold it in. This adds a final layer of aromatic richness to the dish.
Step 5: Garnish and Serve Immediately
Transfer the crispy rice to a serving dish. Top with the 3 whole Green Onions (thinly sliced) for a fresh, vibrant finish. For an optional protein boost, fry the 2 whole Eggs separately and place them on top. The contrast of the creamy egg with the crispy rice is exceptional.
Serve immediately while the bottom layer is still crisp. Each bite should deliver a perfect balance of tender rice, savory depth, and that coveted golden crunch that makes this dish irresistible.
Pro Tips For Making Instant Pot Duo Crisp Rice
- Rinse the Rice: Soak jasmine rice for 5 minutes in cold water, then rinse until the water runs clear—this removes excess starch so your crisp layer actually forms instead of turning gummy.
- Sauté the Aromatics: Cook the minced onion and garlic in butter on the sauté function until golden, about 3-4 minutes, before adding rice—this builds a flavor base that plain water can’t.
- Skip the Peeking: I learned this the hard way—resist the urge to open the lid during the crisping phase; the steam escape ruins the texture and adds 10+ minutes to your cook time.
- Use Cold Water: After deglazing, add cold water instead of hot to prevent the rice from cooking too fast and steaming instead of crisping at the bottom.
Serving Suggestions for This Dish
Breakfast Bowl Style
Top the crispy rice with the fried 2 whole Eggs and a sprinkle of green onions. The runny yolks mix with the crispy bits beautifully. Add a drizzle of sriracha for a spicy morning kick.
Asian-Inspired Toppings
Garnish with extra sesame oil, furikake seasoning, and pickled ginger for a Japanese twist. The crispy texture mimics the bottom of a perfectly cooked rice bowl. 🥢
Protein-Packed Meal
Add shredded rotisserie chicken or pan-seared shrimp on top. The protein soaks up the crispy rice flavors. A squeeze of lime brightens the whole dish.
Vegetable Medley
Stir in steamed broccoli, shredded carrots, and snap peas before serving. The veggies add color and crunch. I like to use 1 cup of mixed vegetables for balance.
Sauce Drizzles
Offer a variety of sauces on the side: soy sauce, chili oil, or a sweet teriyaki glaze. Each bite can be customized with different flavor profiles. 💫
Family-Style Service
Transfer to a large platter and let everyone serve themselves. The crispy layer stays intact longer this way. Great for sharing at gatherings.
Nutrition Facts
Frequently Asked Questions
What type of rice works best?
Use jasmine or short-grain white rice for the crispiest results. Avoid basmati as it stays too dry. Rinse thoroughly to remove excess starch for optimal texture.
Can I use brown rice instead?
Yes, but expect a chewier texture and slightly longer cooking time. Increase pressure cooking to 22 minutes and air frying to 12-15 minutes for best results.
Why didn’t my rice get crispy?
Ensure the rice is spread in an even layer and pressed down lightly. Avoid stirring during air frying. 400°F for 8-10 minutes is critical for that golden crust.
How do I store leftovers?
Keep in an airtight container for up to 3 days. Reheat in the air fryer at 350°F for 2-3 minutes to restore crispiness.

- Mujadara Rice and Lentils Recipe: Earthy Spiced Lentils With Caramelized Onions - November 1, 2026
- Naija Fried Rice Recipe: Street-Style Spice With Veggie Crunch - November 1, 2026
- Mushy Rice Recipe: Fluffy Grains Transformed in Minutes - November 1, 2026