
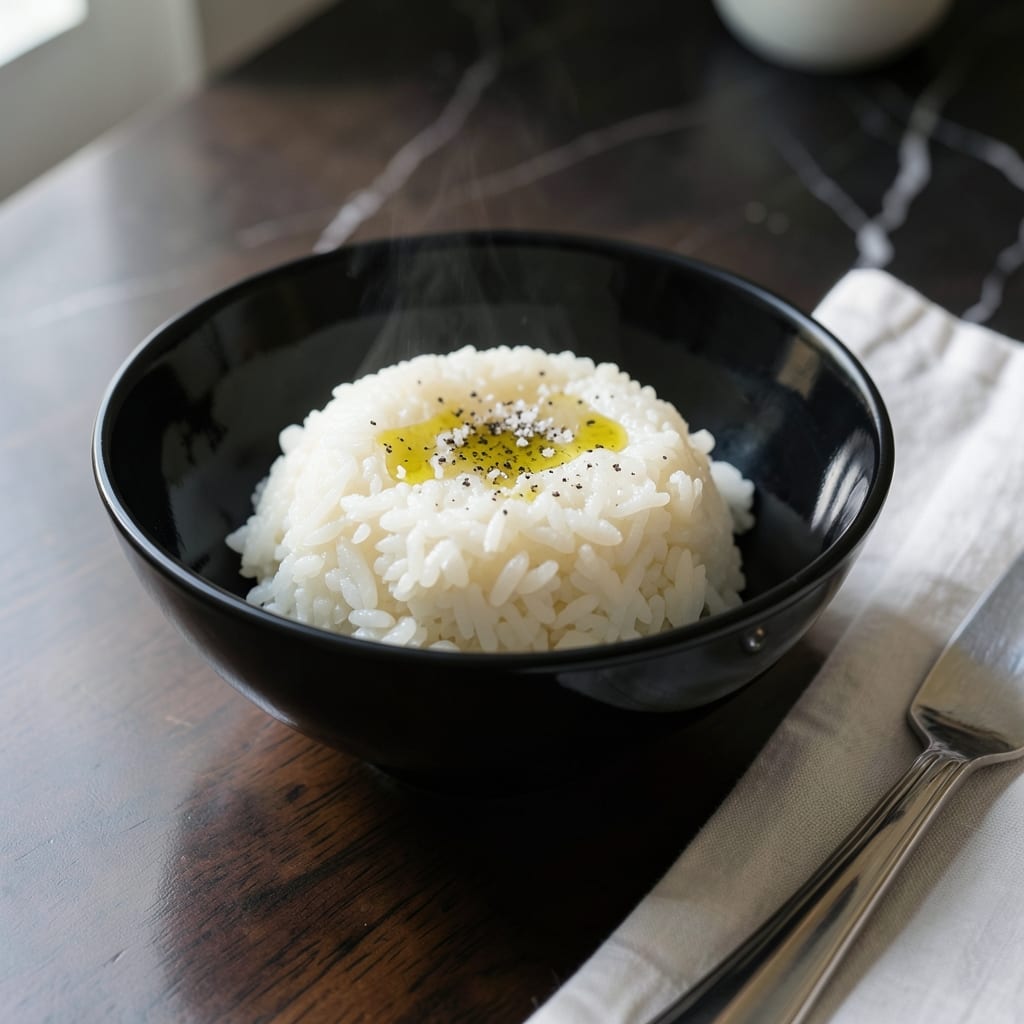
Achieving perfectly fluffy Japanese white rice at home requires just a few key techniques and attention to detail. This method delivers consistently tender grains with minimal effort and maximum flavor.
I developed this approach after years of testing ratios and cooking times in my own kitchen. The secret lies in proper rinsing, precise water measurements, and controlled heat—whether using a rice cooker or stovetop method.
What results is rice that’s sticky enough to hold its shape yet light enough to separate easily. The grains maintain their integrity while absorbing just the right amount of moisture for that ideal texture.
This foundation dish works as a side or base for countless meals. The process is straightforward once you understand the fundamentals.
Ingredients for Japanese White Rice
Minimal ingredients yield exceptional results with this precise method for Japanese-style rice.
| Ingredient | Amount | Notes |
|---|---|---|
| Japanese Short-Grain White Rice 🍚 | 2 cups | Rinsed until water runs clear |
| Water 💧 | 2.2 cups | Filtered for best texture |
| Kosher Salt 🧂 | ½ tsp | Diamond Crystal preferred |
| Rice Vinegar 🍶 | 1 tsp | Optional for subtle tang |
| Neutral Oil 🫒 | 1 tsp | For rinsing bowl prevention |
The rice selection is critical. Koshihikari or Nishiki brands offer superior texture for Japanese-style rice. These short-grain varieties contain higher amylopectin, creating the desired stickiness. Whole Foods and Asian markets typically stock these. Avoid long-grain varieties like jasmine or basmati—they lack the proper starch composition for authentic results.
No short-grain rice? Sushi rice works perfectly as it’s the same variety. The water ratio is non-negotiable—1:1.1 rice-to-water produces ideal texture. For extra flavor, use dashi or vegetable stock instead of water (maintain the same volume). The salt can be adjusted to taste, but don’t omit it entirely—it enhances the rice’s natural sweetness.
Uncooked rice stores indefinitely in a cool, dry place (keep it in an airtight container). Cooked rice stays fresh for 3-4 days refrigerated or 1 month frozen. Portion before freezing for easy reheating. Always bring to room temperature before microwaving to prevent drying out.
Why You’ll Love This Recipe
- One Pot Wonder: I just rinse, soak, and cook—no fancy steps, and the rice comes out fluffy every time.
- Sticky Perfection: That slightly sweet, tender bite from the short-grain rice with a hint of rice vinegar? I could eat it plain all day.
- Pairs With Anything: Honestly, it’s my base for sushi bowls, fried rice, or just a side with miso soup and grilled fish.
- Budget Stretch: A pound of rice feeds my family for days, and leftovers reheat like a dream with a splash of water.
Step-by-Step Instructions for Japanese White Rice
Here’s the method that gives you perfectly fluffy grains with minimal fuss and maximum flavor.
Step 1: Rinse the Rice Until Water Runs Clear
Place the 2 cups Japanese Short-Grain White Rice in a fine-mesh strainer and rinse under cold running water. I use my hand to gently agitate the grains, watching as the water turns from milky white to translucent.
This rinsing step removes excess starch that would otherwise make your rice gummy. Continue until the water runs completely clear—this usually takes 3-4 rinses. Real talk: skipping this step means sticky, clumpy rice instead of those beautiful separate grains.
Step 2: Soak and Season the Rice
Transfer the rinsed rice to your rice cooker or heavy pot. Add the 2.2 cups Water, 0.5 tsp Kosher Salt, 1 tsp Rice Vinegar, and 1 tsp Neutral Oil. The vinegar adds a subtle brightness, while the oil prevents sticking.
Let the rice soak in this mixture for 20-30 minutes before cooking. I’ve found this soaking period allows the grains to absorb moisture evenly, which is crucial for that ideal tender-yet-firm texture. You’ll notice the kernels plump up slightly during this time.
Step 3: Cook with Precise Heat Control
If using a rice cooker, simply start the cook cycle. For stovetop, bring the mixture to a boil over medium-high heat, then immediately reduce to low heat, cover, and simmer for 15 minutes. Watch for the moment the surface starts to bubble—that’s your signal to reduce the heat.
Don’t peek during cooking. The steam building inside is what cooks the rice perfectly. I know it’s tempting to check, but opening the lid releases that precious steam and can result in uneven cooking. The rice is done when all the liquid has been absorbed and the grains are tender.
Step 4: Rest and Fluff for Perfect Texture
Turn off the heat and let the rice sit, covered, for 10-15 minutes. This resting period allows the grains to steam and finish cooking gently. The rice will continue to absorb any remaining moisture, and the texture will become uniform throughout.
After resting, use a rice paddle or fork to gently fluff the rice from the bottom up. This separates the grains without crushing them. You’ll see each kernel should be distinct yet tender, with a slight gloss from the vinegar and oil. Serve immediately while hot and fluffy.
Pro Tips For Making Japanese White Rice
- Rinse Thoroughly: Wash the rice in 3-4 changes of cold water until it runs nearly clear—I learned this the hard way after ending up with gummy, starchy rice more than once.
- Soak 30 Minutes: Let the drained rice sit in water for at least 30 minutes before cooking; it guarantees even cooking and that perfect sticky texture.
- Use Exact Water Ratio: Stick to a 1:1.1 ratio of rice to water by volume—afterburning three batches, I finally figured out that precision here actually changes the outcome.
- Rest Before Serving: Give it a solid 10 minutes off the heat with the lid on—sounds weird, but it works and makes the grains fluffier.
Troubleshooting Perfect Results
Rice Stays Hard
If your grains are still firm after cooking, you likely used insufficient water. I always stick to the 1:1.1 rice-to-water ratio. Also, ensure the rice soaked for a full 20-30 minutes before cooking to allow proper absorption. 💡
Mushy Rice Texture
Over-rinsing or using too much water can lead to mushy results. Rinse until the water runs clear, but don’t exceed 4-5 rinses. Stick to the exact 2.2 cups water for 2 cups rice to prevent over-hydration.
Sticky or Gummy
Skipping the rinse step often causes gummy rice due to excess starch. I rinse every batch until the water is completely clear. After cooking, fluff with a fork to separate the grains and prevent clumping.
Burnt Bottom Layer
This happens when the heat is too high. For stovetop, use medium-high heat only until boiling, then immediately reduce to low heat. A heavy-bottomed pot helps distribute heat evenly. 🔥
Uneven Cooking
Resist the urge to peek while cooking. Lifting the lid releases steam, which can cause uneven cooking. Keep the lid closed and let the steam do its work for perfectly uniform grains.
Dry or Crumbly
If your rice turns out dry, it may have rested too long uncovered. After cooking, let it rest 10-15 minutes with the lid on to trap steam. If needed, add a splash of water and gently reheat.
Nutrition Facts
Frequently Asked Questions
Why rinse the rice before cooking?
Rinsing removes excess starch that can make rice gummy. Continue until water runs clear, usually 3-4 rinses. This ensures fluffy, separate grains.
Can I use a regular pot instead of a rice cooker?
Yes! Use a heavy-bottomed pot with a tight lid. Bring to boil over medium-high heat, then reduce to low heat and simmer for 15 minutes without peeking.
What’s the ideal rice-to-water ratio?
For perfect texture, use 1:1.1 rice-to-water. For 2 cups rice, that’s exactly 2.2 cups water. Never exceed this ratio.
How do I fix undercooked rice?
Add 2-3 tablespoons hot water, cover, and cook for 5 more minutes on low. Let rest 10 minutes to absorb steam.

- Jollof Rice Sauce Recipe: West African Tomato and Spice Infusion - September 25, 2026
- Japanese Rice Soup Recipe: Umami-Rich Comfort in a Bowl - September 25, 2026
- Homemade Cream Of Rice Recipe: Silk-Smooth Breakfast in Minutes - September 25, 2026