
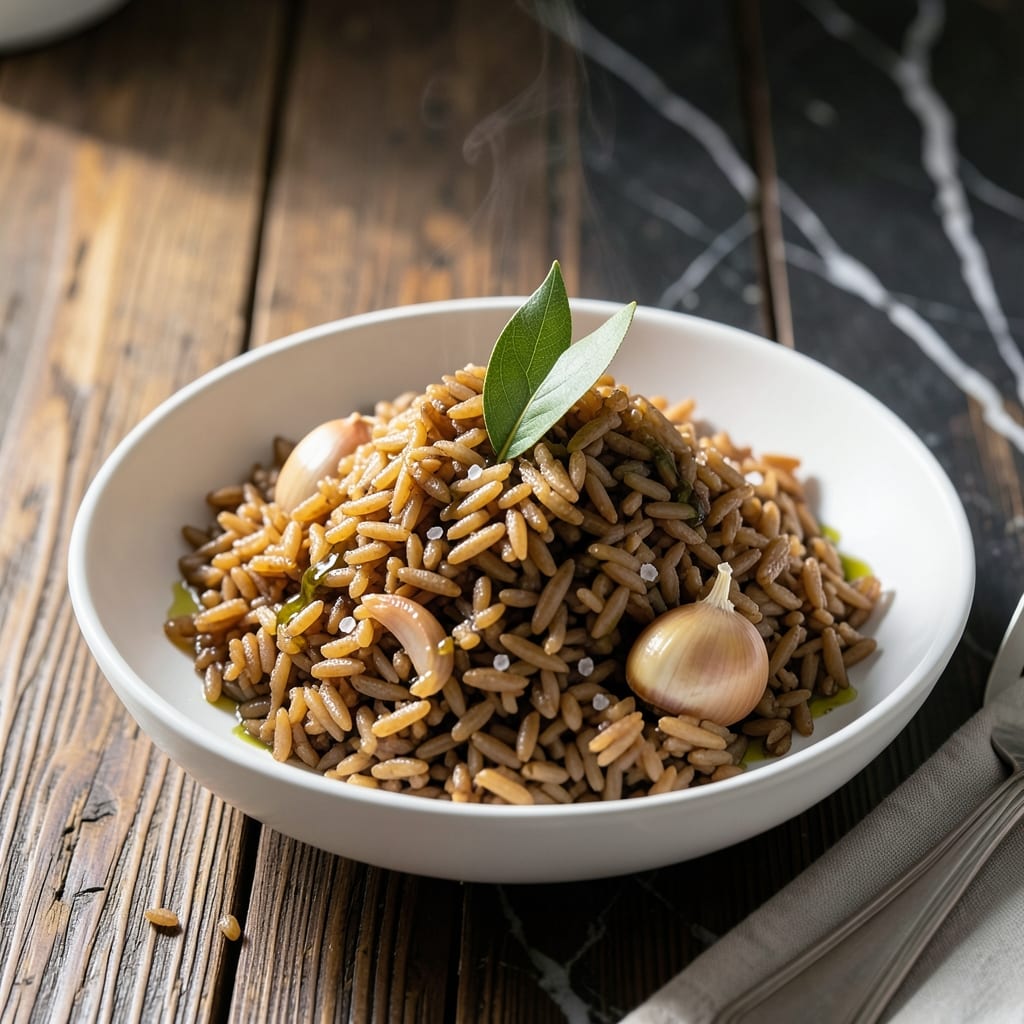
This method delivers perfectly fluffy long grain brown rice with minimal effort. The Instant Pot cuts traditional stovetop time in half while maintaining ideal texture.
With precise water ratios and pressure cooking, you’ll achieve consistent results every time. No more mushy or undercooked rice—just tender, separate grains ready for any meal.
Ingredients for Instant Pot Long Grain Brown Rice
Simple, whole-food ingredients for perfectly fluffy rice every single time with your pressure cooker.
| Ingredient | Amount | Notes |
|---|---|---|
| Long Grain Brown Rice 🌾 | 2 cups | Rinsed until water runs clear |
| Water 💧 | 2 ½ cups | Filtered preferred for best taste |
| Fine Sea Salt 🧂 | ½ tsp | Adjust to taste after cooking |
| Extra-Virgin Olive Oil 🫒 | 1 tbsp | Optional for added richness |
| Bay Leaf 🍃 | 1 whole | Optional for subtle aroma |
| Garlic Cloves 🧄 | 2 cloves | Minced, optional for flavor |
| Vegetable Broth 🥕 | ½ cup | Low-sodium preferred, optional |
| Lemon Juice 🍋 | 1 tsp | Freshly squeezed, optional |
| Fresh Parsley 🌿 | ¼ cup | Chopped, for garnish |
| Black Pepper 🌶️ | ¼ tsp | Freshly ground preferred |
The rice quality matters more than you think. Lundberg or Bob’s Red Mill long grain brown rice consistently delivers the best texture. Rinsing is non-negotiable—removes excess starch that can make the rice gummy. I’ve tested this with both organic and conventional rice, and organic tends to have a slightly nuttier flavor (worth the extra cost if you can swing it).
No Instant Pot? A sturdy stovetop pressure cooker works just as well. Out of vegetable broth? Water plus a bouillon cube gets you there. The olive oil can be swapped for avocado oil or omitted entirely. Want extra flavor? Stir in a pinch of turmeric or smoked paprika before cooking. The bay leaf and garlic are optional but highly recommended for depth.
Cooked rice keeps beautifully in the fridge for 4-5 days or in the freezer for 3 months. Store in airtight containers to prevent freezer burn. Reheat with a splash of water or broth to restore moisture. Pro tip: freeze in single-serving portions for quick weeknight sides.
Why You’ll Love This Recipe
- Set and Forget: I toss everything in the Instant Pot, press a button, and walk away—no stirring, no watching the pot.
- Rich Nutty Depth: The olive oil and bay leaf infuse the long grain brown rice with a subtle, earthy warmth that plain rice lacks.
- Meal Prep MVP: I make a big batch Sunday and it pairs with everything from grilled chicken to stir-fry all week long.
- Budget Stretch: One cup of dry rice turns into four servings, and honestly, it tastes better than takeout rice for a fraction of the cost.
Step-by-Step Instructions for Long Grain Brown Rice
Master the technique for perfectly fluffy results with your pressure cooker every time.
Step 1: Rinse and Prepare the Rice
Place the 2 cups Long Grain Brown Rice in a fine-mesh strainer and rinse under cold water until the water runs completely clear. This removes excess starch that can make the finished product gummy rather than fluffy.
While the rice drains, mince the 2 cloves Garlic Cloves if using. This step ensures even distribution of flavor throughout the dish. I always take this extra minute—it makes a noticeable difference in the final aroma.
Step 2: Sauté Aromatics in the Instant Pot
Set your Instant Pot to the “Sauté” function on normal heat. Add the 1 tbsp Extra-Virgin Olive Oil and allow it to heat for 30 seconds until it shimmers. Then add the minced garlic and the 1 whole Bay Leaf, stirring constantly for 30-45 seconds until fragrant.
Be careful not to let the garlic burn—it should turn just light golden at the edges. This creates a flavor base that infuses into the rice during cooking. If using, this is also the moment to add the 0.5 cup Vegetable Broth to deglaze the pot.
Step 3: Pressure Cook with Precision
Add the drained 2 cups Long Grain Brown Rice, 2.5 cups Water, 0.5 tsp Fine Sea Salt, and 0.25 tsp Black Pepper to the pot. Stir well to combine, ensuring the rice is fully submerged in liquid. This prevents burning during the pressure cooking process.
Secure the lid, set the valve to “Sealing,” and cook on high pressure for 22 minutes. The Instant Pot will take about 10-15 minutes to come to pressure before the cooking time begins. You’ll know it’s working when you hear the characteristic hissing sound.
Step 4: Natural Release for Optimal Texture
When the cooking cycle completes, allow the pressure to release naturally for 10 minutes. This gradual release prevents the rice from becoming mushy by allowing it to finish cooking gently in the residual steam.
After 10 minutes, carefully switch the valve to “Venting” to release any remaining pressure. The float valve should drop completely before you attempt to open the lid—this is a critical safety step that also ensures the rice has finished steaming.
Step 5: Finish and Serve
Remove the 1 whole Bay Leaf and discard. Fluff the rice gently with a fork to separate the grains. If using, drizzle with the 1 tsp Lemon Juice and stir to incorporate. This adds a subtle brightness that complements the earthy flavor of brown rice.
Taste and adjust seasoning with additional Fine Sea Salt if needed. Garnish with the 0.25 cup Fresh Parsley for a pop of color and freshness. The rice should be tender with a slight bite, and each grain should be distinct and never clumpy.
Pro Tips For Making Instant Pot Long Grain Brown Rice
- Rinse the Rice: I learned this the hard way—skipping the rinse leaves your brown rice gummy and dull. A quick 30-second swirl under cold water removes excess starch and guarantees fluffier grains.
- Use a 1:1.25 Ratio: After burning three batches, I finally figured out long grain brown rice needs more water than white. Stick to 1 cup rice to 1.25 cups water for perfectly tender grains every time.
- Don’t Skip the Bay Leaf: Sounds weird, but it works: that single bay leaf adds a subtle depth that plain rice just can’t match. Remove it before serving—no one wants to bite into that.
- Let It Steam: I was skeptical until I tried it, but giving the rice a full 10-minute natural release after cooking prevents that dreaded mushy texture. Resist the urge to quick-release.
Best Sauces and Condiments for This instant pot long grain brown rice
Asian-Inspired Sauces
Drizzle with 2 tbsp soy sauce and 1 tsp sesame oil for a simple umami boost. I love adding 1 tsp honey and 1 minced garlic clove to create a quick teriyaki glaze that pairs beautifully with the nutty rice. 🌟
Mediterranean Flavors
Mix 3 tbsp extra-virgin olive oil with 1 tbsp lemon juice and ½ tsp dried oregano for a bright, herby dressing. This works wonderfully with grilled vegetables or as a base for grain bowls.
Spicy Kick
Stir in 1 tbsp sriracha and 1 tsp lime juice for a zesty, spicy finish. I often add ¼ cup chopped cilantro for freshness—this combo wakes up any meal. Balance the heat with a dollop of Greek yogurt.
Creamy Complements
For richness, toss the rice with 2 tbsp tahini and 1 tbsp warm water to thin it. This Middle Eastern staple adds depth to bowls or wraps. Sprinkle with toasted sesame seeds for crunch.
Herb-Infused Oils
Heat ¼ cup olive oil with 2 sprigs fresh rosemary until fragrant, then drizzle over the rice. This aromatic oil elevates the dish with minimal effort. I use this for a simple yet impressive side.
Fresh Garnishes
Top with ¼ cup chopped scallions and a squeeze of lime for brightness. These fresh elements contrast the earthy rice perfectly. A pinch of flaky sea salt finishes it beautifully. 💛
Nutrition Facts
Frequently Asked Questions
What’s the ideal water-to-rice ratio?
Use 1.25 cups liquid per 1 cup rice. This ensures perfect texture without mushiness.
Can I use broth instead of water?
Swap water for low-sodium vegetable or chicken broth to add depth. Reduce added salt to avoid over-seasoning.
Why did my rice turn out mushy?
Overcooking or skipping the rinse causes gummy rice. Stick to 22 minutes high pressure and always rinse first.
How long does it keep in the fridge?
Store in an airtight container for 4-5 days. Reheat with a splash of water to restore moisture.

- Mujadara Rice and Lentils Recipe: Earthy Spiced Lentils With Caramelized Onions - November 1, 2026
- Naija Fried Rice Recipe: Street-Style Spice With Veggie Crunch - November 1, 2026
- Mushy Rice Recipe: Fluffy Grains Transformed in Minutes - November 1, 2026