
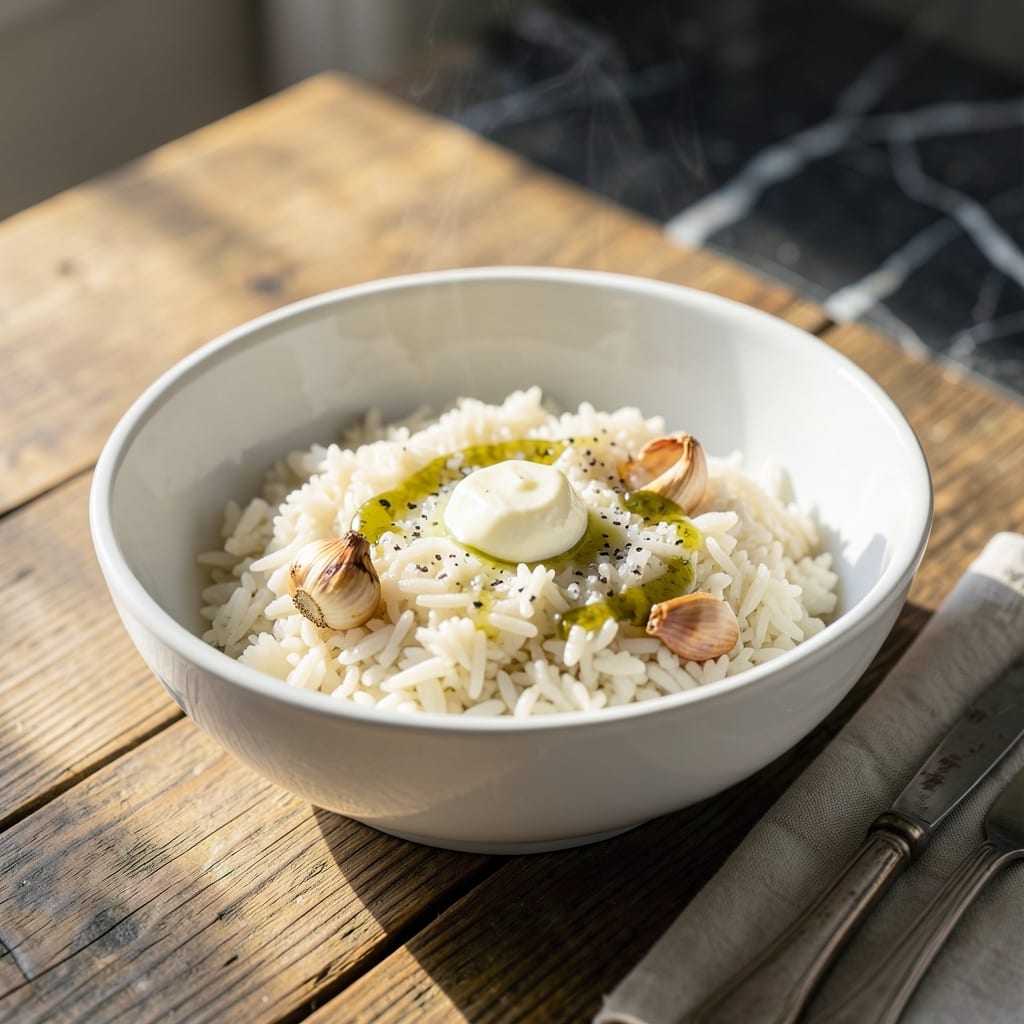
I’ve perfected the method for perfectly fluffy rice in the Instant Pot Mini with precise ratios and timing. This small appliance delivers consistent results without the guesswork.
The key is using the right water-to-rice ratio and letting the pressure naturally release. This ensures every grain stays separate and tender, never mushy or undercooked.
With just a few minutes of prep and 10 minutes of cooking time, you’ll have rice that rivals any stovetop method. The Instant Pot Mini handles it all with minimal effort.
Whether for a side dish or base for a meal, this technique guarantees perfect results every time. Here’s how to get it right.
Ingredients for Instant Pot Mini Rice
Minimal ingredients, maximum results. The Instant Pot Mini does the heavy lifting here.
| Ingredient | Amount | Notes |
|---|---|---|
| White Long-Grain Rice 🍚 | 1 cup | Rinsed until water runs clear |
| Water 💧 | 1 ¼ cups | Filtered or distilled preferred |
| Fine Sea Salt 🧂 | ¼ tsp | Adjust to taste after cooking |
| Unsalted Butter 🧈 | 1 tbsp | Optional for richness |
| Extra-Virgin Olive Oil 🫒 | 1 tsp | For aromatic base |
| Garlic Clove 🧄 | 1 clove | Minced, optional |
| Bay Leaf 🍃 | 1 whole | Optional for subtle depth |
| Chicken Stock 🍲 | ¼ cup | Substitute for water for extra flavor |
| Green Onions 🧅 | 2 whole | Thinly sliced, for garnish |
| Fresh Cilantro 🌿 | ¼ cup | Chopped, for garnish |
The rice is the foundation—long-grain white rice like basmati or jasmine gives you those separate, fluffy grains. Rinsing is non-negotiable; it removes excess starch that causes mushiness. I use Lundberg or Carolina brands for consistency. The water ratio is precise: too much and you get porridge, too little and it’s crunchy. Stick to the 1:1.25 rice-to-water ratio for perfect results every time.
No long-grain rice? Jasmine or basmati work identically—just avoid short-grain or sticky varieties. For extra flavor, swap water for low-sodium chicken stock. The butter and olive oil add richness but can be skipped for a lighter version. Vegetable stock works for a vegetarian twist. If using brown rice, add extra 5 minutes of cook time and increase water to 1.5 cups.
Cooked rice keeps in the fridge for 4-5 days in an airtight container. Reheat with a splash of water to restore moisture. For longer storage, freeze in portions for up to 3 months. The Instant Pot Mini’s non-stick pot makes cleanup effortless—just soak if needed.
Why You’ll Love This Recipe
- Set and Forget: I toss in rice, water, and a pinch of salt, then walk away—no stirring, no watching, just perfect rice every time.
- Buttery Comfort: The combo of butter and olive oil gives each grain a rich, velvety finish that plain rice just can’t match.
- Meal Prep Hero: Honestly, it’s my base for bowls, soups, or stir-fries all week—cooks in 10 minutes, pairs with anything.
Step-by-Step Instructions for Instant Pot Mini Rice
Here’s the method. Straightforward, tested, works every time.
Step 1: Rinse and Prepare the Rice
Place the 1 cup White Long-Grain Rice in a fine-mesh strainer and rinse under cold running water, swishing with your fingers, until the water runs completely clear. This removes excess starch that can make the rice gummy.
Draining thoroughly is essential—any residual water will throw off your liquid-to-rice ratio. I always give the strainer a few firm shakes and tap it on the sink edge to ensure all water is removed.
Step 2: Sauté Aromatics in the Instant Pot
Set your Instant Pot to the Sauté function on Normal heat. Add the 1 tsp Extra-Virgin Olive Oil and 1 tbsp Unsalted Butter. Once the butter melts, add the minced Garlic Clove and 1 whole Bay Leaf.
Sauté for 30-45 seconds until the garlic becomes fragrant and just begins to turn golden—don’t let it brown. This builds a flavor foundation that infuses the rice as it cooks. The bay leaf will release its subtle depth during this process.
Press Cancel to turn off the Sauté function.
Step 3: Add Rice and Liquids
Add the 1 cup White Long-Grain Rice to the pot and stir to coat the grains in the aromatic fat for 1 minute. This toasting step enhances the rice’s natural nuttiness.
Pour in the 1.25 cups Water and 0.25 cup Chicken Stock, then add the 0.25 tsp Fine Sea Salt. Stir well to distribute the rice evenly and ensure no grains are clumping together. The liquid should just cover the rice by about ½ inch.
Step 4: Pressure Cook to Perfection
Secure the lid, ensuring the valve is set to Sealing. Select the Pressure Cook (or Manual) function and set the timer for 3 minutes on High pressure. The Instant Pot will take 8-10 minutes to come to pressure before the timer begins.
Once cooking completes, allow a natural pressure release for 10 minutes, then manually release any remaining pressure. The rice will continue to steam and absorb liquid during this time, emerging perfectly tender.
Step 5: Fluff and Garnish
Carefully open the lid, tilting it away from you to avoid the hot steam. Use a fork to gently fluff the rice from the bottom up, separating any grains that may have stuck together. The rice should be tender with distinct, non-mushy grains.
Transfer to a serving dish and garnish with thinly sliced Green Onions and chopped Fresh Cilantro. The herbs add a bright, fresh contrast to the rich, aromatic rice. Serve immediately while hot and fluffy.
Pro Tips For Making Instant Pot Mini Rice
- Rinse the rice: I learned this the hard way—skip rinsing and you’ll end up with gummy rice. A quick 30-second rinse under cold water removes excess starch and guarantees fluffier grains.
- Use a 1:1 ratio: For perfect mini-batch rice in the Instant Pot, stick to 1 part white long-grain rice to 1 part water. Any more and it turns mushy; less and it stays undercooked.
- Add fat last: Stir in the butter and olive oil after cooking, not before. This keeps the rice from clumping together and gives it a richer, more even flavor.
- Let it sit: After the pressure releases, resist the urge to open the lid immediately. Give it 5-10 minutes to steam off—this prevents a wet, sticky texture.
Common Mistakes When Making This Recipe
Skipping the Rinse
Never skip rinsing your rice—this removes excess starch that causes gummy, clumpy grains. I once made this mistake and ended up with a sticky mess. Use a fine-mesh strainer and rinse until the water runs completely clear. 💡
Wrong Liquid Ratio
Using too much or too little liquid will ruin your rice. Stick to the 1:1.25 rice-to-water ratio for the Mini. Too much water creates porridge, while too little leaves you with crunchy, undercooked rice. Measure precisely.
Overfilling the Pot
The Instant Pot Mini has a smaller capacity, so never exceed the ⅔ max fill line. Rice expands as it cooks, and overfilling can clog the steam release valve or cause uneven cooking. I keep my portions at 1 cup rice or less.
Skipping the Sauté
Toasting the rice in the aromatic fat for 1 minute enhances its natural nuttiness. Skipping this step means missing out on deeper flavor. Add your olive oil and butter first, then stir the rice to coat evenly.
Forcing the Release
Let the pressure release naturally for at least 10 minutes after cooking. Forcing an immediate release can leave the rice undercooked and wet. The rice needs this time to fully absorb the liquid and finish steaming.
Not Fluffing Properly
Always use a fork to gently fluff the rice from the bottom up. Stirring with a spoon can mash the grains and create a mushy texture. Fluff immediately after opening the lid for the best results. ✨
Nutrition Facts
Frequently Asked Questions
What’s the ideal rice-to-water ratio?
Use 1 cup rice to 1.25 cups liquid for perfect results. This accounts for the Mini’s smaller capacity and ensures fluffy, separate grains every time.
Can I cook brown rice the same way?
Yes, but increase water to 1.5 cups and cook time to 8 minutes with 10 minutes natural release. Brown rice needs more liquid and time to soften properly.
Why did my rice turn out mushy?
Likely from excess starch or too much liquid. Always rinse rice thoroughly and stick to the 1:1.25 ratio. Overfilling the pot can also cause uneven cooking.
How long can I store leftovers?
Cooked rice keeps in an airtight container for 4-5 days in the fridge. For longer storage, freeze for up to 3 months. Reheat with a splash of water.

- Mujadara Rice and Lentils Recipe: Earthy Spiced Lentils With Caramelized Onions - November 1, 2026
- Naija Fried Rice Recipe: Street-Style Spice With Veggie Crunch - November 1, 2026
- Mushy Rice Recipe: Fluffy Grains Transformed in Minutes - November 1, 2026