
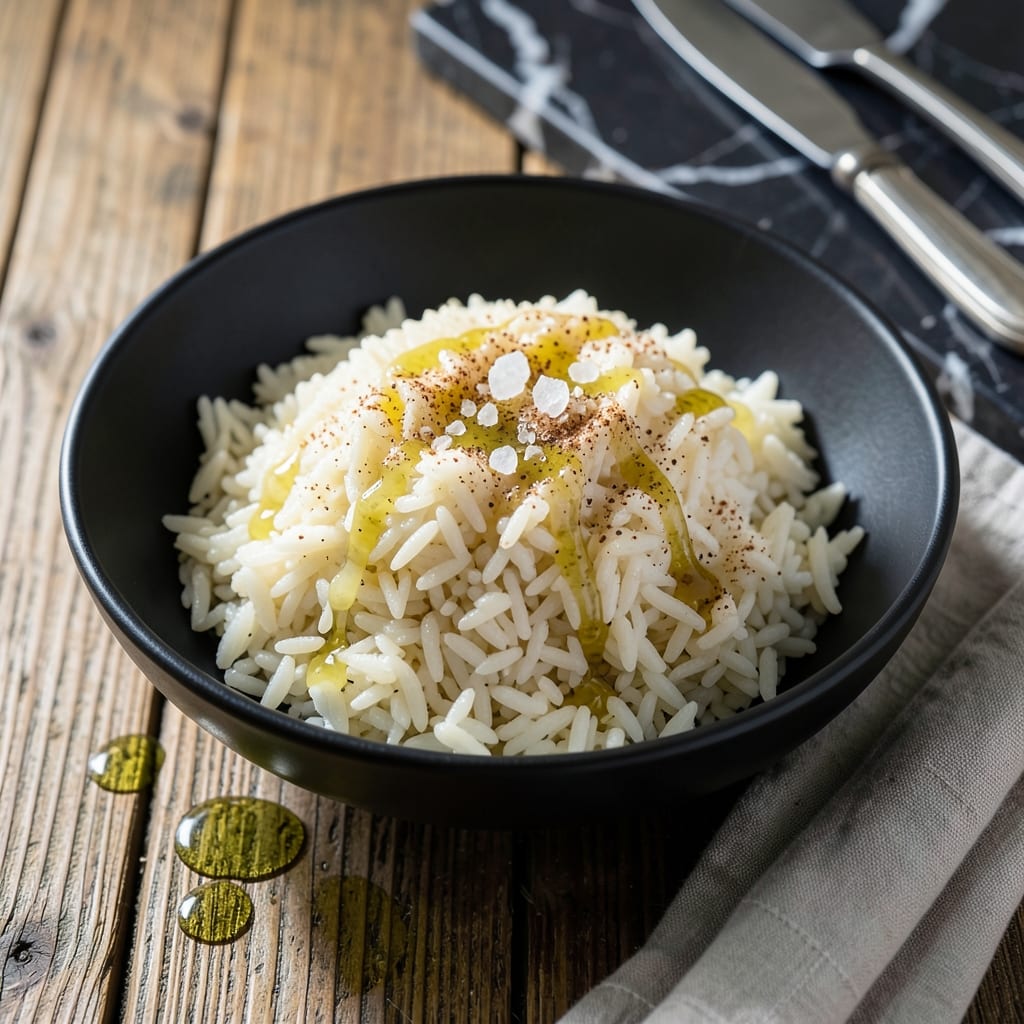
Perfectly cooked rice every time is possible with this proven Instant Pot method. No more mushy or undercooked grains—just consistent results with minimal effort.
This technique uses precise liquid ratios and pressure cooking times to deliver fluffy, separate grains without constant monitoring. The Instant Pot handles all the work while you focus on the rest of your meal.
What you get is rice that’s light, tender, and ready in half the time of stovetop methods. The results rival any restaurant-style rice, with no risk of burning or sticking.
Whether serving as a base for stir-fries or pairing with proteins, this method ensures reliable, restaurant-quality results with every batch.
Ingredients for Instant Pot Rice
Minimal ingredients. Maximum flavor. Restaurant-quality results every time with this method.
| Ingredient | Amount | Notes |
|---|---|---|
| White Long-Grain Rice 🍚 | 2 cups | Rinsed until water runs clear |
| Water 💧 | 2 ½ cups | Filtered or distilled preferred |
| Sea Salt 🧂 | ½ tsp | Fine grain for even distribution |
| Olive Oil 🫒 | 1 tbsp | Optional, for richer flavor |
| Garlic Powder 🧄 | ½ tsp | Enhances savory notes |
| Onion Powder 🧅 | ½ tsp | Adds depth to aroma |
| Bay Leaf 🍃 | 1 whole | Optional, removes after cooking |
| Vegetable Broth 🥕 | ½ cup | Low-sodium for control |
| Butter 🧈 | 1 tbsp | Vegan butter for dietary needs |
| Fresh Cilantro 🌿 | ¼ cup | Chopped, for garnish |
The rice quality matters most here. Jasmine or basmati deliver superior texture compared to standard long-grain. Trader Joe’s and Whole Foods stock excellent options in their bulk sections. For the liquid, filtered water prevents mineral buildup in your Instant Pot. The vegetable broth adds subtle depth—Imagine or Pacific Foods brands are reliable choices.
No long-grain? Jasmine or basmati work at a 1:1 ratio. Out of vegetable broth? Water with a splash of soy sauce mimics the savory notes. Fresh garlic and onion can replace the powders—just sauté them first. The bay leaf is optional but adds a professional touch (remove it before serving). For a richer finish, stir in coconut oil instead of butter.
Cooked rice keeps 4-5 days refrigerated in an airtight container. Freeze for up to 3 months in portions. Reheat with a splash of water to restore moisture. The cilantro garnish is best added fresh, so store it separately in a damp paper towel.
Why You’ll Love This Recipe
- Set and Forget: I toss in rice, water, and a pinch of salt, then walk away—the Instant Pot does all the work.
- Garlic Infused: That hint of garlic powder in the olive oil gives every grain a subtle, savory depth.
- Meal Prep Hero: I cook a big batch on Sunday and it pairs perfectly with everything from stir-fry to grilled chicken all week.
- Pennies Per Serving: White rice, salt, and pantry staples stretch into multiple meals without breaking the bank.
Step-by-Step Instructions for Instant Pot Rice
Here’s the method. Straightforward, tested, works every time.
Step 1: Rinse and Prepare the Rice
Place the 2 cups white long-grain rice in a fine-mesh strainer and rinse under cold running water until the water runs completely clear. This removes excess starch that could make your rice gummy.
I always give the rice one final shake in the strainer to remove any lingering water droplets. Proper rinsing ensures each grain remains separate and fluffy after cooking rather than clumping together in an unappetizing mass.
Step 2: Sauté Aromatics in the Instant Pot
Set your Instant Pot to the Sauté function on normal heat. Add the 1 tbsp olive oil and 1 tbsp butter, swirling to coat the bottom of the pot. Once the butter melts and begins to foam, add the 0.5 tsp garlic powder and 0.5 tsp onion powder.
Stir constantly for 30 seconds until fragrant. This blooms the spices in the fat, creating a flavor foundation that will infuse the rice as it cooks. Watch carefully to prevent burning—powdered spices can scorch quickly.
Step 3: Combine Liquids and Rice
Add the rinsed rice to the pot, stirring to coat the grains in the aromatic fat. Pour in the 2.5 cups water, 0.5 cup vegetable broth, and sprinkle with 0.5 tsp sea salt. Stir once to distribute the rice evenly.
Place the 1 whole bay leaf on top of the mixture. Don’t stir again after this point—doing so can lead to the burn notice on your Instant Pot. The rice should be in an even layer with all grains submerged in liquid.
Step 4: Pressure Cook to Perfection
Secure the lid, set the valve to Sealing, and cook on high pressure for 3 minutes. Yes, just three minutes—the Instant Pot’s rapid pressure build-up does most of the work. The cook time starts only after the pot reaches full pressure.
Once cooking completes, allow a natural pressure release for 10 minutes, then quick-release any remaining pressure. This gradual release prevents the rice from becoming mushy while ensuring it’s fully cooked through.
Step 5: Fluff and Rest Before Serving
Carefully remove the lid and discard the bay leaf. Use a fork to fluff the rice gently, separating any grains that may have stuck together during cooking. The rice should be tender with each grain distinct and the liquid fully absorbed.
Let the rice rest in the pot with the lid slightly ajar for 5 minutes. This final step allows the grains to firm up slightly. Garnish with 0.25 cup fresh cilantro just before serving for a bright, fresh contrast to the savory rice.
Pro Tips For Making Instant Pot Rice
- Rinse the Rice: Always give your long-grain rice a quick rinse before cooking—it removes excess starch and prevents a gummy texture. I learned this the hard way after making gluey rice one too many times.
- Use Equal Water: For white long-grain rice in the Instant Pot, stick to a 1:1 rice-to-water ratio. Any more and you’ll end up with soggy grains, no matter how precise your timing is.
- Natural Release Only: Resist the urge to quick-release the pressure—letting it sit for a full 10-minute natural release guarantees fluffy, evenly cooked rice every time.
- Toast the Rice: Sauté the rice with olive oil and garlic powder for 2 minutes before adding water—it adds a subtle nutty depth that plain steamed rice just can’t match.
Dietary Considerations for This Dish
Gluten-Free Friendly
This dish is naturally gluten-free, making it safe for anyone with celiac disease or gluten sensitivity. All ingredients—rice, water, vegetable broth—are inherently free from gluten. Just ensure your garlic and onion powders are certified gluten-free, as some brands add anti-caking agents with gluten.
Vegan and Dairy-Free
The base recipe is fully vegan if you omit the butter or swap it for vegan butter or coconut oil. Even the garnish can be adapted—skip the cilantro if you prefer, or add toasted sesame seeds for extra crunch. 🌱
Low-Sodium Option
To reduce sodium, use low-sodium vegetable broth or replace it entirely with water. Cut the sea salt to ¼ tsp or omit it, and boost flavor with fresh herbs or a squeeze of lemon juice after cooking. The rice will still taste rich and satisfying.
Allergen Considerations
This recipe is free from common allergens like nuts, eggs, and dairy (with butter substitution). However, always check labels on vegetable broth and spices for hidden allergens like soy or wheat. If allergies are severe, use homemade broth to be absolutely safe.
Diabetic-Friendly
White rice has a high glycemic index, but you can make this dish more diabetes-friendly by swapping in brown rice or cauliflower rice. For brown rice, increase the cook time to 22 minutes with a 1:1.25 rice-to-liquid ratio. 💡
Nut-Free and Soy-Free
This recipe is naturally nut-free, and you can keep it soy-free by ensuring your vegetable broth doesn’t contain soy derivatives. Imagine Foods brand broth is a reliable soy-free option. Always verify labels to avoid cross-contamination.
Nutrition Facts
Frequently Asked Questions
What’s the best rice-to-water ratio?
Use a 1:1.25 ratio of rice to liquid for perfect results. For 2 cups rice, add 2.5 cups water or broth. This ensures fluffy grains without mushiness.
Can I use brown rice instead?
Yes, but increase cook time to 22 minutes with the same 1:1.25 liquid ratio. Brown rice needs longer pressure cooking to soften.
Why did I get the burn notice?
This happens when rice sticks to the bottom. Always rinse rice thoroughly and avoid stirring after adding liquid. Use 3 minutes high pressure for white rice.
How long does it keep?
Store in an airtight container for 4-5 days refrigerated. Freeze for up to 3 months. Reheat with a splash of water.

- Mujadara Rice and Lentils Recipe: Earthy Spiced Lentils With Caramelized Onions - November 1, 2026
- Naija Fried Rice Recipe: Street-Style Spice With Veggie Crunch - November 1, 2026
- Mushy Rice Recipe: Fluffy Grains Transformed in Minutes - November 1, 2026