
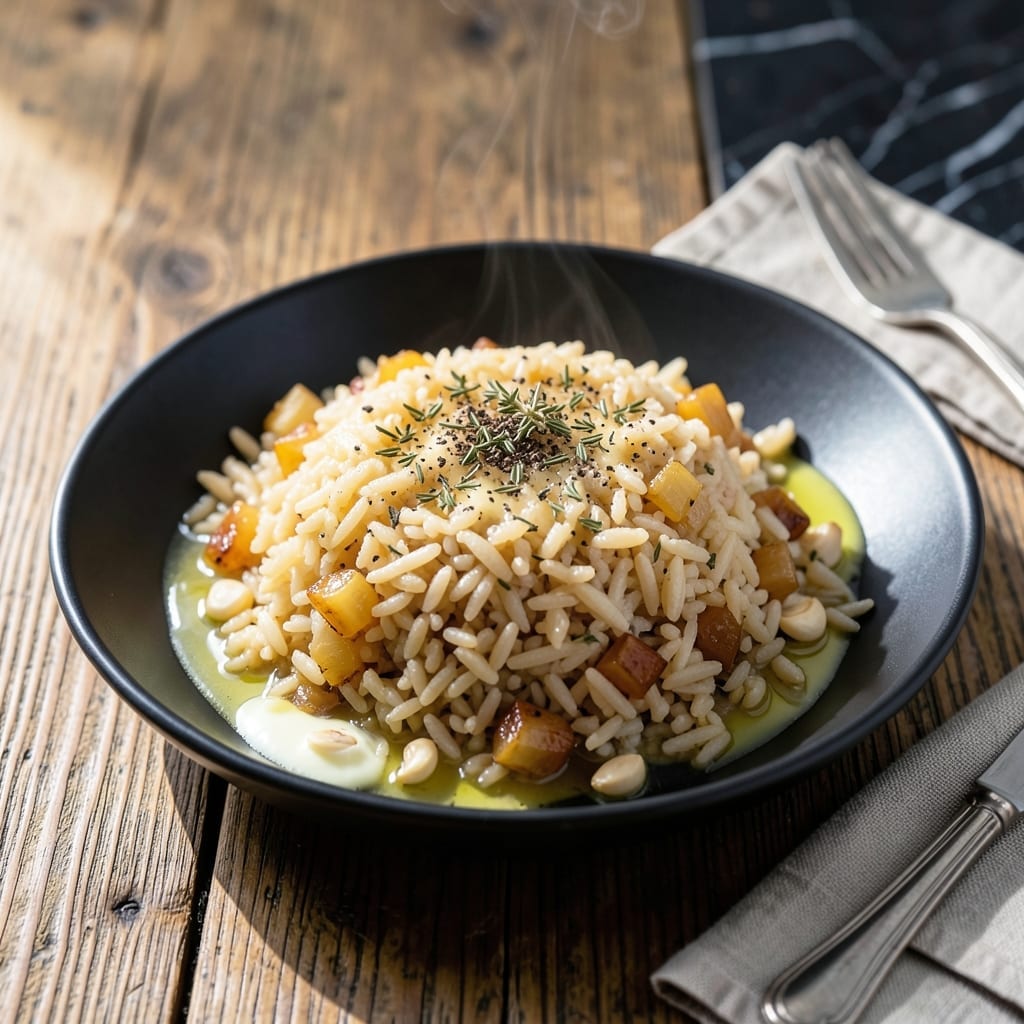
This rice pilaf delivers fluffy grains with minimal effort, proving that instant rice can be just as impressive as the traditional version. The key lies in toasting the aromatics before adding the liquid.
By the time it finishes cooking, you’ll have perfectly separated grains infused with rich, savory flavor. This method ensures a dish that’s both quick and worthy of a place at your dinner table.
Ingredients for Instant Rice Pilaf
Instant rice, fresh veggies, and warm spices make this dish come alive.
| Ingredient | Amount | Notes |
|---|---|---|
| Instant Rice 🍚 | 2 cups | Long grain variety preferred |
| Unsalted Butter 🧈 | 2 tbsp | Or substitute olive oil |
| Yellow Onion 🧅 | 1 whole | Finely diced for even cooking |
| Garlic Cloves 🧄 | 3 cloves | Minced for maximum flavor |
| Chicken Broth 🥣 | 2 ½ cups | Low-sodium for better control |
| Dried Thyme 🍃 | 1 tsp | Or 1 tbsp fresh thyme |
| Dried Oregano 🌿 | 1 tsp | Mediterranean variety preferred |
| Bay Leaf 🍂 | 1 whole | Remove before serving |
| Salt 🧂 | ¾ tsp | Adjust to taste at end |
| Black Pepper 🌶️ | ½ tsp | Freshly ground preferred |
| Frozen Peas 🌱 | ¾ cup | No need to thaw |
| Carrot 🥕 | 1 whole | Small dice, about 1/2 cup |
The rice quality matters here. Uncle Ben’s or Mahatma instant rice both work well—just avoid the minute rice blends with added seasonings. For the broth, Swanson or College Inn are my go-tos. The aromatics (onion, garlic, carrots) should be fresh, not pre-cut from a bag (those dry out fast). Look for onions with tight, papery skin and no green sprouts.
No thyme? Half the amount of rosemary works in a pinch. Short on oregano? Marjoram at the same ratio is a solid swap. Vegetable broth instead of chicken keeps it vegetarian. For a richer flavor, toast the rice for 1 extra minute before adding liquid—worth the time. Frozen peas can be swapped for fresh, but frozen actually holds its texture better here.
Leftover pilaf keeps well in the fridge for 4-5 days. Reheat with a splash of water to bring back the fluffiness. Doesn’t freeze as well since the rice can get mushy, but if you must, it’ll last 2-3 months. Best served fresh though.
Why You’ll Love This Recipe
- 20-Minute Meal: I can get this on the table faster than takeout arrives—just sauté onion and garlic, add broth and rice, and let it simmer.
- Rich Garlic Butter: The butter toasts the rice while the garlic and onion sweat into the broth, creating a depth that tastes slow-cooked.
- Weeknight Hero: It pairs with roasted chicken, fish, or even stands alone with a fried egg on top for a quick dinner.
- Budget Stretcher: A pound of instant rice and a few pantry staples feed four for pennies—leftovers reheat beautifully the next day.
Step-by-Step Instructions for Instant Rice Pilaf
Here’s the method I use for perfectly fluffy rice with maximum flavor in minimal time.
Step 1: Toast the Aromatics in Butter
Melt the 2 tbsp Unsalted Butter in a large skillet over medium heat. Add the finely diced Yellow Onion and cook for 4-5 minutes until it turns translucent and just starts to pick up some color. This builds the flavor base that makes the pilaf special.
Stir in the minced Garlic Cloves and cook for another 30 seconds until fragrant. Don’t let the garlic brown or it’ll turn bitter. You want it to smell amazing, not burnt.
Step 2: Bloom the Spices and Add Vegetables
Sprinkle in the 1 tsp Dried Thyme, 1 tsp Dried Oregano, 0.75 tsp Salt, and 0.5 tsp Black Pepper. Stir constantly for 15-20 seconds to toast the spices in the butter. This wakes up their flavors and fills your kitchen with an incredible aroma.
Add the small diced Carrot and cook for 2 minutes to soften slightly. Then stir in the 0.75 cup Frozen Peas—no need to thaw them first. The residual heat will take the chill off while you prep the next step.
Step 3: Cook the Rice in Broth
Pour in the 2 cups Instant Rice and stir to coat the grains in the buttery mixture. This prevents clumping and ensures every bite has flavor. Add the 2.5 cups Chicken Broth and the 1 whole Bay Leaf, then bring to a boil.
Once boiling, reduce heat to low, cover, and simmer for 5 minutes. Don’t peek during this time—steam is what cooks the rice perfectly. You’ll know it’s ready when all the liquid is absorbed and the rice looks fluffy.
Step 4: Rest and Fluff the Pilaf
Remove from heat and let it sit covered for 5 minutes. This final rest allows the rice to steam itself to perfect doneness. The grains will absorb any remaining moisture and become tender.
Discard the Bay Leaf, then fluff the pilaf gently with a fork. The rice should be light and separate, with the vegetables evenly distributed throughout. Taste and adjust seasoning if needed, though I usually find it perfect as is.
Pro Tips For Making Instant Rice Pilaf
- Toast the Rice: Sauté the instant rice in butter for 2-3 minutes before adding liquid—it deepens the nutty flavor and prevents a mushy texture.
- Use Hot Broth: Pour in chicken broth that’s already simmering, not cold, to jumpstart the cooking and avoid underdone grains.
- Skip the Salt: Hold off on salting until the end, since chicken broth and butter can vary in sodium, and you don’t want to overshoot.
- Rest 5 Minutes: After cooking, cover and let it sit off heat for 5 minutes—this lets the rice absorb all the liquid and fluff up properly.
Dietary Considerations for These Flavors
Gluten-Free Friendly
This dish is naturally gluten-free since rice contains no gluten proteins. Just verify your chicken broth is certified gluten-free—some brands add wheat-based thickeners. I use Swanson’s gluten-free version to be safe. 💪
Vegetarian Adaptation
Simply swap the chicken broth for vegetable broth to make this pilaf completely vegetarian. The flavor remains just as rich, especially if you use a high-quality broth like Imagine Foods. No other changes needed!
Dairy-Free Option
Replace the 2 tbsp Unsalted Butter with olive oil or a plant-based butter like Miyoko’s. The dish will have a slightly different mouthfeel but still delivers on flavor. Coconut oil works too but adds a mild sweetness. 🌱
Lower Sodium Version
Use low-sodium chicken broth and reduce the added salt to ¼ tsp. You can always add more at the table. This brings the sodium per serving down to about 300mg, making it heart-healthier.
Vegan-Friendly
Combine both vegetarian and dairy-free swaps: vegetable broth and olive oil. The result is a fully vegan dish that still has all the aromatic depth of the original. I serve this at gatherings with mixed dietary needs.
Allergy Considerations
This recipe is free from the top 8 allergens when prepared with olive oil and vegetable broth. Always check labels on your broth for hidden allergens like soy or milk derivatives.
Nutrition Facts
Frequently Asked Questions
Can I use regular rice instead of instant?
You can, but it requires 2 cups of broth and 15-20 minutes of simmering. Instant rice absorbs liquid faster, which is why this recipe uses 5 minutes of cook time.
Why toast the aromatics first?
Toasting deepens the flavor by caramelizing the natural sugars. This creates a rich base that makes the pilaf taste like it cooked for hours, not minutes.
What if my pilaf turns out mushy?
This usually means too much liquid or not enough resting time. Use exactly 2.5 cups broth and let it sit covered for the full 5 minutes after cooking.
Can I add other vegetables?
Try bell peppers or zucchini. Add them with the carrots so they soften properly. Just keep the total volume similar to avoid excess moisture.

- Mujadara Rice and Lentils Recipe: Earthy Spiced Lentils With Caramelized Onions - November 1, 2026
- Naija Fried Rice Recipe: Street-Style Spice With Veggie Crunch - November 1, 2026
- Mushy Rice Recipe: Fluffy Grains Transformed in Minutes - November 1, 2026