
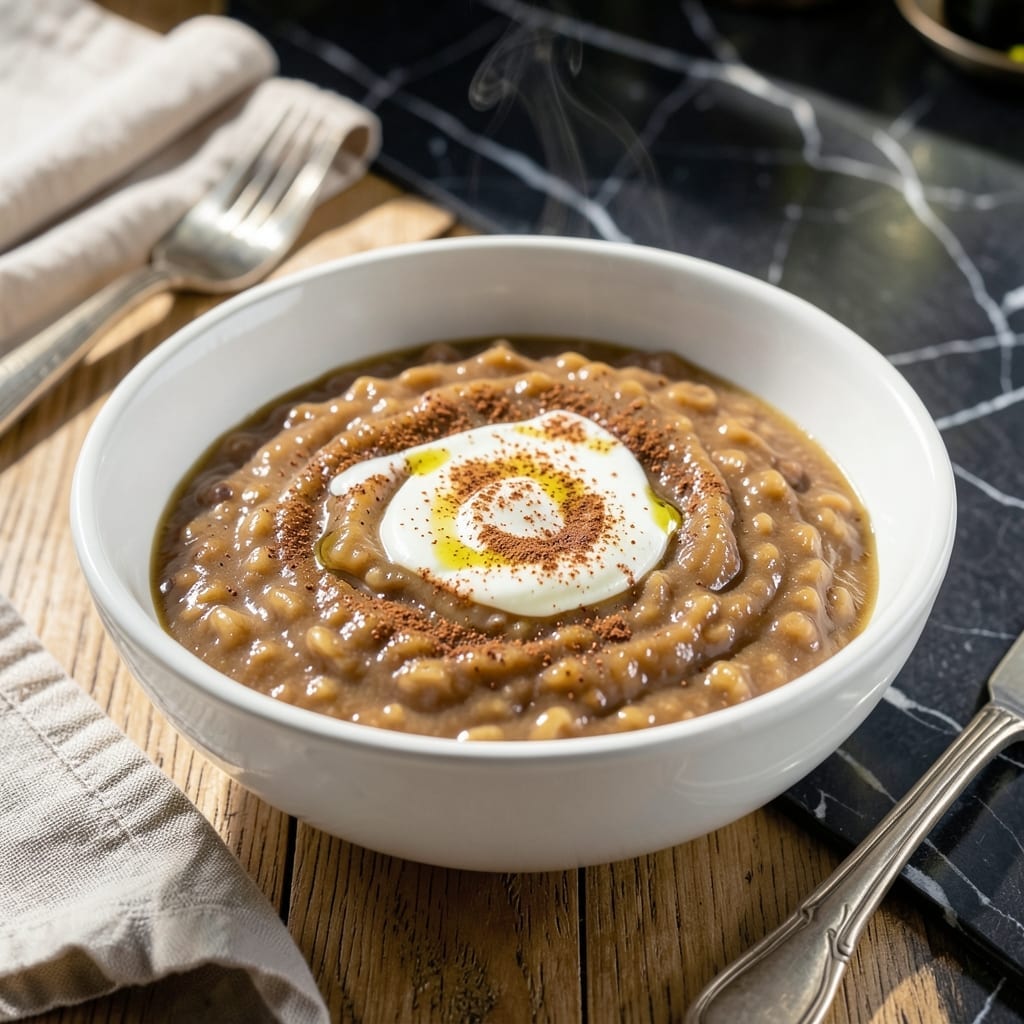
This pressure-cooked pudding delivers creamy perfection with minimal effort. The Instant Pot method ensures consistent results every time, transforming simple ingredients into a comforting dessert.
I developed this technique to achieve the ideal texture without constant stirring. The result is a rich, smooth pudding with just the right sweetness and a velvety finish that traditional stovetop methods often miss.
Ingredients for Instapot Rice Pudding
Simple pantry staples transform into velvety dessert with minimal effort required here.
| Ingredient | Amount | Notes |
|---|---|---|
| Arborio Rice 🍚 | ¾ cup | Short-grain for creaminess |
| Whole Milk 🥛 | 4 cups | Full-fat for richness |
| Granulated Sugar 🍚 | ⅔ cup | Adjust to taste preference |
| Unsalted Butter 🧈 | 2 tbsp | Melted before adding |
| Vanilla Extract 🌿 | 1 ½ tsp | Pure for best flavor |
| Ground Cinnamon 🌿 | 1 tsp | Freshly ground preferred |
| Salt 🧂 | ¼ tsp | Fine sea salt recommended |
| Raisins 🍇 | ½ cup | Optional for texture variation |
| Ground Nutmeg 🌰 | ¼ tsp | Freshly grated for intensity |
| Heavy Cream 🥛 | ½ cup | For extra velvety texture |
| Vanilla Bean 🌿 | 1 whole | Seeds scraped (optional) |
| Water 💧 | ½ cup | For initial cooking pressure |
The rice selection is critical for achieving that signature creamy texture. Arborio rice is non-negotiable—its high starch content creates the pudding’s luscious consistency. Find it in the pasta aisle at Whole Foods or Trader Joe’s. The milk should be whole for maximum richness; lower-fat versions produce a thinner result. Always use pure vanilla extract—imitation lacks depth of flavor.
For a milk-free version, full-fat coconut milk works surprisingly well. No raisins? Dried cranberries or chopped dates add a nice chew. If you don’t have heavy cream, an extra cup of whole milk plus a tablespoon of melted butter can substitute. The cinnamon and nutmeg are flexible—cardamom or allspice offer interesting variations without overpowering the pudding’s delicate flavor.
This pudding keeps beautifully, actually improving overnight as flavors meld. Store in an airtight container in the refrigerator for up to 5 days. Reheat gently on the stovetop with a splash of milk to restore creaminess. For longer storage, freeze for up to 3 months—thaw overnight before reheating.
Why You’ll Love This Recipe
- One-Pot Magic: I toss everything in, press a button, and the Instant Pot does the rest—no stirring, no burning.
- Velvety Vanilla Dream: The Arborio rice soaks up the whole milk and vanilla for that creamy, comfort-food texture I crave.
- Make-Ahead Champion: Honestly, it tastes even better the next day—perfect for prepping ahead or surprise guests.
- Budget-Friendly Luxe: A pound of Arborio rice and a few pantry staples stretch into a dessert that feels indulgent but costs pennies.
Step-by-Step Instructions for Pressure-Cooked Rice Pudding
Achieve the perfect creamy texture with these precise pressure-cooking techniques.
Step 1: Rinse and Combine Base Ingredients
Rinse the 0.75 cup Arborio Rice under cold water until the water runs clear to remove excess starch, which prevents gumminess in the finished pudding. Drain thoroughly—any residual water will dilute your mixture.
In the Instant Pot insert, combine the drained rice, 4 cups Whole Milk, 0.5 cup Water, 0.66 cup Granulated Sugar, 2 tbsp Unsalted Butter, 0.25 tsp Salt, 1 tsp Ground Cinnamon, and 0.25 tsp Ground Nutmeg. Stir well to dissolve the sugar completely.
If using the 1 whole Vanilla Bean, split it lengthwise with a sharp knife, scrape the seeds into the pot, and add the pod for maximum flavor infusion. This step ensures every bite carries rich vanilla notes.
Step 2: Pressure Cook to Creamy Perfection
Secure the lid on your Instant Pot and set the valve to the sealing position. Select the “Porridge” function and adjust the time to 15 minutes on high pressure. The porridge setting is specifically calibrated for grains like Arborio rice, ensuring optimal texture.
Once the cooking cycle completes, allow the pressure to release naturally for 10 minutes, then perform a quick release. Natural release prevents the milk from curdling or scorching at the bottom of the pot, while the quick release finishes the process efficiently.
Carefully remove the lid, tilting it away from you to avoid steam burns. The pudding should have a thick, porridge-like consistency with the rice fully tender. If it appears too thin, proceed to the next step—it will thicken further as it cools.
Step 3: Incorporate Cream and Flavor Enhancements
Stir in the 0.5 cup Heavy Cream and 1.5 tsp Vanilla Extract to deepen the richness and add layers of flavor. The heavy cream introduces a velvety mouthfeel that distinguishes this pudding from stovetop versions.
If you haven’t already, remove the vanilla bean pod at this stage. For added texture, fold in the 0.5 cup Raisins, which will plump slightly from the residual heat. The raisins provide a pleasant chew and natural sweetness.
Let the pudding sit uncovered for 5 minutes to thicken slightly. The surface should develop a subtle skin, which is characteristic of properly cooked rice pudding. Stir once more to redistribute the raisins and spices evenly.
Step 4: Serve Warm or Chilled
Ladle the pudding into serving bowls while still warm for a comforting, home-style presentation. The texture should be creamy but not runny, with individual rice grains suspended in the custard-like base.
Alternatively, transfer the pudding to a shallow dish and press plastic wrap directly onto the surface to prevent a skin from forming. Refrigerate for at least 2 hours for a firmer, chilled dessert. The flavors will meld and intensify during this time.
Garnish with a light dusting of additional Ground Cinnamon or a sprinkle of raisins for visual appeal. Each serving should showcase the creamy consistency promised by the pressure-cooking method, with balanced sweetness and aromatic spices in every spoonful.
Pro Tips For Making Instapot Rice Pudding
- Rinse the Rice: Soak the Arborio rice in cold water for 2 minutes, then drain—this removes excess starch so your pudding turns out creamy, not gummy.
- Use Room-Temp Milk: I learned this the hard way—cold milk straight from the fridge can cause the Instant Pot to take longer to pressurize, and it risks scorching the rice at the bottom.
- Stir Before Pressurizing: After adding all ingredients, give it a good stir to distribute the rice evenly—otherwise, you’ll end up with a thick, burnt layer at the bottom.
- Add Vanilla Last: Stir in the vanilla extract after cooking, not before—its delicate flavor fades if boiled under pressure for too long.
Creative Variations of instapot rice pudding
Chocolate Infusion
Add ¼ cup cocoa powder and 2 oz dark chocolate chips after pressure cooking for a decadent chocolate variation. The heat will melt everything into a smooth, rich pudding. Stir well and let sit for 5 minutes to fully incorporate the chocolate flavors. 🍫
Tropical Twist
Replace raisins with ½ cup diced dried mango or pineapple and add 1 tsp coconut extract along with the vanilla. This gives a bright, tropical flair that pairs perfectly with the creamy texture. Use coconut milk instead of whole milk for extra island vibes.
Spiced Chai Version
Enhance the warmth by adding ½ tsp each of ground ginger, cardamom, and cloves to the spice mix. Steep 2 chai tea bags in the milk for 10 minutes before cooking for a cozy, aromatic chai-inspired pudding. Remove the tea bags before pressure cooking.
Citrus Zing
Incorporate zest of 1 orange or lemon along with the spices, and add 2 tbsp orange liqueur with the vanilla extract. The citrus brightens the dish, cutting through the richness. Garnish with candied citrus peel for a pop of color and extra zing. 🌟
Maple Pecan Delight
Swap granulated sugar for ½ cup maple syrup and fold in ½ cup toasted pecans after cooking. The maple adds a deep, caramelized sweetness that complements the nutty crunch. Serve warm for the best experience.
Coffee Lovers’ Dream
Dissolve 2 tbsp instant espresso powder in the ½ cup water before adding to the Instant Pot. This creates a subtle coffee undertone that enhances the vanilla and spices. Top with a sprinkle of cocoa powder for an extra layer of flavor.
Nutrition Facts
Frequently Asked Questions
What kind of rice works best?
Arborio rice is ideal for its high starch content, creating that signature creamy texture. Short-grain varieties like sushi rice also work well. Avoid long-grain as it stays too firm.
Can I use a different type of milk?
Whole milk gives the richest result, but 2% works in a pinch. For dairy-free, full-fat coconut milk adds wonderful creaminess. Almond milk may be too thin.
Why did my pudding turn out watery?
This usually happens if the lid was opened too soon. Always allow the 10-minute natural release first. Also, ensure you used the correct rice-to-liquid ratio.
How long will it keep in the fridge?
Properly stored in an airtight container, it stays fresh for up to 5 days. The flavors actually deepen after a day or two. Stir before serving.

- Jamaican Jollof Rice Recipe: Island Spice in Every Bite - October 18, 2026
- Hamburger Rice Hot Dish Recipe: Midwest Comfort in One Pan - October 18, 2026
- Iranian Cabbage Rice Recipe: Aromatic Herbs and Spiced Layers - October 18, 2026