
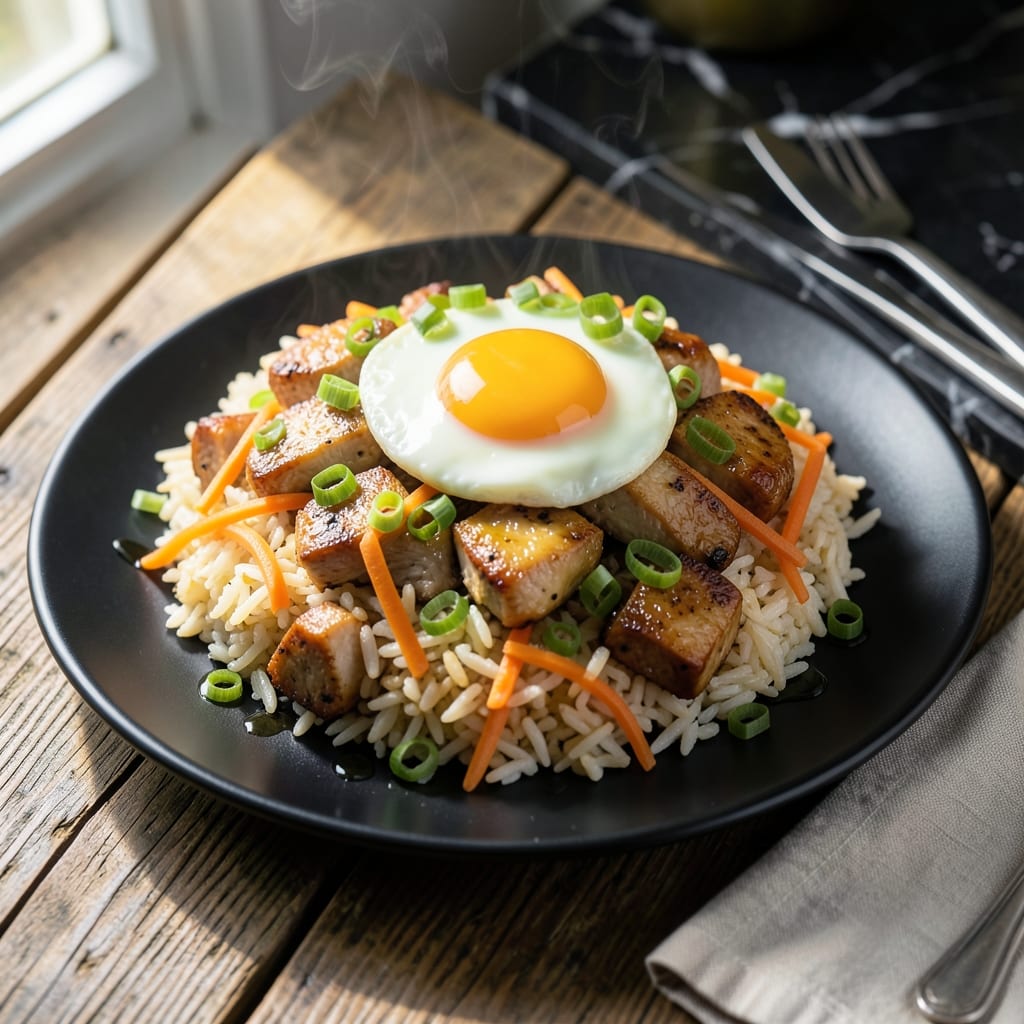
This fried rice delivers the high-heat intensity of Iron Chef right to your kitchen. I developed this method after testing countless variations in my cramped Boston apartment, where space and equipment were limited.
The key is cooking in small batches at maximum heat to achieve that signature wok hei flavor. Cold, day-old rice is essential—it fries up fluffy and separate, never mushy. A well-seasoned wok or heavy skillet makes all the difference.
You’ll get restaurant-quality results with perfectly charred edges, vibrant vegetables, and just the right balance of savory and umami. The technique is precise but simple, requiring only 20 minutes from start to finish.
Serve this as a main dish or alongside your favorite protein. The process is forgiving, and the outcome is always impressive.
Ingredients for Iron Chef Fried Rice
Cold rice, high heat, and a hot wok make this classic dish sing with Iron Chef energy.
| Ingredient | Amount | Notes |
|---|---|---|
| Day-Old Cooked White Rice 🍚 | 4 cups | Cold, preferably overnight |
| Large Eggs 🥚 | 3 whole | Lightly beaten for scrambling |
| Peanut Oil 🫒 | ⅓ cup | High smoke point essential |
| Boneless Chicken Thighs 🍗 | ¾ lb | Diced into small pieces |
| Carrots 🥕 | 2 whole | Peeled and finely diced |
| Green Onions 🧅 | 4 whole | Thinly sliced, whites and greens separated |
| Frozen Peas 🌱 | ¾ cup | No need to thaw |
| Garlic Cloves 🧄 | 3 cloves | Minced for maximum flavor |
| Fresh Ginger 🌿 | 1 tbsp | Finely grated or minced |
| Soy Sauce 💧 | 3 tbsp | Low-sodium preferred for control |
| Oyster Sauce 🍶 | 1 tbsp | Vegan oyster sauce if needed |
| Sesame Oil 🫒 | 1 tsp | Toasted, for finishing |
| Kosher Salt 🧂 | ½ tsp | Adjust to taste |
| White Pepper 🌶️ | ¼ tsp | Freshly ground preferred |
| Shaoxing Wine 🍷 | 2 tbsp | Dry sherry as substitute |
The rice is non-negotiable—day-old, cold, and dry is what gives you that separate, fluffy texture. Jasmine rice is my go-to, but any long-grain works. For the wok, a well-seasoned carbon steel is ideal, but a heavy cast-iron skillet gets you 90% there. Peanut oil handles the high heat without smoking out your kitchen (trust me on this). I grab mine from Asian grocery stores in gallon jugs—way cheaper than the tiny bottles at regular supermarkets.
No chicken? Shrimp or pork work great—just cook them first and set aside. Vegan? Swap in extra-firm tofu pressed and cubed. Skip the oyster sauce? Hoisin or extra soy adds depth. The Shaoxing wine is worth hunting down at H Mart or Amazon, but dry sherry from the liquor store gets you close. Fresh ginger is key—don’t even think about the powdered stuff (just doesn’t cut it).
Cooks in 20 minutes, but prep everything before you start—this moves fast. Leftovers keep 3-4 days in the fridge, but honestly it’s best fresh. Reheat in a skillet with a splash of oil to revive the texture (microwave turns it to mush).
Why You’ll Love This Recipe
- One Pan Wonder: I love throwing everything into the wok and letting the peanut oil work its magic—no complicated steps, just sizzle and stir.
- Crave-Worthy Crunch: That nutty aroma from the peanut oil paired with the crispy chicken thighs? It’s the kind of flavor that makes me go back for seconds.
- Weeknight Hero: Between us, it’s my go-to when I need to feed the family fast—day-old rice soaks up all the good stuff, and leftovers taste even better.
- Budget Friendly: Honestly, stretching chicken thighs and basic veggies into a meal this satisfying feels like winning at dinner.
Step-by-Step Instructions for High-Heat Wok Magic Fried Rice
This is how restaurant chefs achieve that signature wok hei flavor right in your kitchen.
Step 1: Prep and Par-Cook the Protein and Aromatics
Heat a wok or large skillet over high heat until a drop of water sizzles and evaporates instantly. Add 1 tablespoon of the 0.33 cup peanut oil and swirl to coat. Immediately add the 0.75 lb boneless chicken thighs and stir-fry for 2-3 minutes until just cooked through but not yet browned.
Push the chicken to one side, add the minced 3 cloves garlic cloves and 1 tablespoon fresh ginger, and stir-fry for 30 seconds until fragrant. Remove everything to a plate—this par-cooking prevents overcrowding later and ensures each ingredient cooks perfectly in the final assembly.
Step 2: Scramble the Eggs in the Same Pan
Return the wok to high heat and add another 1 tablespoon of the peanut oil. Pour in the 3 whole large eggs and let them set for 10 seconds before scrambling with a spatula. Cook until just set but still slightly runny—this ensures they’ll finish perfectly when combined with the rice.
Transfer the eggs to the plate with the chicken. The residual heat will continue cooking them slightly, so remove them before they’re fully done. This technique creates those beautiful, soft egg ribbons characteristic of professional fried rice.
Step 3: Stir-Fry Vegetables and Rice with High Heat
Add the remaining peanut oil to the wok and heat until shimmering. Add the diced 2 whole carrots and stir-fry for 1 minute until slightly softened. Toss in the 0.75 cup frozen peas and whites of the 4 whole green onions, cooking for another 30 seconds.
Add the 4 cups day-old cooked white rice, breaking up any clumps with your spatula. Press the rice into the pan and let it sit undisturbed for 20-30 seconds to develop a slight crust. Stir-fry for 2-3 minutes until the rice is hot and beginning to toast.
Step 4: Combine Everything with Sauces
Return the chicken and eggs to the wok. Drizzle the 3 tablespoons soy sauce, 1 tablespoon oyster sauce, 2 tablespoons shaoxing wine, 0.5 teaspoon kosher salt, and 0.25 teaspoon white pepper around the edges of the pan. Stir-fry everything together for 2-3 minutes until evenly coated and heated through.
The rice should be slightly crispy in spots, the chicken fully cooked, and the vegetables tender. Taste and adjust seasoning if needed—this is your moment to ensure every bite is packed with flavor.
Step 5: Finish and Garnish
Remove from heat and stir in the 1 teaspoon sesame oil. The residual heat will distribute it perfectly. Garnish with the green parts of the green onions just before serving.
Serve immediately while hot. The ideal texture is a mix of tender and slightly crispy rice with distinct flavors from each ingredient, all tied together by the savory, umami-rich sauce. This is restaurant-quality fried rice, achieved through proper technique and high heat.
Pro Tips For Making Iron Chef Fried Rice
- Use Cold Rice: I learned this the hard way—fresh rice turns to mush. Day-old, straight from the fridge, gives you those separate, firm grains that actually hold up to stir-frying.
- Crank the Heat: Peanut oil can handle it, so get your wok or pan screaming hot before adding anything. Sounds aggressive, but it’s the only way to get that classic Iron Chef wok hei flavor.
- Prep Chicken Small: Cut those chicken thighs into ¼-inch pieces—any bigger and they’ll steam instead of searing. Tiny bits also cook through in seconds, so nothing’s underdone by the time the rice goes in.
- Scramble Eggs First: Push the eggs to one side of the wok after scrambling, then start the rest. This keeps them soft and distinct instead of disappearing into the rice like they often do.
Make-Ahead Tips for iron chef fried rice
Prep Ahead Strategy
This dish comes together in 20 minutes, but the prep work can be done the night before. I always dice the 0.75 lb boneless chicken thighs, 2 whole carrots, and slice the 4 whole green onions in advance. Store them in separate containers in the fridge. 💡
Rice Preparation
Cook the 4 cups white rice a day ahead and refrigerate it uncovered for 1 hour to dry it out. This prevents mushiness when stir-frying. I use jasmine rice for authentic texture, but any long-grain works. Spread it on a baking sheet to cool quickly.
Sauce Mixture
Combine the 3 tablespoons soy sauce, 1 tablespoon oyster sauce, and 2 tablespoons shaoxing wine in a small bowl. This ensures even distribution during cooking. I keep this mixture in the fridge overnight to let flavors meld.
Protein Alternatives
If using shrimp or pork instead of chicken, cook and store them separately in the fridge. For tofu, press and cube it the night before, then store in a sealed container with a paper towel to absorb excess moisture.
Day-Of Assembly
Have all ingredients measured and within reach before heating the wok. The process moves fast, so organization is key. I place everything in small bowls on my tiny Boston kitchen counter for quick access.
Storage Tips
Leftovers keep well in an airtight container for 3-4 days. Reheat in a skillet with a splash of peanut oil to restore texture. Honestly, it’s best fresh, but the flavors still shine the next day. ❄️
Nutrition Facts
Frequently Asked Questions
Why must the rice be cold and day-old?
Cold rice has less moisture, preventing mushiness. Day-old grains are firmer and fry up separate and fluffy, just like in restaurants.
Can I use a regular skillet instead of a wok?
A heavy cast-iron skillet works well at high heat. Just cook in small batches to avoid steaming the rice.
What if my fried rice turns out mushy?
This usually means the rice was too fresh or the pan wasn’t hot enough. Next time, use cold rice and high heat throughout.
How do I get that smoky wok hei flavor at home?
Crank the heat to max and let the rice sit undisturbed for 20-30 seconds. This creates those prized charred bits.

- Indian Jasmine Rice Recipe: Fragrant Basmati-Free Elegance - October 19, 2026
- KFC Rizo Rice Recipe: Copycat Side Dish With Savory Spice Blend - October 19, 2026
- Jeerakasala Rice Recipe: Fragrant Cumin-Infused Kerala Delight - October 19, 2026