
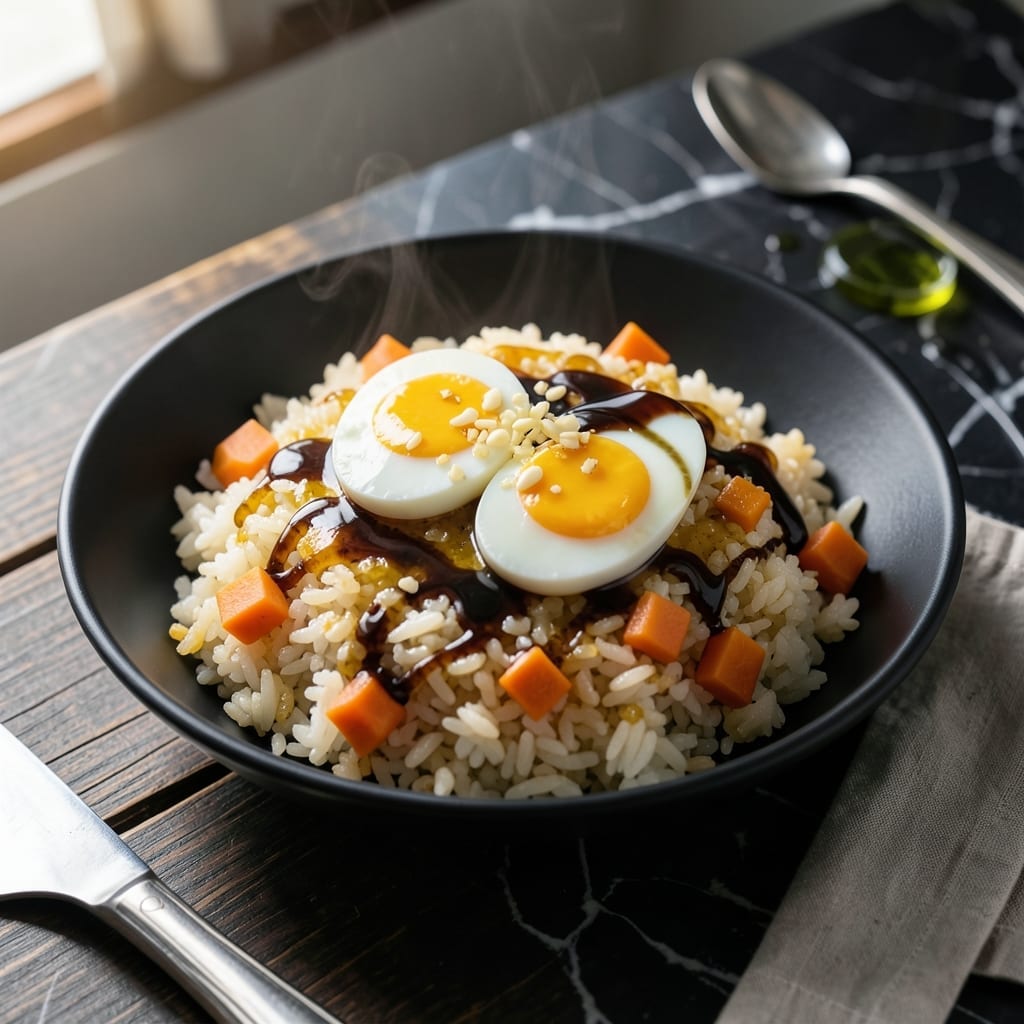
This fried rice transforms leftover rice into a golden-crisped masterpiece with layers of Japanese umami. The secret lies in high-heat wok magic combined with a rich garlic butter base.
Traditional elements like soy sauce and mirin meet the deep, savory notes of garlic butter, creating a dish that’s both comforting and complex. Every grain gets coated in this flavorful blend.
You’ll achieve that coveted texture—crispy edges with tender centers—by using day-old rice and maintaining proper heat control. The aroma alone will draw everyone to the table.
Perfect as a side or main dish, this recipe proves that simplicity can deliver restaurant-quality results at home in 20 minutes.
Ingredients for Japanese Garlic Butter Fried Rice
Pantry staples and fresh aromatics create this umami-packed dish with golden crispiness.
| Ingredient | Amount | Notes |
|---|---|---|
| Day-old Cooked White Rice 🍚 | 4 cups | Chilled overnight, broken up |
| Unsalted Butter 🧈 | 4 tbsp | Divided for cooking |
| Garlic Cloves 🧄 | 6 cloves | Minced finely |
| Large Eggs 🥚 | 2 whole | Lightly beaten |
| Soy Sauce 🫒 | 3 tbsp | Low-sodium preferred |
| Mirin 🍶 | 2 tbsp | Sweet rice wine |
| Frozen Green Peas 🌱 | ¾ cup | Thawed or fresh |
| Carrot 🥕 | 1 whole | Small dice |
| Green Onions 🧅 | 3 whole | Thinly sliced, whites and greens separated |
| Sesame Oil 🫒 | 1 tsp | Toasted variety preferred |
| White Pepper 🌶️ | ½ tsp | Freshly ground |
| Salt 🧂 | ½ tsp | Adjust to taste |
| Nori Seaweed Sheets 🌊 | 1 sheet | Cut into thin strips for garnish |
The rice must be day-old and cold—freshly cooked rice turns to mush in the wok. Jasmine or short-grain white rice yields the best texture. For the butter, Plugrá or Kerrygold are excellent choices, but any unsalted variety works. The garlic should be freshly minced (pre-minced lacks the punch). Asian markets carry authentic mirin, but Kikkoman Aji-Mirin is widely available at standard grocery stores.
No mirin? Substitute with 1 tbsp rice vinegar plus 1 tsp sugar. Soy sauce can be replaced with tamari for gluten-free needs. For extra umami, add 1 tsp miso paste with the butter. The nori is optional but highly recommended—look for sushi-grade sheets. Frozen peas can be swapped for edamame or diced bell peppers for color variation.
Leftovers keep 3-4 days in the fridge but are best enjoyed fresh. Reheat in a skillet over medium heat to restore crispiness. For meal prep, store components separately and combine when reheating. Freezes for up to 3 months (without nori garnish).
Why You’ll Love This Recipe
- I’ll be real: it’s my go-to when I need to stretch a meal for unexpected guests or hungry teens.
- One Pan Wonder: I throw everything into a single pan—day-old rice, butter, garlic, eggs—and it’s done in 15 minutes flat.
- Umami Bomb: The soy sauce and garlic butter create this rich, savory depth that makes every bite ridiculously good.
- Feeds a Crowd: I’ll be real: it’s my go-to when I need to stretch a meal for unexpected guests or hungry teens.
Step-by-Step Instructions for Japanese Garlic Butter Fried Rice
Master the technique to achieve that signature golden crispiness and umami depth in every bite.
Step 1: Prepare the Aromatics and Vegetables
Finely mince the 6 cloves garlic cloves until they resemble a coarse paste—this releases maximum flavor. Dice the 1 whole carrot into small, uniform cubes so they cook evenly and quickly.
Thinly slice the 3 whole green onions, keeping the white and green parts separate. The whites will cook with the aromatics while the greens stay fresh as a garnish. Thaw the 0.75 cup frozen green peas under warm water if using frozen, or pat fresh peas dry.
Step 2: Scramble the Eggs and Cook the Garlic
Lightly beat the 2 whole large eggs with a fork until the yolks and whites are fully combined. Heat 1 tbsp of the 4 tbsp unsalted butter in a wok or large skillet over medium-high heat until it melts and begins to foam.
Add the beaten eggs and scramble quickly until just set but still slightly runny. Remove the eggs from the pan and set aside. In the same pan, add another 1 tbsp unsalted butter, then the minced garlic. Cook for 30-45 seconds until fragrant and golden—don’t let it brown or it will turn bitter.
Step 3: Combine Rice and Vegetables
Increase heat to high and add the remaining 2 tbsp unsalted butter to the pan. Once melted, add the 4 cups day-old cooked white rice, breaking up any clumps with your spatula. Stir-fry for 2-3 minutes until the rice is heated through and begins to crisp slightly at the edges.
Add the diced carrot and cook for another 2 minutes until the edges soften. Stir in the green peas and the white parts of the green onions. Pour in the 3 tbsp soy sauce and 2 tbsp mirin, tossing everything to coat evenly. The rice should start to develop a glossy sheen.
Step 4: Finish with Seasonings and Eggs
Return the scrambled eggs to the pan and stir to combine. Drizzle in the 1 tsp sesame oil, then season with 0.5 tsp salt and 0.5 tsp white pepper. Toss everything together for 1-2 minutes until the rice is uniformly coated and heated through.
Taste and adjust seasoning if needed—the soy sauce may make additional salt unnecessary. The rice should be golden and slightly crispy in spots, with a rich, savory aroma. Remove from heat and let it rest for 1 minute to allow flavors to meld.
Step 5: Garnish and Serve
Transfer the fried rice to a serving dish. Garnish with the reserved green onion greens and the 1 sheet nori seaweed sheets, cut into thin strips. The nori adds a subtle oceanic note that complements the umami depth of the dish.
Serve immediately while hot, ensuring every portion has a mix of crispy rice, tender vegetables, and the rich garlic-butter flavor. The contrast of textures and layers of taste should be evident in each bite.
Pro Tips For Making Japanese Garlic Butter Fried Rice
- Chill the Rice: Use day-old rice straight from the fridge—it’s drier and fries up fluffier. I learned this the hard way after making mushy rice with fresh batches.
- Low and Slow Garlic: Cook the minced garlic in butter on medium-low heat until just golden, about 2-3 minutes. Burnt garlic turns bitter fast, and nobody wants that in their fried rice.
- Push Eggs to the Side: Scramble the eggs in the pan first, then push them to one side before adding rice. This keeps them soft and distinct instead of disappearing into the grains.
- Salt the Eggs: Add a pinch of soy sauce to the beaten eggs before cooking—more salt than you think, especially since the butter is unsalted. It makes a real difference in the final flavor.
Health Benefits of This Dish
Energy Boost
This dish packs complex carbohydrates from the rice, providing steady energy that keeps you full for hours. The 4 cups of rice offer slow-digesting fuel, ideal for active days. I always feel energized after eating this. 💪
Protein Power
The 2 eggs add 12 grams of protein to the meal, supporting muscle repair and satiety. Combined with the rice, this creates a balanced amino acid profile that your body can easily use for recovery and growth.
Heart-Healthy Fats
The 4 tbsp butter provides essential fatty acids that support brain function and cell health. While butter is rich, it also contains fat-soluble vitamins like A and K2 that contribute to overall wellness.
Vitamin Rich
Carrots bring vitamin A for eye health, while green onions provide vitamin K and C. These nutrients support immune function and help your body absorb other essential minerals from the meal.
Umami Benefits
Soy sauce and mirin deliver umami compounds that may enhance digestion and gut health. These fermented ingredients also provide antioxidants that combat inflammation in the body.
Low-Calorie Additions
The 0.75 cup peas add fiber and volume with minimal calories, making this a satisfying yet balanced option. Their natural sweetness complements the savory flavors beautifully.
Nutrition Facts
Frequently Asked Questions
Can I use fresh rice instead of day-old?
No, fresh rice contains too much moisture and will turn mushy. Day-old rice is drier and fries up crispy. For best results, spread freshly cooked rice on a tray and refrigerate overnight.
What can I substitute for mirin?
Use 1 tbsp rice vinegar plus 1 tsp sugar to mimic mirin’s sweet-tangy balance. In a pinch, dry sherry or sweet white wine works too, but adjust sugar to taste.
How do I prevent the garlic from burning?
Cook minced garlic in butter over medium-high heat for only 30-45 seconds until fragrant and golden. Remove from pan immediately if it starts browning to avoid bitterness.
Can I make this gluten-free?
Yes! Swap soy sauce for tamari and ensure your mirin is gluten-free. All other ingredients are naturally gluten-free, so the dish remains just as flavorful.

- Indian Jasmine Rice Recipe: Fragrant Basmati-Free Elegance - October 19, 2026
- KFC Rizo Rice Recipe: Copycat Side Dish With Savory Spice Blend - October 19, 2026
- Jeerakasala Rice Recipe: Fragrant Cumin-Infused Kerala Delight - October 19, 2026