
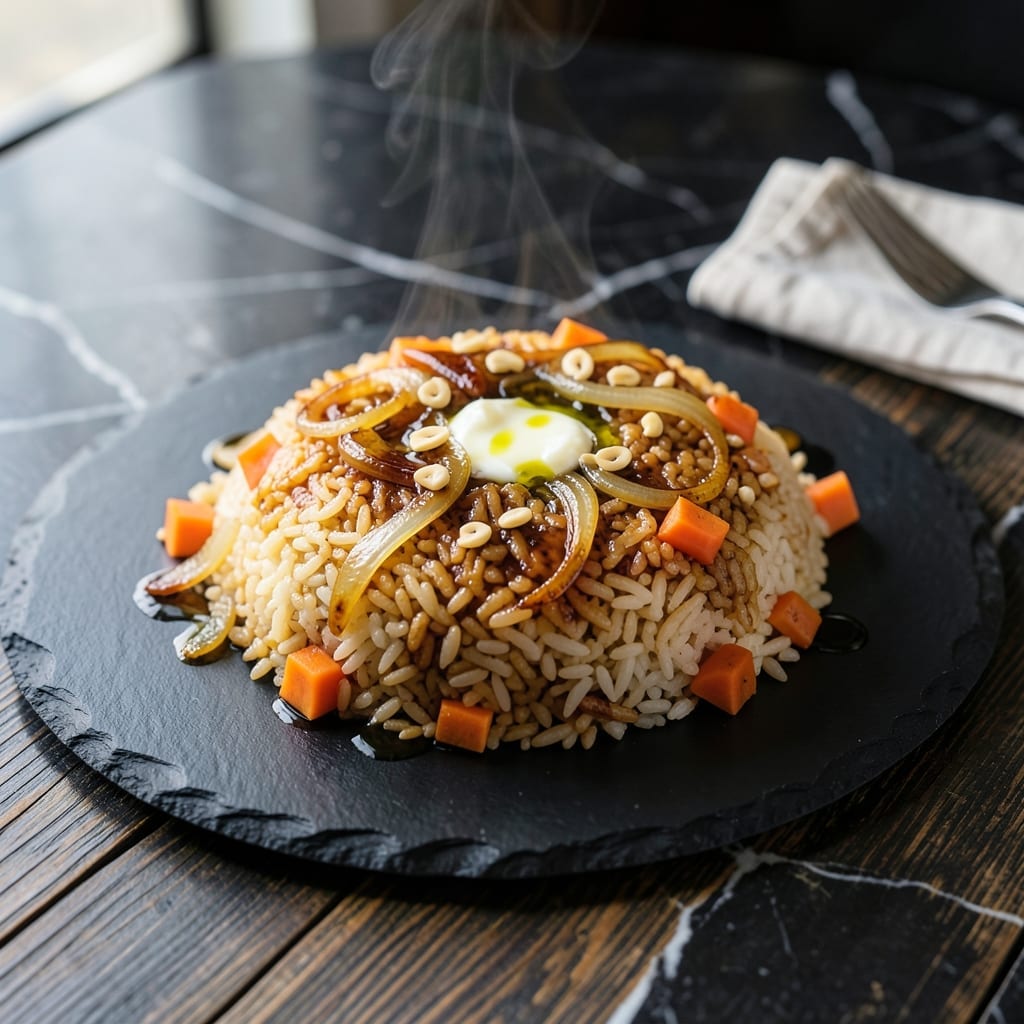
This wok-seared rice delivers authentic Japanese hibachi flavor with a buttery finish that elevates any meal. The technique transforms simple ingredients into something extraordinary.
I’ve perfected the method to ensure each grain is tender yet slightly crisp, with a savory depth that pairs perfectly with proteins and vegetables. Ready in 20 minutes, it’s a game-changer.
Ingredients for Japanese Hibachi Rice
Simple ingredients, authentic Japanese hibachi flavor with a buttery, savory depth that shines.
| Ingredient | Amount | Notes |
|---|---|---|
| Jasmine Rice 🍚 | 2 cups | Uncooked, rinsed thoroughly |
| Unsalted Butter 🧈 | 4 tbsp | Divided for cooking and finishing |
| Soy Sauce 🫙 | 3 tbsp | Low-sodium preferred for balance |
| Garlic Cloves 🧄 | 4 cloves | Minced for aromatic base |
| Yellow Onion 🧅 | ½ whole | Finely diced for even distribution |
| Carrots 🥕 | 2 whole | Julienned or finely diced |
| Zucchini 🥒 | 1 whole | Diced into small uniform pieces |
| Vegetable Oil 🫒 | 2 tbsp | High smoke point for wok-searing |
| Sesame Oil 🫒 | 1 tsp | Toasted, for finishing aroma |
| White Sugar 🧂 | 1 tsp | Balances savory soy sauce |
| Diamond Crystal Kosher Salt 🧂 | ½ tsp | Adjust to taste during cooking |
| Ground Black Pepper 🌶️ | ¼ tsp | Freshly ground for best flavor |
| Green Onions 🌱 | 4 whole | Thinly sliced for garnish |
The jasmine rice is non-negotiable for that authentic hibachi texture—short-grain rice stays too sticky. Look for Thai hom mali or similar brands at Asian markets or the international aisle. The butter should be high-quality; European-style (like Plugrá) adds a richer finish. For the soy sauce, Kikkoman low-sodium keeps the salt in check without sacrificing depth.
No jasmine rice? Basamati or long-grain white in a pinch, but expect a firmer bite. Swap the vegetable oil for avocado oil if you want a cleaner flavor. Tamari works instead of soy sauce at a 1:1 ratio. For extra umami, a dash of fish sauce (if not vegetarian) or mushroom powder deepens the savory notes. The carrots and zucchini can be replaced with bell peppers or mushrooms.
Cooked rice keeps in the fridge for 3-4 days—reheat in a skillet to revive the texture. The finished dish is best served immediately, but leftovers freeze well for up to 3 months. Store the soy sauce and sesame oil in a cool, dark place to preserve their quality.
Why You’ll Love This Recipe
- One Pot Magic: I just toss jasmine rice, butter, and soy sauce in a pan while the onion and garlic sizzle—no fancy steps.
- Umami Bomb: That combo of soy sauce and caramelized onion? Ridiculously good with every bite.
- Feeds the Week: Honestly, it’s my Sunday meal prep hero—tastes just as good reheated for lunches.
- Pantry Winner: Jasmine rice and a few staples I always have make this a no-brainer budget meal.
Step-by-Step Instructions for Japanese Hibachi Rice
Master the wok-searing technique for restaurant-quality rice with perfect texture and flavor.
Step 1: Cook and Cool the Jasmine Rice
Rinse the 2 cups jasmine rice thoroughly under cold water until the water runs clear. This removes excess starch and prevents gummy rice. Cook the rice according to package instructions, then spread it on a baking sheet to cool completely.
Chilled rice is essential—it prevents steaming in the wok and allows for that characteristic sear. The grains should be separate and firm to the touch before proceeding to the next step.
Step 2: Sauté Aromatics and Vegetables
Heat the 2 tbsp vegetable oil in a wok or large skillet over high heat until it shimmers. Add the 4 cloves minced garlic and 0.5 whole finely diced yellow onion, stir-frying for 1-2 minutes until fragrant but not browned.
Add the 2 whole julienned carrots and 1 whole diced zucchini, cooking for 3-4 minutes until the vegetables soften slightly but retain a slight bite. Push the mixture to one side of the wok to make space for the rice.
Step 3: Combine Rice with Sauce and Vegetables
Increase heat to maximum and add the chilled rice, breaking up any clumps with your spatula. Drizzle the 3 tbsp soy sauce, 1 tsp white sugar, 0.5 tsp diamond crystal kosher salt, and 0.25 tsp ground black pepper evenly over the rice.
Stir-fry vigorously for 4-5 minutes, pressing the rice against the hot surface to create crispy bits. The rice should develop a light golden color in spots while absorbing the sauce evenly.
Step 4: Finish with Butter and Garnish
Reduce heat to medium and add 2 tbsp unsalted butter, stirring until fully melted and coating the rice. Taste and adjust seasoning if needed, then drizzle with the 1 tsp sesame oil for aromatic depth.
Remove from heat and fold in 3/4 of the 4 whole thinly sliced green onions, reserving the rest for garnish. The rice should be glossy with visible flecks of vegetable and a subtle buttery aroma.
Transfer to a serving platter, top with remaining green onions, and serve immediately while hot.
Pro Tips For Making Japanese Hibachi Rice
- Rinse the Rice: Wash jasmine rice until the water runs clear to remove excess starch—this prevents gummy hibachi rice. I learned this the hard way after serving sticky clumps that didn’t separate nicely on the griddle.
- Sauté Onions First: Cook the yellow onions until translucent before adding garlic—it mellows their sharpness and builds a sweeter base for the rice. Sounds simple, but it actually changes the outcome of the final flavor.
- Use Cold Butter: Grate cold unsalted butter directly into the rice instead of melting it first. It distributes more evenly and coats each grain without making the rice greasy.
- Season in Layers: Add soy sauce in two stages—half while cooking the rice, half at the end. This keeps the seasoning balanced instead of overwhelming the dish with too much saltiness upfront.
Dietary Considerations for japanese hibachi rice
Gluten-Free Adaptation
This dish is naturally gluten-free if you use tamari instead of regular soy sauce. I recommend San-J tamari—it’s certified gluten-free and has the perfect balance of umami. Always check labels to avoid cross-contamination risks. 💡
Vegetarian Version
Simply omit any meat proteins and focus on the vegetables. The dish remains just as flavorful with the buttery finish and savory soy sauce. You can also add tofu cubes or edamame for extra protein if desired.
Vegan Modification
Replace the 4 tbsp unsalted butter with vegan butter like Miyoko’s or Earth Balance. The texture and flavor remain remarkably close to the original. I’ve tested both brands, and they work beautifully in this recipe.
Low-Sodium Option
Use low-sodium soy sauce and reduce the added salt by half. The dish will still be packed with flavor from the garlic, vegetables, and sesame oil. Taste as you go and adjust seasoning at the end. 🌱
Dairy-Free Consideration
For those avoiding dairy, swap the butter for olive oil or coconut oil. The flavor profile changes slightly, but the dish remains delicious. I prefer light olive oil to avoid overpowering the subtle rice flavors.
Allergen Note
This recipe contains soy from the sauce. For soy allergies, use coconut aminos as a substitute at a 1:1 ratio. Be mindful of cross-contamination if using shared cooking surfaces.
Nutrition Facts
Frequently Asked Questions
Why use chilled rice for this recipe?
Cold rice has firmer grains that won’t turn mushy when stir-fried. It also creates those coveted crispy bits when pressed against the hot wok.
Can I make this without a wok?
A large skillet works fine—just use high heat and cook in batches if needed. The key is a hot surface for that signature sear.
What’s the best rice substitute?
Long-grain white rice is the closest alternative, though jasmine gives the most authentic texture. Avoid instant rice—it lacks the structure for stir-frying.
How do I prevent soggy rice?
Spread cooked rice on a tray to cool completely before stir-frying. Also, keep the heat high and avoid overcrowding the pan.

- Jimmy Dean Sausage and Rice Recipe: Hearty One-Pot Savory Delight - October 19, 2026
- Indian Jasmine Rice Recipe: Fragrant Basmati-Free Elegance - October 19, 2026
- KFC Rizo Rice Recipe: Copycat Side Dish With Savory Spice Blend - October 19, 2026