
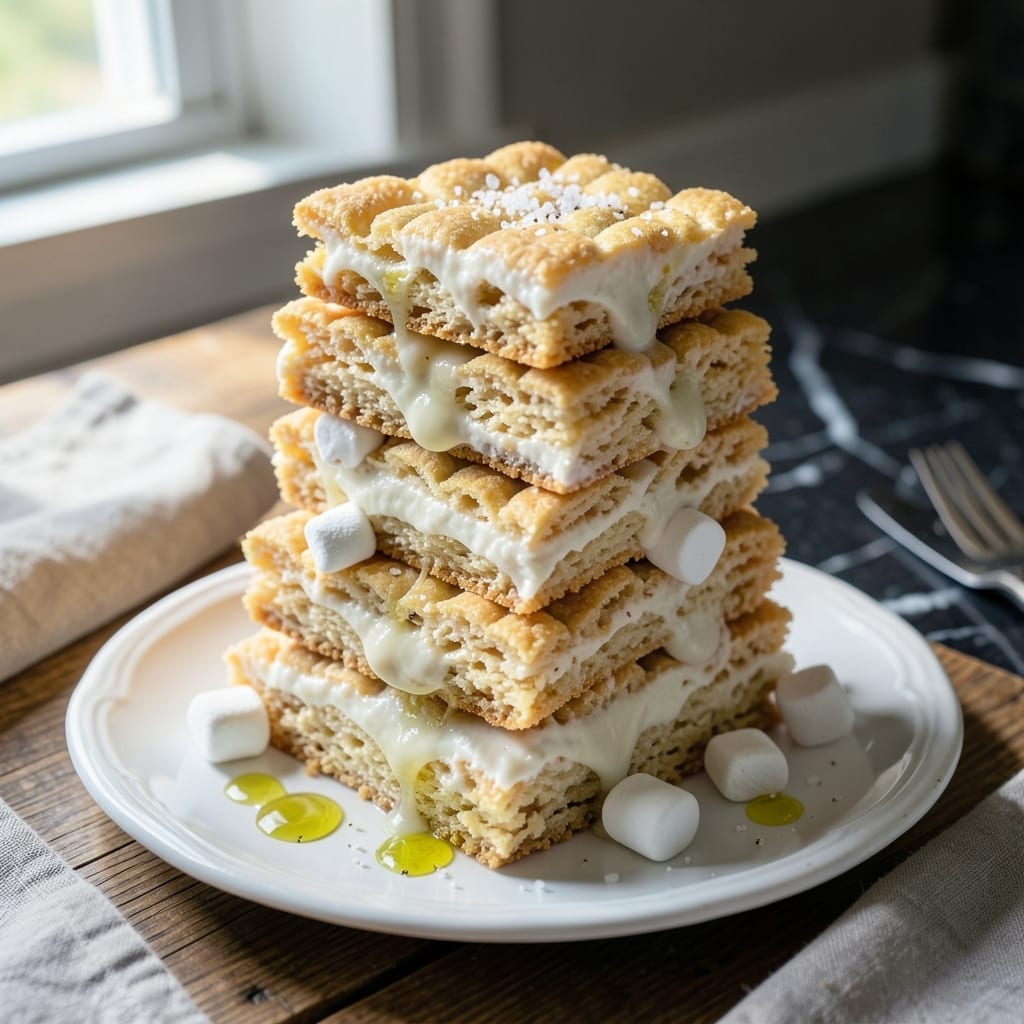
This no-bake treat transforms simple ingredients into extra gooey squares that outshine the classic version. The secret lies in using marshmallow creme for maximum melt and stretch.
I developed this method after years of testing ratios to achieve the perfect balance between crispy cereal and marshmallow binding. It requires just 15 minutes of active prep before setting.
The result is a batch of squares with a sticky-sweet texture that holds together beautifully when cut. Each bite delivers that nostalgic crunch with an upgraded level of gooeyness.
These keep well for days and are ideal for parties, lunchboxes, or a quick sweet fix. The process couldn’t be simpler.
Ingredients for Jet Puffed Marshmallow Creme Rice Krispie
Seven ingredients create these ultra-gooey, crispy-edged squares with minimal effort and maximum payoff.
| Ingredient | Amount | Notes |
|---|---|---|
| Rice Krispies Cereal 🥣 | 6 cups | Classic variety preferred |
| Jet Puffed Marshmallow Creme 🍬 | 10 oz | Entire container used |
| Unsalted Butter 🧈 | ½ cup | 1 stick, for melting |
| Vanilla Extract 🌿 | 1 tsp | Pure extract preferred |
| Salt 🧂 | ¼ tsp | Fine grain, for balance |
| Mini Marshmallows 🍡 | 2 cups | Optional for extra texture |
| Sea Salt Flakes 🧂 | ½ tsp | For topping, optional |
The marshmallow creme is non-negotiable here—Jet Puffed is the gold standard for melt and stretch. Most grocery stores carry it near the baking aisle. Use name-brand Rice Krispies for that signature snap (generic brands can go soggy). The butter should be unsalted so you control the salt content yourself. I always grab European-style for its higher fat content, which gives a richer finish.
No marshmallow creme? 16 oz regular marshmallows melted with an extra tablespoon of butter gets close, but the texture won’t be as smooth. Skip the mini marshmallows if you want pure creme gooeyness. Vanilla is subtle but worth it—use the real stuff, not imitation. The salt might seem unnecessary, but it cuts the sweetness perfectly (don’t skip it).
These set up in about 2 hours at room temperature, or 30 minutes in the fridge if you’re impatient. Store in an airtight container with parchment between layers—they’ll keep for 5 days. Freeze for longer storage, but they’re best fresh.
Why You’ll Love This Recipe
- One Pot Wonder: I melt the butter, stir in the marshmallow creme, and fold in the cereal—no extra bowls, no fuss.
- Crave-Worthy Flavor: That vanilla-kissed sweetness with a buttery crunch? It’s the reason I make a double batch.
- Party Ready: I’ve brought these to potlucks, birthday parties, and even movie nights—always the first to disappear.
- Budget Friendly: A box of Rice Krispies and a jar of marshmallow creme feed a crowd for under ten bucks. Honestly, it’s a steal.
Step-by-Step Instructions for Jet Puffed Marshmallow Creme Rice Krispie Treats
This method ensures the perfect balance of crispy cereal and ultra-gooey marshmallow in every bite.
Step 1: Melt the Butter and Prepare the Base
In a large pot, melt the 0.5 cup Unsalted Butter over low heat. I use a pot rather than a saucepan to provide ample space for mixing later. Once fully melted, add the 0.25 tsp Salt and 1 tsp Vanilla Extract, stirring to combine.
The butter should be completely liquid with no solid pieces remaining. This step infuses the base with subtle sweetness and depth, ensuring every bite of the final product is richly flavored. Keep the heat low to prevent browning or burning.
Step 2: Incorporate the Marshmallow Creme and Mini Marshmallows
Add the entire 10 oz Jet Puffed Marshmallow Creme to the pot and stir continuously. The creme will begin to soften and melt into the butter mixture, creating a glossy, smooth base. This process takes about 2-3 minutes on low heat.
Once the marshmallow creme is nearly fully incorporated, add the 2 cups Mini Marshmallows. Continue stirring until they are completely melted and the mixture is velvety. The combination of creme and mini marshmallows creates an extra-gooey texture that sets this recipe apart.
Step 3: Fold in the Rice Krispies Cereal
Remove the pot from heat and immediately add all 6 cups Rice Krispies Cereal. Using a silicone spatula, fold the cereal into the marshmallow mixture gently but thoroughly. The cereal should be evenly coated with the marshmallow mixture, with no dry spots remaining.
This step requires quick action—the marshmallow mixture will begin to set as it cools. I aim to have the cereal fully incorporated within 1-2 minutes. If the mixture seems too thick, you can return the pot to very low heat for 10-15 seconds to loosen it slightly, but avoid overheating.
Step 4: Press and Shape the Treats
Transfer the mixture to a 9×13-inch baking dish lined with parchment paper. Using the spatula or buttered hands, press the mixture evenly into the dish. Apply firm, even pressure to ensure the treats hold together well once set.
For a professional finish, I use an offset spatula to smooth the top surface. If you prefer thicker treats, a 9×9-inch dish will work, but adjust the pressing time accordingly. Let the mixture cool at room temperature for 15-20 minutes to firm up slightly before cutting.
Step 5: Cut and Finish with Sea Salt Flakes
Once the treats are cool enough to handle but still slightly warm, use a sharp knife to cut them into 16 equal squares. For clean cuts, I dip the knife in warm water between slices to prevent sticking.
Sprinkle the 0.5 tsp Sea Salt Flakes evenly over the top of the treats, pressing lightly to adhere. This final touch balances the sweetness with a subtle salty contrast. Allow the treats to cool completely before serving to ensure they hold their shape and texture perfectly.
Pro Tips For Making Jet Puffed Marshmallow Creme Rice Krispie
- Melt Butter Slowly: Use low heat when melting the butter and marshmallow creme together—I learned this the hard way after scorching two batches. The creme burns faster than you’d expect.
- Measure While Warm: Weigh or measure your Rice Krispies while the marshmallow mixture is still hot. It thickens quickly, and you’ll be racing against the clock once it starts to set.
- Press Lightly: Resist the urge to pack the mixture too tightly into the pan. A gentle press keeps the treats tender; over-compressing turns them into dense, chewy bricks.
- Add Vanilla Early: Stir the vanilla extract into the melted butter before adding the marshmallow creme. This distributes the flavor evenly instead of leaving concentrated pockets.
Regional Styles of This Recipe
Midwest Classic
In the Midwest, we keep things simple but indulgent. The standard approach uses only Jet Puffed Marshmallow Creme and Rice Krispies, with a pinch of salt to balance the sweetness. This version stays true to the no-fuss, crowd-pleasing roots of the dish. 💛
Southern Praline Twist
Down South, we add 1 cup chopped pecans and a drizzle of caramel sauce before pressing into the pan. The pecans toast lightly in the warm marshmallow mixture, adding a nutty crunch that pairs perfectly with the gooey base.
West Coast Gourmet
California bakers often elevate this treat with vanilla bean paste and a sprinkle of flaky sea salt. Some even fold in dried cranberries or white chocolate chips for a sophisticated touch that still feels nostalgic.
Northeast Nostalgic
New Englanders love adding 1 cup mini marshmallows for extra texture, creating pockets of pure marshmallow in every bite. This version is all about that melt-in-your-mouth experience that takes you back to childhood.
Texas Bold
Everything’s bigger in Texas, including the flavor. Try adding ½ tsp cinnamon and ¼ tsp cayenne to the melted butter for a warm, spicy kick. The heat is subtle but adds depth to the sweetness. 🔥
Pacific Northwest
Seattle bakers often use brown butter and a touch of maple syrup for a deeper, caramelized flavor. The nutty aroma of browned butter complements the marshmallow beautifully, creating a richer, more complex treat.
Nutrition Facts
Frequently Asked Questions
Can I use regular marshmallows instead of creme?
Yes, but use 16 oz and add 1 tablespoon extra butter. The texture won’t be as smooth, but it’ll still work.
Why do my squares fall apart when cutting?
Press the mixture firmly into the pan and let it set for at least 2 hours. Also, use a sharp knife dipped in warm water for clean slices.
How long do these stay fresh?
Store in an airtight container at room temperature for up to 5 days. For longer storage, freeze for up to 1 month.
Can I add chocolate chips to the mix?
Fold in 1 cup after mixing in the cereal. The chocolate will soften slightly but keep its shape.

- Mujadara Rice and Lentils Recipe: Earthy Spiced Lentils With Caramelized Onions - November 1, 2026
- Naija Fried Rice Recipe: Street-Style Spice With Veggie Crunch - November 1, 2026
- Mushy Rice Recipe: Fluffy Grains Transformed in Minutes - November 1, 2026