
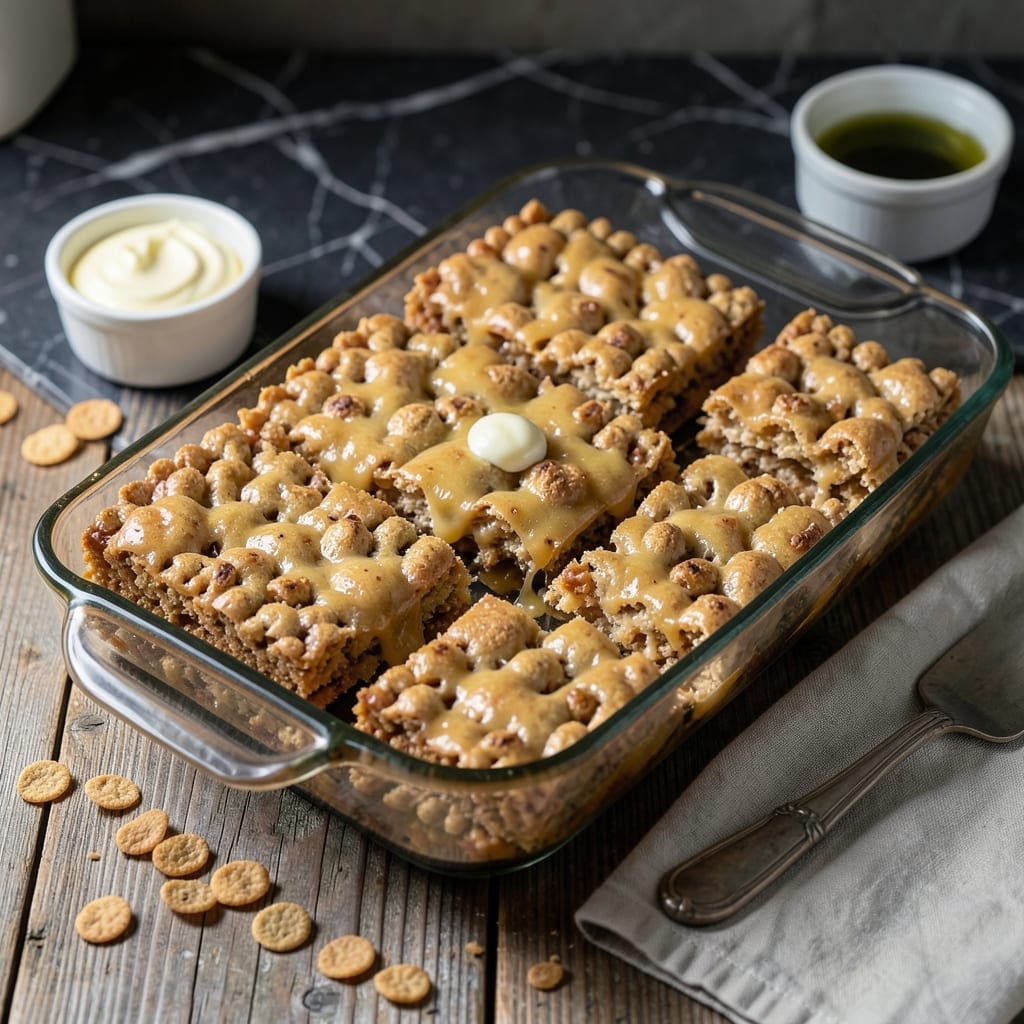
There’s a reason these treats have been a classic for generations—they’re the perfect balance of gooey and crisp. I’ve refined this method to ensure every batch delivers that signature snap without sacrificing the melt-in-your-mouth marshmallow center.
The key lies in timing and temperature. Melt the butter and marshmallows just until smooth, then fold in the cereal while the mixture is still warm. This ensures even coating and prevents the squares from turning rock-hard as they cool.
What you’ll get are golden, glossy squares with a crisp exterior and a soft, stretchy center. They hold their shape when cut but still yield that satisfying chew with every bite.
Ideal for lunchboxes, potlucks, or a quick sweet fix. This recipe never fails to deliver.
Ingredients for Jet Puffed Marshmallow Rice Krispie
Five ingredients transform into these golden, glossy squares everyone loves.
| Ingredient | Amount | Notes |
|---|---|---|
| Jet-Puffed Marshmallows 🍬 | 10 oz | Mini or regular size |
| Rice Krispies Cereal 🥣 | 6 cups | Fresh for best crispness |
| Unsalted Butter 🧈 | ½ cup | 1 stick, for melting |
| Vanilla Extract 🌿 | 1 tsp | Pure extract preferred |
| Salt 🧂 | ¼ tsp | Fine grain for balance |
The marshmallows matter here. Jet-Puffed melts smoothly and holds its stretch—off-brands can get grainy or seize up. Grab the 10-ounce bag (not the giant one) unless you’re doubling. Butter quality affects flavor, so skip the margarine. I always use Land O’Lakes unsalted for a clean taste. The cereal should be fresh from the box—stale Rice Krispies just won’t give you that signature snap.
No Jet-Puffed? Kraft marshmallows work in a pinch, but they’re slightly sweeter. Out of Rice Krispies? Corn Chex or Crispix add a nice crunch. Want extra flavor? Stir in one-third cup peanut butter with the melted butter. The vanilla is optional but worth it—McCormick’s pure extract is my go-to. Skip the salt if your butter is salted.
These keep at room temperature in an airtight container for up to 3 days (if they last that long). They’ll soften over time, so stack with parchment between layers. For longer storage, freeze for up to 6 weeks—thaw at room temp before serving.
Why You’ll Love This Recipe
- One Pot Wonder: Honestly, it’s just melt, mix, and press—no fancy steps, no special tools. I’ve made these in my tiny apartment kitchen with one pot and a wooden spoon.
- Go-To Sweetness: The Jet-Puffed marshmallows melt into this glossy, sticky perfection that coats every Rice Krispie. That hint of vanilla? It’s the little upgrade that makes them irresistible.
- Crowd Pleaser: Between us, these disappear at potlucks, birthday parties, or just a random Tuesday when the kids need a treat. Even the picky eaters come back for seconds.
- Budget Friendly: A box of cereal, a bag of marshmallows, and a stick of butter feed a whole group. I’ll be real: it’s my go-to when I need something sweet without breaking the bank.
Step-by-Step Instructions for Jet Puffed Marshmallow Rice Krispie Treats
Master the technique for perfectly gooey treats with that signature crispy snap every time.
Step 1: Melt the Butter
In a large pot, melt the 0.5 cup Unsalted Butter over low heat. I use a heavy-bottomed pot to prevent hot spots that can burn the butter. You want it fully melted but not browned—just liquid with a few small foam bubbles.
This step creates the fat base that will help the marshmallows melt smoothly. If your butter starts to sizzle or brown, reduce the heat immediately. Burnt butter will give your treats an unpleasant, bitter flavor that ruins the entire batch.
Step 2: Toast the Marshmallows
Add all 10 oz Jet-Puffed Marshmallows to the melted butter. Stir constantly with a silicone spatula as they begin to soften. This process takes about 3-5 minutes on low heat—patience is key.
Watch for the marshmallows to completely melt into a smooth, glossy mixture. You’ll notice the volume reduce significantly as they transform from puffy white clouds to a thick, sticky liquid. Don’t rush this by increasing the heat; high heat can make the marshmallows seize up or burn.
Once fully melted, stir in the 1 tsp Vanilla Extract and 0.25 tsp Salt. The vanilla adds depth of flavor while the salt balances the sweetness perfectly.
Step 3: Combine with Cereal
Remove the pot from heat and immediately add all 6 cups Rice Krispies Cereal. Using the same spatula, fold the cereal into the marshmallow mixture with quick, gentle strokes. You want to coat every piece evenly without crushing the cereal.
I work quickly here because the marshmallow mixture begins to set as it cools. After about 30 seconds of folding, you should have a uniform mixture where each crispy rice piece glistens with the marshmallow coating. If you notice the mixture starting to stiffen before all the cereal is incorporated, return the pot to very low heat for 10-15 seconds to soften it slightly.
Step 4: Press and Set
Transfer the mixture to a greased 9×13-inch pan or a pan lined with parchment paper. I prefer using a metal spatula or my hands (lightly greased with butter) to press the mixture evenly into the pan. Apply firm, even pressure to create a uniform layer.
Don’t press too hard—you want to maintain some air in the mixture for that perfect crispy texture. The surface should be smooth and level, with no bald spots showing bare cereal. If the mixture sticks to your hands or spatula, wet your hands with cool water or re-grease your spatula.
Let the treats cool at room temperature for at least 1 hour before cutting. This cooling period allows the marshmallow to set properly, creating that ideal balance between gooey and firm that makes these treats so satisfying.
Step 5: Cut and Serve
Once completely cool, use a sharp knife to cut into 16 equal squares. For clean cuts, I dip the knife in hot water between each slice. This prevents the marshmallow from sticking to the blade and pulling up the edges of the treats.
Each square should hold its shape when lifted, with crisp edges and a slightly glossy surface. The ideal treat will have a perfect snap when you break it, followed by that characteristic gooey pull as you take a bite. Serve at room temperature for the best texture.
Pro Tips For Making Jet Puffed Marshmallow Rice Krispie
- Melt Slowly: Use low heat when melting the marshmallows and butter—high heat can scorch them, leaving a bitter taste. I learned this the hard way after ruining a batch with burnt, blackened marshmallows.
- Freshen the Cereal: If your Rice Krispies have been sitting open for a while, spread them on a tray and bake at 300°F for 5 minutes to crisp them back up. Sounds weird, but it works.
- Grease Everything: Butter your spatula, the bowl, even your hands—sticky marshmallow mix will cling to anything. My grandmother swore by this, and she was right.
- Press Lightly: Don’t pack the mixture into the pan too firmly or the treats will turn dense and hard. A gentle press keeps them airy and crisp.
Health Benefits of This Recipe
Energy Boost
These treats provide a quick carbohydrate boost from the Rice Krispies and Jet-Puffed Marshmallows, making them ideal for active kids or a pre-workout snack. The 6 cups of cereal offer about 24 grams of carbs per serving, giving you that instant energy lift when you need it most. 💪
Low Fat Indulgence
With only ½ cup of butter for the entire batch, each square contains minimal fat compared to other desserts. This makes them a lighter sweet option when you’re craving something indulgent without the guilt of heavier baked goods.
Vitamin Fortification
The Rice Krispies cereal is fortified with essential vitamins and minerals, including iron and several B vitamins. While not a health food, this means your treat contributes small amounts of important nutrients that support daily energy metabolism.
Gluten-Free Option
For those with gluten sensitivities, simply swap regular Rice Krispies for gluten-free Rice Krispies. The Jet-Puffed Marshmallows are naturally gluten-free, making this an easy adaptation that maintains the same great texture and flavor.
Portion Control
At about 100-120 calories per square, these treats are naturally portion-controlled. The 16-square yield makes it easy to enjoy just one or two without overindulging, perfect for satisfying sweet cravings mindfully.
Quick Energy Source
I often pack these for hikes or long drives—the combination of simple carbs from the marshmallows and cereal provides fast fuel when you’re on the go. The sugar gives an immediate boost while the cereal offers slightly longer-lasting energy.
Nutrition Facts
Frequently Asked Questions
Can I use mini marshmallows instead of regular?
Yes! Use the same 10 oz by weight. Mini marshmallows melt faster, so reduce heat slightly and stir often to prevent burning.
Why are my treats hard after cooling?
Overcooking the marshmallow mixture or pressing too firmly in the pan causes this. Keep heat at low and press gently for perfect texture.
How do I make them extra gooey?
Add an extra 1 cup of marshmallows or 1/4 cup of corn syrup to the melted mixture. Let them set for 2 hours before cutting.
Can I add mix-ins like chocolate chips?
Fold in up to 1 cup of add-ins after mixing in cereal. Sprinkles or nuts work well too. Let cool completely before cutting.

- Mujadara Rice and Lentils Recipe: Earthy Spiced Lentils With Caramelized Onions - November 1, 2026
- Naija Fried Rice Recipe: Street-Style Spice With Veggie Crunch - November 1, 2026
- Mushy Rice Recipe: Fluffy Grains Transformed in Minutes - November 1, 2026