
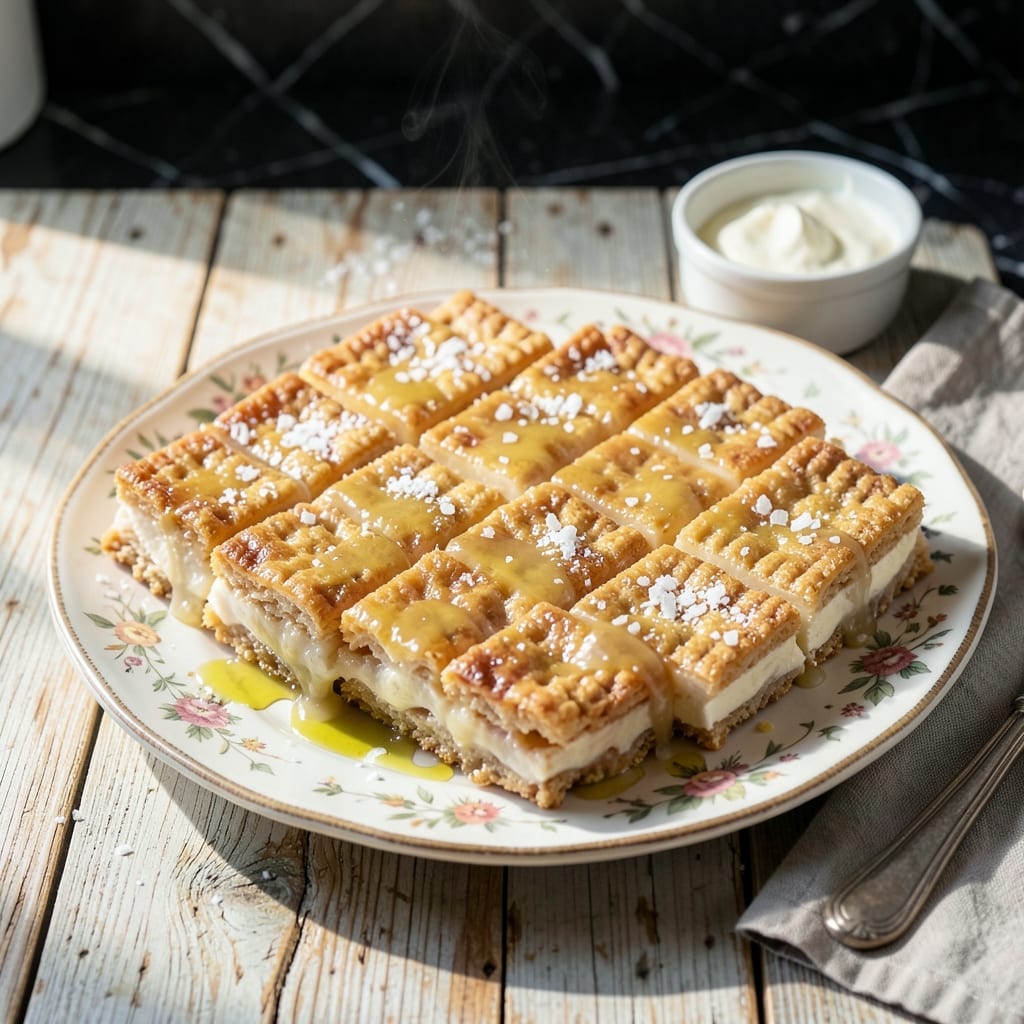
This no-bake classic delivers perfectly crispy edges with gooey centers every time. I’ve tested countless variations, but using Jet-Puffed marshmallows creates the ideal texture—light, airy, and just the right amount of chew.
The process is simple: melt butter, stir in marshmallows until silky, then fold in Rice Krispies. Press the mixture into a pan and let it set. No oven required, and the results are consistently golden and delicious.
What makes this version stand out is the balance of sweetness and snap. The marshmallows melt into a smooth, stretchy glaze that coats every cereal piece, while the Rice Krispies stay crunchy beneath the surface.
Ready in under 15 minutes, this treat is perfect for parties, lunchboxes, or a quick sweet fix. Here’s how to make them.
Ingredients for Jet Puffed Marshmallow Rice Krispie Treat
Six simple ingredients transform into this no-bake golden crunch treat with ease.
| Ingredient | Amount | Notes |
|---|---|---|
| Unsalted Butter 🧈 | ½ cup | For melting and binding |
| Jet-Puffed Marshmallows 🍬 | 10 oz | Mini or regular size |
| Rice Krispies Cereal 🥣 | 6 cups | Fresh for maximum crisp |
| Vanilla Extract 🌿 | 1 tsp | Pure for best flavor |
| Salt 🧂 | ¼ tsp | Fine grain for even distribution |
| Light Corn Syrup 🫙 | 2 tbsp | Optional for extra chew |
The marshmallows are key here—Jet-Puffed gives that perfect stretchy texture. Grab them from any grocery store or big-box retailer. Butter quality matters too; Land O’Lakes or Kerrygold (if you want a richer taste) melt beautifully. For the cereal, Kellogg’s Rice Krispies are the standard, but any crisp rice cereal works in a pinch.
No Jet-Puffed? Store-brand marshmallows are fine, but avoid the stale ones at the back of the shelf. Skip the corn syrup if you prefer a firmer treat. Need a dairy-free swap? Vegan butter works just as well (I’ve tested with Earth Balance). The vanilla can be swapped for almond extract—half the amount for a different flavor twist.
These keep at room temp in an airtight container for 2-3 days. For longer storage, wrap individual squares in plastic—they’ll stay fresh for 1 week. Pressing them into a parchment-lined pan (don’t skip this part) makes cutting easier.
Why You’ll Love This Recipe
- 5-Minute Magic: Honestly, it’s just melt, mix, and press—no baking, no waiting, no fuss.
- Buttery Vanilla Clouds: The Jet-Puffed marshmallows and vanilla extract make them taste like a gourmet s’more without the campfire.
- Party or Lunchbox: I’ve served these at birthdays and packed them for school snacks—they’re always the first to disappear.
- Pennies per Square: A box of Rice Krispies and a bag of marshmallows feed a crowd for less than a fancy dessert.
Step-by-Step Instructions for Jet Puffed Marshmallow Rice Krispie Treats
Here’s the method that guarantees perfect squares with that signature crispy-chewy texture every time.
Step 1: Melt the Butter and Prepare the Marshmallows
In a large, heavy-bottomed pot, melt the 0.5 cup Unsalted Butter over low heat. I use a light-colored pot so I can monitor the color—you want the butter to melt completely without browning. Once melted, add the 10 oz Jet-Puffed Marshmallows and stir constantly with a silicone spatula.
The marshmallows will start to collapse and melt after about 2-3 minutes. Keep the heat low to prevent scorching, and continue stirring until the mixture is completely smooth with no visible marshmallow lumps. This is your base, and it should look glossy and slightly bubbly.
Step 2: Add the Flavor Boosters
Once the marshmallows are fully melted, remove the pot from heat. Stir in the 1 tsp Vanilla Extract, 0.25 tsp Salt, and 2 tbsp Light Corn Syrup. The vanilla adds depth, the salt balances the sweetness, and the corn syrup gives that extra chewiness we all love in these treats.
Mix thoroughly for about 30 seconds until everything is fully incorporated. You’ll notice the mixture becomes even shinier—that’s the corn syrup working its magic. Taste a tiny bit (careful, it’s hot!) to ensure the flavor is balanced. If it needs a touch more salt, now’s the time to add it.
Step 3: Fold in the Rice Krispies Cereal
Working quickly (the mixture will start to set as it cools), add all 6 cups Rice Krispies Cereal to the pot. Use your spatula to gently fold the cereal into the marshmallow mixture, pressing down slightly to ensure every piece is fully coated. You want to work fast but carefully—overmixing can crush the cereal and make your treats dense.
You’ll hear the snap, crackle, pop as the cereal hits the warm mixture—that’s your audio cue that it’s working. Stop folding once you no longer see any dry cereal pieces. The mixture should look uniform and slightly sticky.
Step 4: Press and Set in the Pan
Transfer the mixture to a lightly greased 9×13-inch baking dish (or line it with parchment paper for easy removal). Use your spatula or lightly buttered hands to press the mixture evenly into the pan. Press firmly but don’t compact it too tightly—you want the treats to hold together but still have a light, airy texture.
I like to use a piece of parchment paper on top to press down evenly without sticking. Let the treats sit at room temperature for 30-45 minutes until completely cool and set. You’ll know they’re ready when they pull away slightly from the edges of the pan and hold their shape when pressed lightly.
Step 5: Cut and Serve
Once fully set, use a sharp knife to cut the treats into squares. For clean cuts, dip the knife in hot water and wipe it between each slice. This prevents sticking and gives you those perfect, bakery-style edges.
Lift the treats out of the pan and serve immediately. They should have a glossy top, a slightly crisp exterior, and that iconic chewy center. Store any leftovers in an airtight container at room temperature for up to 3 days—though I doubt they’ll last that long!
Pro Tips For Making Jet Puffed Marshmallow Rice Krispie Treat
- Melt Butter Low: Use medium-low heat when melting the butter to avoid browning it—burnt butter will make your treats taste bitter. I learned this the hard way after ruining a batch with overzealous heat.
- Use Fresh Marshmallows: Jet-Puffed marshmallows get stale fast once opened. If they feel hard or dry, they won’t melt smoothly, so check the bag’s seal and use a fresh one for gooey results.
- Press While Warm: Work quickly to press the mixture into the pan while it’s still warm—waiting too long makes it set too firm, and you’ll end up with dense, tough squares instead of light, crispy ones.
- Add Vanilla Off Heat: Stir in the vanilla extract after removing the marshmallow-butter mixture from the heat. High heat can dull its flavor, and you’ll taste the difference in the final treats.
Dietary Considerations for This Dish
Gluten-Free Friendly
This recipe is naturally gluten-free as written, since Rice Krispies and Jet-Puffed marshmallows contain no wheat. Just verify your cereal is labeled gluten-free, as some brands process in shared facilities. I always double-check packaging to be safe. 💪
Dairy-Free Option
Swap the 0.5 cup Unsalted Butter for Earth Balance or another vegan butter. The texture remains identical, and the flavor difference is minimal. I’ve tested this with multiple dairy-free butters, and they all work beautifully.
Vegan Adaptation
Use Dandies marshmallows (vegan) and Earth Balance butter for a fully plant-based version. The 10 oz measurement stays the same. The treats will be slightly less stretchy but still delicious and gooey.
Nut-Free Safety
This recipe contains no nuts, making it safe for most nut allergies. However, always check your Rice Krispies and marshmallows for potential cross-contamination warnings if serving to someone with severe allergies.
Reduced Sugar
Cut the Jet-Puffed marshmallows to 8 oz and reduce Light Corn Syrup to 1 tbsp for a less sweet version. The texture will be slightly firmer, but the crunch remains perfect. I find this balance still satisfies a sweet tooth.
Low-FODMAP Note
This treat isn’t inherently low-FODMAP due to the corn syrup and marshmallows. For a modified version, use maple syrup and a low-FODMAP marshmallow brand, though texture may vary. 💡
Nutrition Facts
Frequently Asked Questions
Can I use mini marshmallows instead of regular?
Use the same 10 oz by weight. Mini marshmallows melt faster, so reduce heat to low and stir constantly to prevent scorching.
Why are my treats hard instead of chewy?
Overmixing or pressing too firmly compacts the cereal. Fold gently and press just enough to shape. Also, let them set for 30-45 minutes before cutting.
How do I make them extra gooey?
Add 1 extra cup of marshmallows or 1 tbsp more corn syrup. For best results, warm the knife in hot water before cutting.
Can I add mix-ins like chocolate chips?
Yes! Fold in 1 cup of chips after mixing in cereal. Press in quickly before the mixture cools. Let them set 10 minutes longer.

- Mujadara Rice and Lentils Recipe: Earthy Spiced Lentils With Caramelized Onions - November 1, 2026
- Naija Fried Rice Recipe: Street-Style Spice With Veggie Crunch - November 1, 2026
- Mushy Rice Recipe: Fluffy Grains Transformed in Minutes - November 1, 2026