
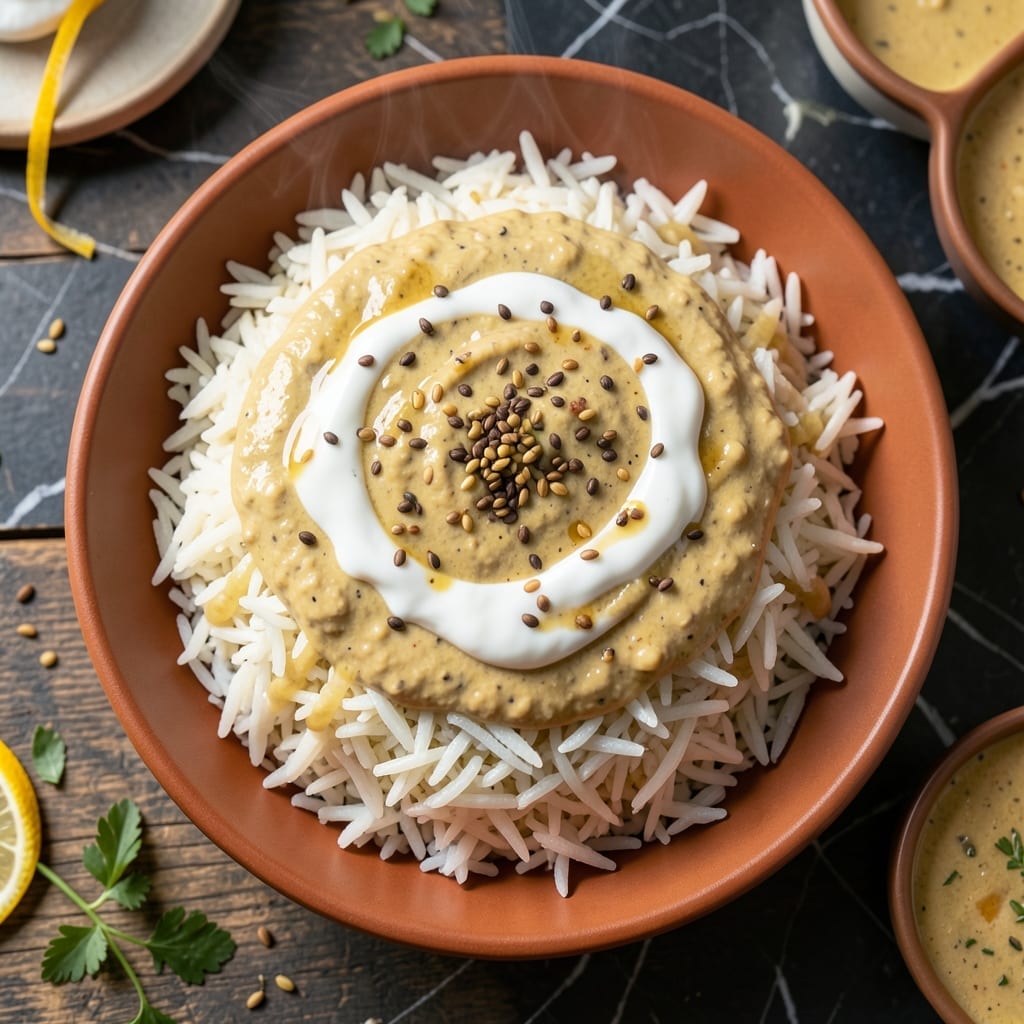
This classic North Indian dish combines a tangy, spiced yogurt curry with fragrant basmati rice for a comforting meal. The kadhi delivers a perfect balance of sour, savory, and slightly sweet flavors that pair beautifully with the fluffy rice.
I’ve refined this recipe to ensure the kadhi achieves the ideal creamy texture without curdling, while the rice stays light and separate. The tempering of spices in ghee is the key to unlocking deep, aromatic layers in every bite.
The result is a restaurant-quality dish that’s hearty yet refreshing, with each component complementing the other. Serve it with a side of crispy papad for added crunch.
Ready in under an hour, this dish brings authentic Indian flavors to your table with minimal effort.
Ingredients for Kadhi Rice
Fragrant basmati, tangy yogurt, and warming spices create this comforting North Indian classic.
| Ingredient | Amount | Notes |
|---|---|---|
| Basmati Rice 🍚 | 1 ½ cups | Rinsed and soaked 30 minutes |
| Plain Yogurt 🥛 | 2 cups | Whole milk, unsweetened |
| Chickpea Flour 🌾 | ½ cup | Also called besan or gram flour |
| Ghee 🧈 | 3 tbsp | Clarified butter, for tempering |
| Mustard Seeds 🌿 | 1 tsp | Yellow or black variety |
| Cumin Seeds 🌿 | 1 tsp | Whole seeds for tempering |
| Fenugreek Seeds 🌿 | ½ tsp | Optional but traditional |
| Dried Red Chilies 🌶️ | 2 whole | Whole, for heat adjustment |
| Curry Leaves 🍃 | 10 pieces | Fresh preferred, optional garnish |
| Asafoetida 🧂 | ¼ tsp | Hing, pinch for authenticity |
| Turmeric Powder 🌶️ | ½ tsp | For color and earthiness |
| Coriander Powder 🌿 | 1 tsp | Ground coriander seeds |
| Green Chilies 🌶️ | 2 whole | Slit lengthwise for heat |
| Fresh Ginger 🌿 | 1 tbsp | Peeled and grated fine |
| Water 💧 | 4 cups | For cooking rice and kadhi |
The basmati rice is non-negotiable for authentic texture. Look for aged basmati at Indian grocery stores—brands like Daawat or India Gate are reliable. The ghee is key for tempering; Patel Brothers or local South Asian markets carry high-quality options. Chickpea flour (besan) must be fresh—check the expiration date, as stale flour can turn bitter. Asafoetida (hing) can be found in small quantities at specialty spice shops.
No chickpea flour? All-purpose flour at half the amount works in a pinch, but the flavor will be milder. Fresh ginger is ideal, but ginger paste at one-third the quantity is a decent substitute. If curry leaves are unavailable, a pinch of dried curry leaf powder adds similar aroma. For heat control, adjust the number of green chilies or red chilies to taste—remove seeds for milder spice.
Cooked kadhi keeps well in the fridge for 3-4 days—the flavors deepen overnight. Store rice separately to maintain fluffiness. Both components freeze beautifully for up to 3 months. Reheat gently on the stove, adding a splash of water if needed to restore consistency.
Why You’ll Love This Recipe
- One-Pot Wonder: Honestly, I toss everything in one pot—basmati rice, yogurt, chickpea flour—and let it simmer. Minimal cleanup, maximum flavor.
- Tangy Comfort: That first bite of creamy kadhi with fluffy rice? The yogurt and chickpea flour create this tangy, slightly sweet warmth I crave.
- Weeknight Hero: Between us, this is my Tuesday night lifesaver. Ready in 20 minutes flat, and the kids actually eat it.
- Budget Keeper: A cup of rice, a spoon of chickpea flour, and yogurt stretch so far. I’ll be real: it feeds four for the cost of a takeout coffee.
Step-by-Step Instructions for Kadhi Rice
Master the balance of tangy kadhi and fluffy basmati with these precise, tested steps.
Step 1: Prepare the Rice Base
Rinse the 1.5 cups Basmati Rice thoroughly under cold water until the water runs clear. This removes excess starch and prevents the grains from sticking together. Soak the rinsed rice in 2 cups of the 4 cups Water for 30 minutes—this ensures even cooking and perfectly fluffy texture.
After soaking, drain the rice and transfer it to a pot with the remaining 2 cups Water. Bring to a boil, then reduce heat to low, cover, and simmer for 15 minutes until the water is absorbed and the rice is tender. Fluff with a fork and set aside while you prepare the kadhi.
Step 2: Create the Kadhi Batter
In a bowl, whisk together the 2 cups Plain Yogurt and 0.5 cup Chickpea Flour until smooth and lump-free. Add the 0.5 tsp Turmeric Powder, 1 tsp Coriander Powder, 1 tbsp Fresh Ginger, and 2 whole Green Chilies (slit lengthwise).
Whisk in 1 cup of the 4 cups Water gradually to achieve a thin, pourable consistency. The batter should resemble heavy cream—thick enough to coat the back of a spoon but not so thick that it clumps. Set this mixture aside to rest for 5 minutes while the flavors meld.
Step 3: Temper the Spices
Heat the 3 tbsp Ghee in a deep pot over medium heat. Add the 1 tsp Mustard Seeds and let them sizzle until they begin to pop, about 30 seconds. Immediately add the 1 tsp Cumin Seeds, 0.5 tsp Fenugreek Seeds, 2 whole Dried Red Chilies, and 0.25 tsp Asafoetida.
Stir for 20-30 seconds until the spices turn fragrant and the cumin seeds darken slightly. Add the 10 pieces Curry Leaves and sauté for another 10 seconds until they release their aroma. Be careful not to burn the spices—this can make the kadhi bitter.
Step 4: Cook the Kadhi to Perfection
Pour the yogurt batter into the pot with the tempered spices, stirring constantly to prevent lumps from forming. Add the remaining 1 cup Water and bring the mixture to a gentle simmer over medium-low heat.
Cook for 20-25 minutes, stirring occasionally, until the kadhi thickens to a creamy consistency and the raw flour taste disappears. The surface should have a slight sheen, and the kadhi should coat the back of a spoon. If it thickens too much, add a splash of water to adjust the consistency.
Step 5: Assemble and Serve
To serve, spoon the fluffy basmati rice onto a plate and ladle the hot kadhi generously over the top. The kadhi should pool slightly around the rice, allowing each bite to soak up the tangy, spiced flavors.
Garnish with a few extra curry leaves if desired. The contrast of the cool, fluffy rice with the warm, velvety kadhi is what makes this dish special. Serve immediately for the best texture and temperature balance.
Pro Tips For Making Kadhi Rice
- Whisk the batter: Mix the yogurt and chickpea flour until completely smooth—lumps ruin the texture. I learned this the hard way after my first kadhi turned out grainy.
- Temper the mustard seeds: Heat the ghee until the mustard seeds pop, but pull it off before they burn. Burnt seeds add a bitter taste that’s hard to fix.
- Use room temperature yogurt: Cold yogurt can curdle when mixed with chickpea flour. I skip the fridge for 30 minutes before starting—sounds minor, but it prevents clumping.
- Simmer low and slow: Once the kadhi thickens, keep it on low heat for 10-12 minutes. High heat makes it split, and nobody wants a watery, separated gravy.
Storing and Reheating This Dish
Refrigerator Storage
Let the kadhi cool completely before storing—I transfer mine to glass containers with tight lids. Store the kadhi and rice separately in the fridge at 40°F or below for up to 3-4 days. The flavors actually deepen overnight as the spices meld together. ❄️
Freezer Storage
Both components freeze well for up to 3 months without losing texture. I use quart-sized freezer bags, squeezing out excess air to prevent freezer burn. Leave 1 inch of headspace for expansion. Label with the date so you remember when it was made.
Stovetop Reheating
This is my preferred method. Reheat the kadhi in a pot over medium-low heat, adding ¼ cup water to loosen the consistency. Stir frequently for 5-7 minutes until warmed through. Microwave the rice separately with a damp paper towel for 1-2 minutes. 🔥
Microwave Reheating
For quick meals, microwave the kadhi in 1-minute intervals on 70% power, stirring between each. Add a splash of water if it thickens too much. The rice reheats well with a sprinkle of water and 30-second bursts on high.
Serving After Storage
If the kadhi separates slightly after storage, just whisk in a little warm water to restore its creamy texture. I always taste and adjust seasoning—sometimes a pinch of salt or squeeze of lemon brings it back to life.
Nutrition Facts
Frequently Asked Questions
Can I use regular yogurt instead of whole milk?
Whole milk yogurt works best for creamy texture, but 2% Greek yogurt is a good substitute. Avoid non-fat as it may curdle during cooking.
Why does my kadhi turn out lumpy?
Lumps form when the chickpea flour isn’t fully whisked into the yogurt. Mix the batter until completely smooth before adding to the pot, and stir constantly while cooking.
How do I prevent the kadhi from curdling?
Cook on medium-low heat and stir frequently. Adding a pinch of salt to the yogurt before cooking also helps stabilize it.
Can I make this ahead of time?
Yes! The kadhi actually tastes better the next day. Store it separately from rice in the fridge for up to 3-4 days.

- Jollof Rice Sauce Recipe: West African Tomato and Spice Infusion - September 25, 2026
- Japanese Rice Soup Recipe: Umami-Rich Comfort in a Bowl - September 25, 2026
- Homemade Cream Of Rice Recipe: Silk-Smooth Breakfast in Minutes - September 25, 2026