
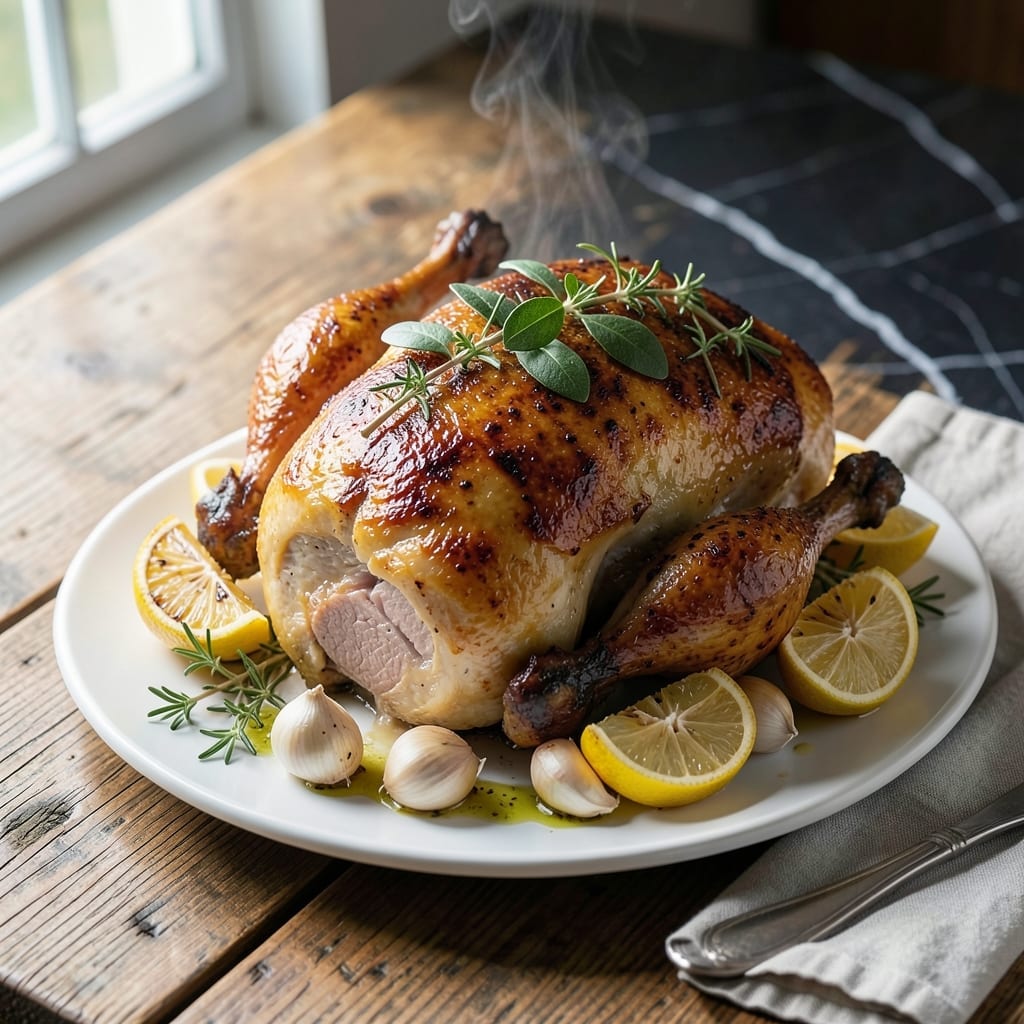
This lemon roast chicken delivers crispy skin and juicy meat with a bright citrus finish. The simple technique combines fresh herbs and lemon to create a dish that tastes far more complex than the effort required.
I’ve refined this method to ensure the chicken cooks evenly while the skin turns golden brown. The lemon slices infuse the meat with zesty flavor, and a touch of garlic adds depth without overpowering the dish.
What you’ll get is tender, aromatic chicken with a perfectly seasoned crust. The juices from the lemon and herbs mingle in the pan, creating a natural sauce that’s ideal for drizzling over every serving.
Serve it with roasted vegetables or a simple salad for a complete meal. This recipe is both impressive and approachable for any home cook.
Ingredients for Lemon Roast Chicken
Bright citrus and fresh herbs elevate this simple roast to restaurant-quality at home.
| Ingredient | Amount | Notes |
|---|---|---|
| Whole Chicken 🍗 | 1 whole | 3 to 4 lb, patted dry |
| Lemons 🍋 | 2 whole | 1 sliced, 1 juiced |
| Fresh Rosemary 🌿 | 2 tbsp | Chopped, stems removed |
| Fresh Thyme 🌿 | 2 tbsp | Chopped, stems removed |
| Garlic Cloves 🧄 | 6 cloves | Minced or smashed |
| Olive Oil 🫒 | ¼ cup | Extra-virgin preferred |
| Unsalted Butter 🧈 | 4 tbsp | Melted, for basting |
| Kosher Salt 🧂 | 1 ½ tsp | Divided for seasoning |
| Black Pepper 🌶️ | 1 tsp | Freshly ground preferred |
| Onion 🧅 | 1 whole | Quartered, for pan |
| Carrots 🥕 | 3 whole | Cut into chunks, for pan |
| Celery Stalks 🥬 | 3 whole | Cut into chunks, for pan |
The chicken is the star—look for air-chilled birds at Whole Foods or local butchers for the best texture and flavor. Organic or free-range will give you that golden-brown skin more reliably. The herbs should be fresh and vibrant; if they’re wilted or brown, they won’t infuse the dish properly. I always grab rosemary and thyme from Trader Joe’s (great quality, reasonable prices).
No fresh herbs? Dried work at one-third the amount, but fresh is ideal here. Short on lemons? Zest what you have and add a splash of bottled juice (though fresh is brighter). The butter can be swapped for olive oil if you’re avoiding dairy. For extra depth, toss in a few sage leaves or a bay leaf with the aromatics.
Leftovers keep well—carve and store in an airtight container for up to 4 days. The pan juices make an incredible sauce; strain and reduce them for drizzling. Reheat gently in the oven to keep the skin crisp.
Why You’ll Love This Recipe
- One Pan Wonder: I toss everything on a sheet pan—chicken, lemon halves, rosemary sprigs—and let the oven do the work.
- Zesty Perfection: The garlic cloves and lemon wedges roast into the meat, giving every bite that bright, herby kick I crave.
- Feeds a Crowd: Leftovers? Please. This disappears fast when I serve it for Sunday dinner with family.
- Budget Friendly: A whole chicken, some lemons, and garden herbs stretch further than any takeout bill.
Step-by-Step Instructions for Lemon Roast Chicken
Master this method and you’ll achieve crispy skin with tender, citrus-infused meat every time.
Step 1: Prep and Season the Chicken
Pat the whole chicken completely dry with paper towels—this is essential for crispy skin. Place it on a clean work surface and season the cavity generously with ½ tsp kosher salt and ½ tsp black pepper. This ensures the meat stays flavorful from the inside out.
Rub the remaining 1 tsp kosher salt and ½ tsp black pepper all over the outside of the chicken. Drizzle 0.25 cup olive oil over the skin and massage it in evenly. The oil helps the skin crisp and carries the seasoning into every crevice.
Stuff the cavity with the quartered onion, 1 sliced lemon, 2 tbsp fresh rosemary, and 2 tbsp fresh thyme. These aromatics infuse the meat with bright, herbal notes as it roasts.
Step 2: Truss and Prepare the Roasting Pan
Tuck the wings under the body and tie the legs together with kitchen twine. Trussing ensures even cooking and a more uniform shape. Place the 3 carrots and 3 celery stalks in the bottom of a roasting pan—they’ll act as a natural rack and add subtle sweetness to the drippings.
Set the chicken breast-side up on top of the vegetables. Pour the juice from the remaining 1 lemon over the chicken, then scatter the 6 garlic cloves around the pan. The garlic will soften and sweeten as it roasts, adding depth to the final dish.
Step 3: Roast at High Heat
Preheat your oven to 425°F. Once fully heated, place the chicken in the center rack and roast for 1 hour to 1 hour 15 minutes. The high heat ensures the skin crisps quickly while the meat cooks through evenly.
After 30 minutes, baste the chicken with 4 tbsp melted unsalted butter. Use a spoon to drizzle it over the skin, ensuring every part gets coated. Repeat the basting every 20 minutes until the chicken is done. This step enhances the browning and adds richness to the skin.
Step 4: Rest and Serve
Remove the chicken from the oven when the internal temperature reaches 165°F in the thickest part of the thigh. The skin should be deep golden brown and crisp to the touch. Transfer the chicken to a cutting board and let it rest for 15 minutes before carving.
Resting allows the juices to redistribute, ensuring the meat stays moist and flavorful. Tilt the chicken slightly to let any accumulated juices in the cavity pour out onto the cutting board—use these to moisten the carved meat. Serve with the roasted vegetables and pan drippings for a complete, zesty meal.
Pro Tips For Making Lemon Roast Chicken
- Dry the Chicken: Pat the whole chicken thoroughly dry with paper towels before seasoning—I learned this the hard way after my first few attempts had soggy skin instead of that coveted crisp.
- Stuff With Halved Lemons: Cut one lemon in half and stuff both halves inside the cavity along with the garlic and herbs. This infuses way more flavor than just zested peel.
- Start Breast-Side Up: Roast the chicken breast-side up first for 30 minutes, then flip it to ensure even browning and juicy dark meat. My grandmother swore by this, and she was right.
- Rest Before Carving: Let the chicken rest for at least 15 minutes under foil after roasting—yes, even if you’re starving. Sounds weird, but it keeps all the juices inside where they belong.
Pro Cooking Tips for This Dish
Perfect Skin Prep
Pat the chicken completely dry with paper towels—this is non-negotiable for crispiness. I use Bounty for its absorbency. Even a hint of moisture prevents proper browning. 💡
Seasoning Technique
Season the cavity first with ½ tsp salt and ½ tsp pepper. This ensures flavor penetrates deep into the meat. Then rub the outside with olive oil before applying the remaining seasoning—this helps it adhere better.
Basting Schedule
Start basting with melted butter after 30 minutes of roasting. I repeat every 20 minutes for even browning. Use a silicon brush for precise application without disturbing the skin’s crispiness.
Temperature Control
Use an oven thermometer to confirm 425°F—home ovens often run 25-50°F off. I check mine with a Taylor Classic. Rotate the pan halfway through for even cooking.
Resting Time
Let the chicken rest 15 minutes before carving. This allows juices to redistribute. I tent it loosely with foil to keep it warm without steaming the skin. 🔥
Pan Juices
Strain the drippings through a fine-mesh sieve to remove solids. Skim off excess fat with a gravy separator. The remaining liquid makes a perfect sauce for serving.
Nutrition Facts
Frequently Asked Questions
What’s the best way to dry the chicken for crispy skin?
Pat it thoroughly with paper towels until completely dry. Even a little moisture prevents proper browning. Use absorbent towels and press firmly over the entire surface.
Can I use dried herbs instead of fresh?
Yes, but use one-third the amount. Dried herbs are more concentrated. Fresh rosemary and thyme give the brightest flavor, but dried work in a pinch.
How do I know when it’s done?
Use a meat thermometer—it’s done at 165°F in the thickest part of the thigh. The juices should run clear, and the skin should be golden brown.
Can I roast it at a lower temperature for longer?
Not recommended. 425°F ensures crispy skin and even cooking. Lower temps can result in rubbery skin and dry meat. Stick to the recipe’s timing.

- Jollof Rice Sauce Recipe: West African Tomato and Spice Infusion - September 25, 2026
- Japanese Rice Soup Recipe: Umami-Rich Comfort in a Bowl - September 25, 2026
- Homemade Cream Of Rice Recipe: Silk-Smooth Breakfast in Minutes - September 25, 2026