
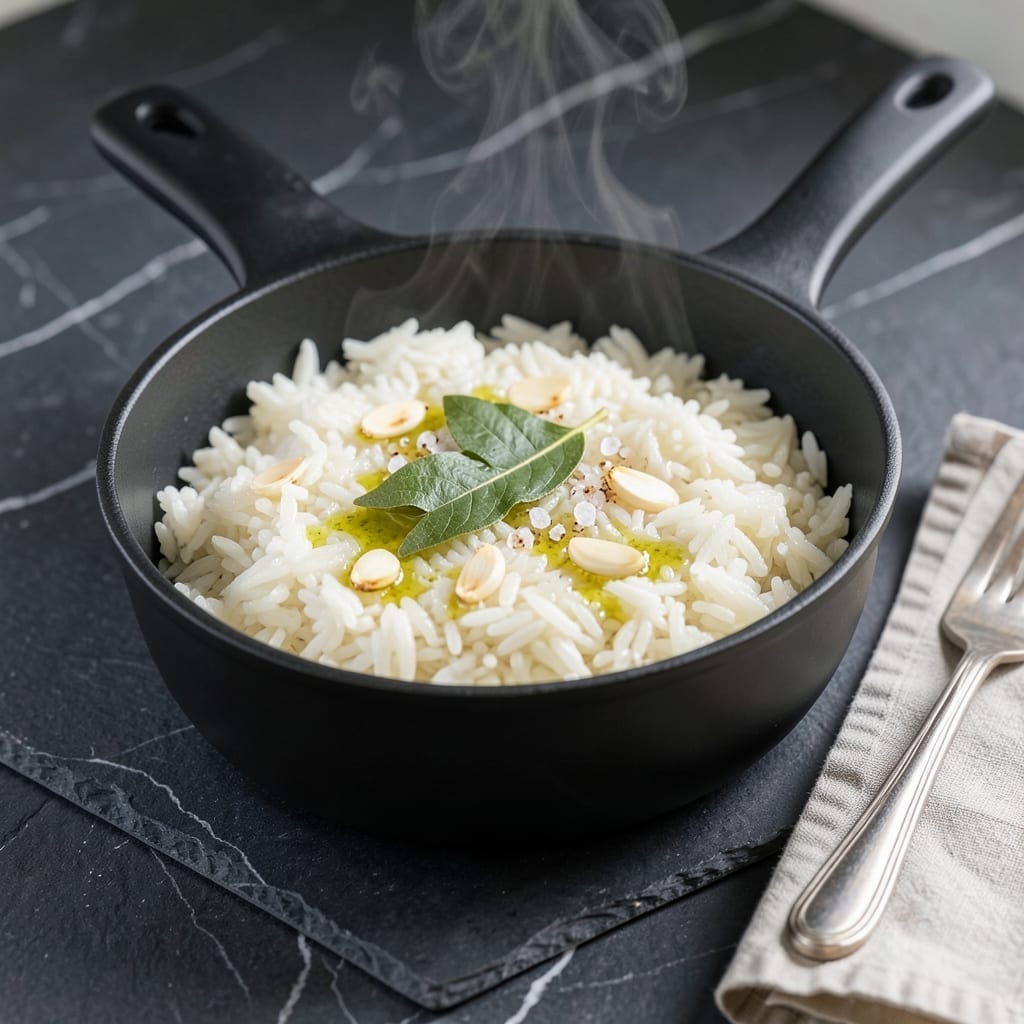
Mastering stovetop white rice is simpler than you think, and this method guarantees perfectly separate grains every time.
The key is using the right water-to-rice ratio and maintaining consistent heat. With just 20 minutes, you’ll have fluffy, tender rice that’s ready for any meal.
I’ve refined this technique to eliminate sticky or mushy results, ensuring each grain stays distinct yet tender. No special equipment required.
This foolproof approach works for any long grain variety and pairs effortlessly with your favorite dishes.
Ingredients for Long Grain White Rice Recipe Stovetop
Eight simple ingredients for fluffy, separate grains every single time.
| Ingredient | Amount | Notes |
|---|---|---|
| Long Grain White Rice 🍚 | 2 cups | Rinsed until water runs clear |
| Water 💧 | 4 cups | Filtered preferred for best taste |
| Vegetable Oil 🫒 | 1 tbsp | Or use melted vegan butter |
| Sea Salt 🧂 | 1 tsp | Fine grain for even distribution |
| Garlic Cloves 🧄 | 2 cloves | Minced, optional for flavor |
| Bay Leaf 🌿 | 1 whole | Optional for aromatic depth |
| Fresh Cilantro 🌿 | ¼ cup | Chopped, for garnish optional |
| Lime 🍈 | 1 whole | Cut into wedges for serving |
The rice itself is the star here. Jasmine or basmati give you the most distinct grains, but any long grain works. I grab mine from Trader Joe’s or bulk bins at natural food stores—just check for bright, unbroken grains. Rinse until the water runs clear to remove excess starch (that’s what causes clumping). For oil, any neutral variety works—avocado or grapeseed if you’re avoiding soy.
No garlic? Skip it—the rice will still be great. Fresh out of cilantro? Parsley or green onions add a similar fresh note. Want more flavor? A splash of vegetable broth instead of water works wonders. The bay leaf is subtle but worth it if you have it. If your salt is coarse, crush it a bit so it dissolves evenly in the cooking water.
Uncooked rice keeps indefinitely in a cool, dry place. Once cooked, it’ll hold in the fridge for 4-5 days or freezes beautifully for 3 months. Reheat with a splash of water to restore moisture—microwave works, but stovetop with a tight lid is even better.
Why You’ll Love This Recipe
- One Pot Wonder: I just dump rice, water, and a few ingredients in a pot and walk away until it’s done.
- Garlic Infused: The garlic cloves simmering in the water give every grain this subtle, savory depth.
- Meal Prep Staple: I make a big batch on Sunday and it pairs with everything from stir-fry to black beans all week.
- Pocket Friendly: A pound of long grain rice costs pennies and feeds my family for days with zero waste.
Step-by-Step Instructions for Long Grain White Rice on the Stovetop
Here’s the method I trust for fluffy, separate grains every single time.
Step 1: Rinse and Prep the Rice
Place the 2 cups Long Grain White Rice in a fine-mesh strainer and rinse under cold running water, swishing with your hand, until the water runs completely clear. This removes excess starch that would otherwise make your rice gummy instead of light and separate.
Real talk: skipping this step is the most common reason for sticky rice. I’ve found that 3-4 rinses usually does the trick. While the rice drains, mince the 2 cloves Garlic Cloves if using, and gather your remaining ingredients close to the stove.
Step 2: Toast the Rice and Aromatics
In a medium saucepan with a tight-fitting lid, heat the 1 tbsp Vegetable Oil over medium heat until it shimmers. Add the drained rice and stir to coat every grain. Toast for 1-2 minutes until you notice the rice turning slightly translucent at the edges and smells nutty.
Add the minced garlic and 1 whole Bay Leaf, stirring constantly for 30 seconds until fragrant. Be careful not to let the garlic brown—this is about infusing flavor, not adding bitterness. The rice should look glossy from the oil at this stage.
Step 3: Add Water and Bring to a Boil
Pour in the 4 cups Water and add the 1 tsp Sea Salt. Stir once to distribute the rice evenly and ensure nothing is sticking to the bottom. Increase the heat to high and bring to a full rolling boil—you should see vigorous bubbles breaking the surface.
Watch for the moment when the water level rises just above the rice. This is your signal that it’s time for the next critical step. The surface should look alive with steady bubbles, not just a few lazy ones.
Step 4: Simmer and Steam to Perfection
Once boiling, immediately reduce the heat to low, cover with the lid, and let it simmer undisturbed for 15 minutes. Don’t peek! Every time you lift that lid, you release precious steam that’s working to cook the rice evenly.
After 15 minutes, turn off the heat but keep the lid on. Let it sit for an additional 5 minutes to steam. You’ll know it’s ready when all the liquid has been absorbed and the rice is tender but still has a slight bite—never mushy.
Step 5: Fluff and Serve with Fresh Garnishes
Remove the bay leaf and discard it. Using a fork, gently fluff the rice from the bottom up to separate the grains without crushing them. The texture should be light and airy, with each grain distinct.
Transfer to a serving bowl and garnish with 0.25 cup Fresh Cilantro, if desired. Serve immediately with 1 whole Lime cut into wedges on the side. The bright citrus cuts through the richness and adds a fresh finish to each bite.
Pro Tips For Making Long Grain White Rice Recipe Stovetop
- Rinse the Rice: I learned this the hard way—unrinsed rice turns gummy. Swirl it in cold water until the water runs clear to remove excess starch.
- Toast the Garlic: After burning two batches, I now cook the minced garlic in oil for just 30 seconds until fragrant before adding water—any longer and it turns bitter.
- Use the Right Ratio: For fluffy rice, stick to 1.5 cups water per 1 cup rice. Measure precisely, because even a little extra water makes it mushy.
- Let It Steam: Once the water’s absorbed, turn off the heat and let it sit covered for 10 minutes. Sounds weird, but it works—this step actually changes the outcome from good to perfect.
Make-Ahead Tips for This Recipe
Batch Cooking
I often cook 4 cups of rice at once (double the recipe) to have leftovers for the week. Use a 5-quart pot to give the rice enough room to expand. The cooking time remains the same, but you’ll need to increase the water to 8 cups to maintain the proper ratio. 💡
Fridge Storage
Let the rice cool completely before storing—this prevents condensation that can make it soggy. Transfer to airtight containers and refrigerate for up to 4-5 days. I use glass containers from OXO because they stack well and don’t absorb odors.
Freezing for Longer Storage
Spread cooled rice in a single layer on a baking sheet, freeze for 1-2 hours, then transfer to freezer bags. This prevents clumping. It’ll keep for 3 months without losing texture. I label my bags with the date to keep track. ❄️
Reheating on Stovetop
Add 2 tbsp water per cup of rice, cover tightly, and heat over low-medium heat for 5-7 minutes. Stir occasionally to break up any clumps. The steam revives the grains beautifully.
Microwave Method
Place rice in a microwave-safe bowl with 1 tbsp water per cup. Cover with a damp paper towel and microwave on 50% power for 2-3 minutes, stirring halfway. This prevents drying out.
Reusing in Recipes
Cold rice works perfectly for fried rice—just break up any clumps before stir-frying. I love adding leftover rice to soups or using it as a base for grain bowls with fresh veggies and protein.
Nutrition Facts
Frequently Asked Questions
Why should I rinse the rice before cooking?
Rinsing removes excess starch that can make grains sticky. It ensures fluffy, separate rice every time. Skip this, and you risk a gummy texture.
Can I use a different liquid instead of water?
Yes! Try vegetable broth or coconut milk for extra flavor. Keep the 1:2 rice-to-liquid ratio to maintain perfect texture.
What if my rice is still crunchy after cooking?
This usually means insufficient water or heat. Add 2 tbsp water, cover, and cook for 5 more minutes on low.
How do I prevent rice from burning on the bottom?
Use a heavy-bottomed pot and stir once after adding water. Keep heat at low during simmering. Never lift the lid while cooking!

- Peri Peri Rice Recipe: Spicy Portuguese One-Pot Harmony - November 6, 2026
- Mexican Flavoured Rice Recipe: Authentic Spice-Infused One-Pot Meal - November 6, 2026
- Lao Gan Ma Fried Rice Recipe: Spicy Wok-Tossed Perfection - November 6, 2026