
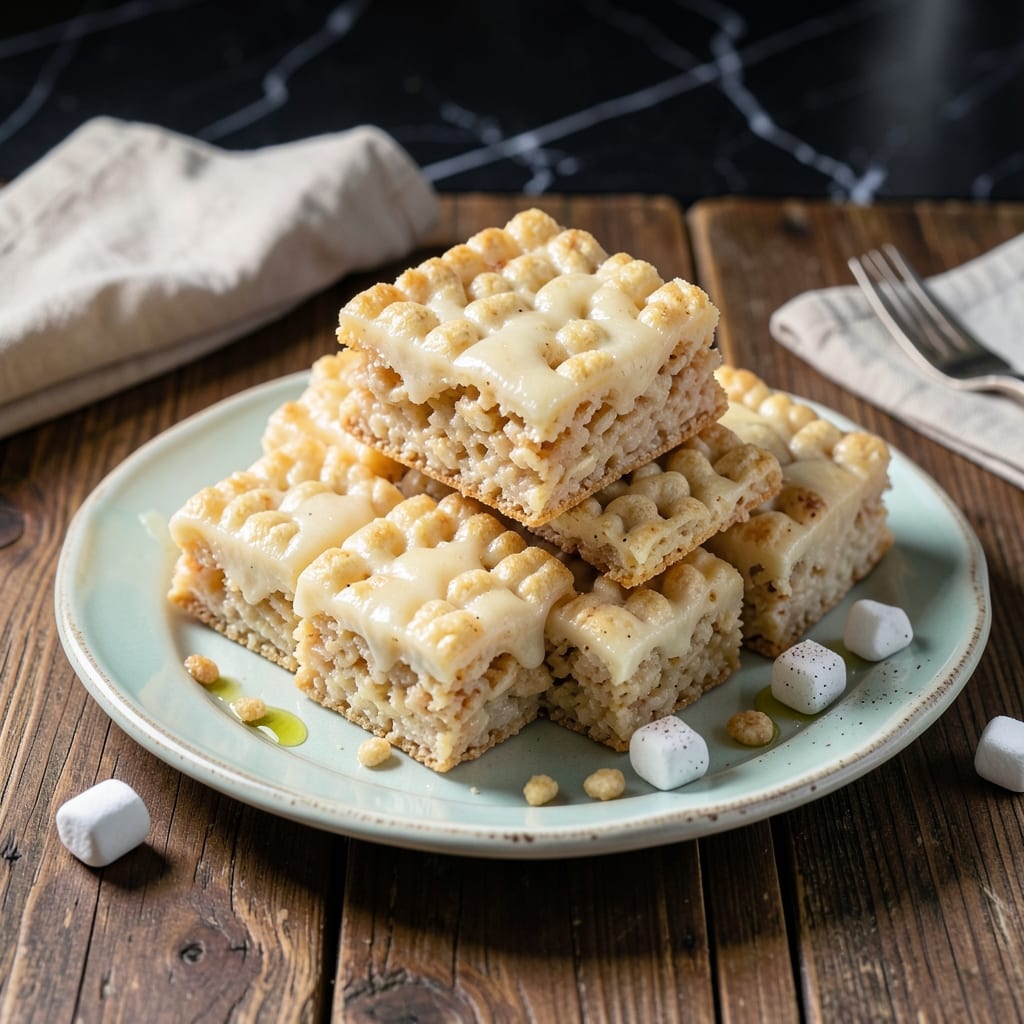
There’s a reason this classic treat has stood the test of time—it delivers a perfect balance of crispy and chewy in every square. I remember making these as a child, pressing the mixture into the pan with buttery fingers.
The simplicity of this recipe is its greatest strength. With just three main ingredients and 15 minutes of prep, you’ll have a batch ready to cut and serve. The key is using fresh marshmallows for the smoothest, most stretchy texture.
What emerges is a pan of golden squares with that signature snap when you bite in, followed by a satisfying chew. The buttery aroma alone will have everyone gathering in the kitchen.
Perfect for bake sales, lunch boxes, or a quick sweet fix. Here’s how to make them right.
Ingredients for Old Fashioned Recipe for Rice Krispie Squares
Five simple ingredients create that nostalgic crispy-chewy magic everyone loves in these squares.
| Ingredient | Amount | Notes |
|---|---|---|
| Rice Krispies Cereal 🥣 | 6 cups | Standard variety, not puffed |
| Mini Marshmallows ⚪ | 10 oz | Fresh for best stretch |
| Unsalted Butter 🧈 | ½ cup | For rich buttery flavor |
| Vanilla Extract 💧 | 1 tsp | Pure extract preferred |
| Salt 🧂 | ¼ tsp | Fine grain for even distribution |
The marshmallows are non-negotiable here. Jet-Puffed or Kraft are my go-tos—fresh bags melt smoother than the old ones hiding in your pantry. The cereal should be plain Rice Krispies (the original snap, crackle, pop kind), not any flavored variety. Butter quality matters too—I use Land O’Lakes unsalted because it’s got that perfect creamy richness without overpowering the marshmallow sweetness.
Out of mini marshmallows? 10 ounces of large ones cut in half works the same. Need to skip the vanilla? They’ll still taste great, just less complex. For a fun twist, use Cocoa Krispies instead of plain—gives you chocolatey squares with the same texture. The salt might seem optional, but don’t skip it (it balances all that sweetness perfectly).
These keep beautifully at room temperature for 2-3 days in an airtight container. For longer storage, freeze for up to 6 weeks—let them come to room temp before cutting. Press the mixture into the pan while it’s still warm for the best hold.
Why You’ll Love This Recipe
- One Pot Wonder: I melt the butter and marshmallows in a single saucepan, stir in the cereal, and we’re done—no fancy equipment or cleanup.
- That Vanilla Magic: The dash of vanilla extract turns the buttery-sweet marshmallow into something richer, like a hug in square form.
- Party or Lunchbox: I’ve packed these for picnics and set them out on dessert tables—they travel, slice, and satisfy every time.
- Pennywise Treat: A box of cereal, a bag of mini marshmallows, and a stick of butter feed a crowd for less than a fiver.
Step-by-Step Instructions for Rice Krispie Squares
Here’s how I make these nostalgic treats with that perfect buttery crunch every single time.
Step 1: Melt Butter and Prepare the Pan
In a large saucepan, melt the 0.5 cup Unsalted Butter over low heat. I use low heat to prevent browning—the butter should melt completely but stay pale yellow. While it melts, line a 9×13-inch baking dish with parchment paper, leaving an overhang on the sides for easy removal.
Lightly grease the parchment with a little of the melted butter or cooking spray. This prevents sticking and makes cutting clean squares a breeze. The parchment overhang is your insurance against broken treats when lifting them out later.
Step 2: Create the Marshmallow Base
Once the butter is fully melted, add all 10 oz Mini Marshmallows to the saucepan. Stir constantly with a silicone spatula until they’re completely melted and smooth—this takes about 5-7 minutes over low heat.
Here’s the thing—if you rush this with high heat, the marshmallows will burn and your squares will taste bitter. You want a glossy, stretchy mixture. As soon as it’s smooth, remove from heat and stir in the 1 tsp Vanilla Extract and 0.25 tsp Salt until fully combined.
Step 3: Combine with Rice Krispies
Add all 6 cups Rice Krispies Cereal to the marshmallow mixture at once. Using your spatula, fold gently until every piece is thoroughly coated. I like to press down slightly as I fold to ensure even distribution of that buttery marshmallow goodness.
Work quickly—the mixture sets fast as it cools. You’ll notice the cereal starts to lose its crispness as it absorbs the warm marshmallow. That’s normal. Stop mixing as soon as everything is evenly coated—overworking makes the squares dense instead of light and crispy.
Step 4: Press and Set the Squares
Transfer the mixture to your prepared baking dish. Using your spatula or buttered hands, press it evenly into the pan. I press firmly but don’t compact it too much—you want some air pockets for that signature crispy texture.
Let the squares set at room temperature for at least 1 hour (I prefer 2 hours for cleaner cuts). You’ll know they’re ready when the top is firm to the touch and the edges start to pull away from the pan slightly. This resting time allows the marshmallow to fully bind everything together.
Once set, lift the entire square out using the parchment overhang and cut into 16 equal portions with a sharp knife. Store in an airtight container at room temperature for up to 3 days—if they last that long!
Pro Tips For Making Old Fashioned Recipe For Rice Krispie Squares
- Melt Butter Low: Use medium-low heat when melting the butter and marshmallows—I learned this the hard way after scorching two batches that turned bitter.
- Use Fresh Marshmallows: Skip the stale ones; fresh mini marshmallows melt smoother and give that perfect gooey texture without turning grainy.
- Press While Warm: Press the mixture into the pan immediately after mixing, while the marshmallows are still pliable, or it’ll harden too fast and crack when you cut it.
- Add Vanilla Last: Stir in the vanilla extract after removing the marshmallow mixture from heat to preserve its flavor—high heat can make it taste harsh.
Make-Ahead Tips for Leftovers
Prep the Pan Early
Before melting the butter, line your 9×13-inch baking dish with parchment paper, leaving a 2-inch overhang on all sides. I do this first so the pan is ready when the mixture is. Lightly butter the parchment to prevent sticking.
Measure Ingredients First
Weigh out your 6 cups Rice Krispies and 10 oz Mini Marshmallows before starting. Having everything prepped means you can work quickly once the marshmallows melt. I use a kitchen scale for the marshmallows to ensure accuracy.
Keep Butter Warm
After melting the 0.5 cup Unsalted Butter, keep it warm on the lowest heat setting. Cold butter will cause the marshmallows to seize up and create a lumpy mixture. I stir occasionally to maintain even warmth.
Work in Batches
If doubling the recipe, melt the marshmallows in two batches to avoid overcrowding the saucepan. This ensures even melting and prevents scorching at the bottom. I learned this the hard way after ruining a batch.
Press While Warm
Press the mixture into the pan while it’s still warm and pliable. Once cooled, it becomes too firm to shape properly. I use buttered hands to press evenly without sticking. 💡
Let Them Set Fully
Resist cutting until the squares are completely set—at least 1 hour at room temperature. Cutting too soon results in crumbly edges. For the cleanest cuts, I wait the full 2 hours as recommended in the instructions.
Nutrition Facts
Frequently Asked Questions
Can I use regular marshmallows instead of mini?
Yes, use 10 oz of large marshmallows cut in half. They melt the same, though minis dissolve slightly faster. Just be sure to chop them evenly for consistent texture.
Why do my squares fall apart when cutting?
They likely weren’t pressed firmly enough or didn’t set long enough. Press warm mixture evenly into the pan and let it set for at least 1 hour (preferably 2 hours) before cutting.
How can I make them extra crispy?
Add an extra 1 cup of cereal to the mixture. Also, avoid compacting too much when pressing into the pan to maintain air pockets.

- Peri Peri Rice Recipe: Spicy Portuguese One-Pot Harmony - November 6, 2026
- Mexican Flavoured Rice Recipe: Authentic Spice-Infused One-Pot Meal - November 6, 2026
- Lao Gan Ma Fried Rice Recipe: Spicy Wok-Tossed Perfection - November 6, 2026