
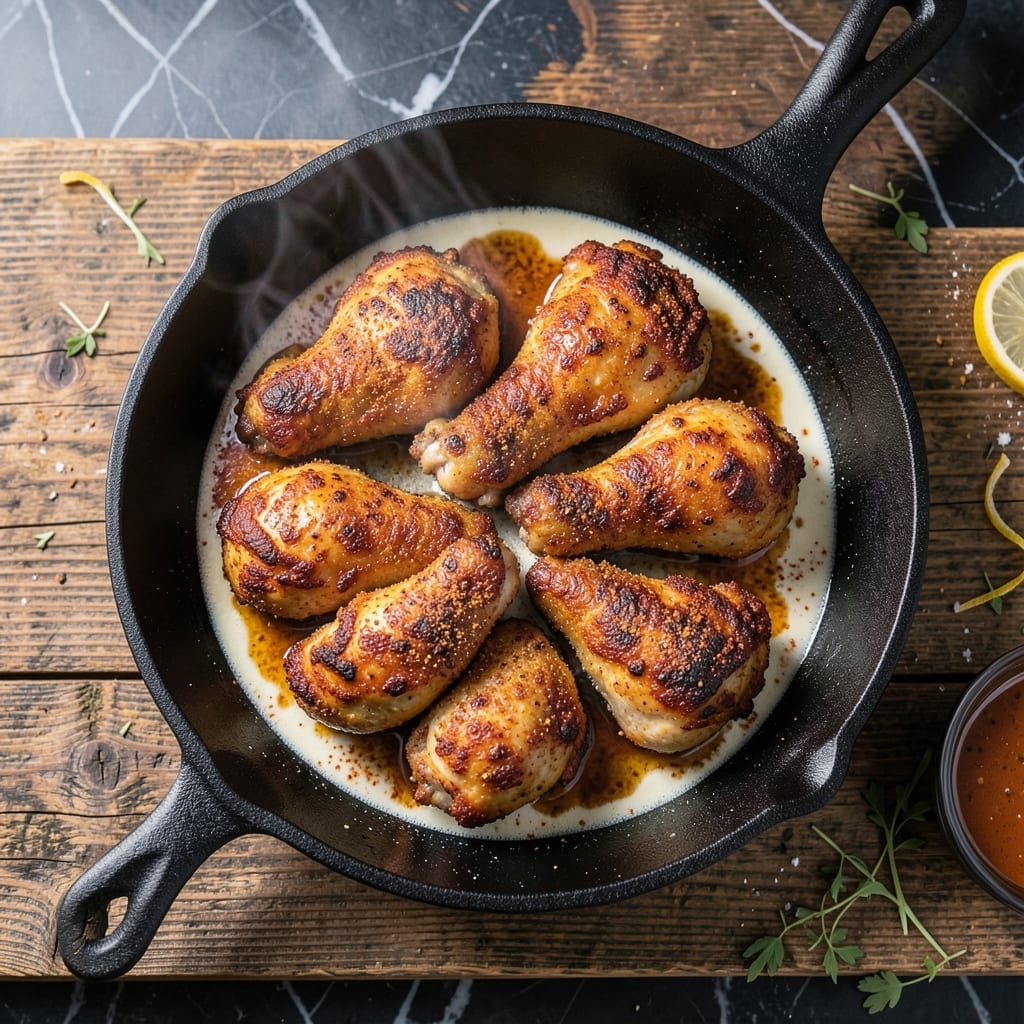
This copycat version captures the signature golden crispy coating and juicy centers that made the original famous. The secret lies in a double-dredging technique that ensures maximum crunch in every bite.
I’ve tested this method extensively to replicate that perfect balance of a shatteringly crispy exterior and tender, juicy meat inside. The marinade keeps the chicken moist while the seasoned flour creates that iconic crunch.
The result is restaurant-quality fried chicken that stays hot and crispy long after frying. Each piece boasts a deep golden crust with meat so juicy it nearly falls off the bone.
Perfect for family dinners or casual get-togethers. Here’s how to achieve that legendary texture at home.
Ingredients for Mary Browns Chicken
Golden crispy results start with these carefully selected ingredients for maximum crunch and tenderness.
| Ingredient | Amount | Notes |
|---|---|---|
| Chicken Thighs 🍗 | 2 lb | Boneless, skin-on for crispiness |
| Buttermilk 🥛 | 2 cups | Full-fat for tenderness |
| All-Purpose Flour 🌾 | 3 cups | Divided for double-dredging |
| Cornstarch 🌽 | ½ cup | For extra crunch |
| Paprika 🌶️ | 2 tbsp | Sweet or smoked variety |
| Garlic Powder 🧄 | 2 tsp | Freshly ground preferred |
| Onion Powder 🧅 | 2 tsp | Balances seasoning blend |
| Salt 🧂 | 2 tsp | Diamond Crystal kosher preferred |
| Black Pepper 🌶️ | 1 tsp | Freshly ground for best flavor |
| Cayenne Pepper 🔥 | ½ tsp | Adjust for heat preference |
| Vegetable Oil 🫒 | 4 cups | For deep frying (peanut oil works too) |
| Large Eggs 🥚 | 2 whole | For binding in dredge |
The chicken thighs are non-negotiable for that signature juiciness—bone-in works too but adjust cooking time. Buttermilk from a local dairy or Whole Foods brand has the right tang. For flour, Gold Medal or King Arthur give consistent results in the double-dredge. The cornstarch is the secret weapon—Bob’s Red Mill is reliable. Don’t skip the full-fat buttermilk; it’s what keeps the meat impossibly moist.
No buttermilk? Whole milk plus 1 tbsp vinegar per cup works in a pinch. Swap chicken thighs for breasts if preferred (but they dry out faster). Gluten-free flour blend can replace all-purpose—add 1 extra tbsp cornstarch. For heat, half the cayenne if serving kids. The paprika is flexible—smoked adds depth, sweet keeps it classic.
Fry in batches to avoid oil temp drops. Store cooked chicken in a single layer to retain crispiness. Keeps 3-4 days refrigerated—reheat in a 400°F oven for 10-12 minutes to revive the crunch. Freeze uncooked dredged pieces for up to 3 months (thaw before frying).
Why You’ll Love This Recipe
- I’ll be real: this is my go-to when I need to feed a crowd fast, and it’s just as good cold the next day.
- Simple Ingredients: I always have these pantry staples on hand—just thighs, buttermilk, flour, cornstarch, and paprika.
- Crispy Outside, Tender Inside: Honestly, the buttermilk soak makes the chicken so juicy it falls off the bone, while the flour mixture gives it that addictive crunch.
- Weeknight Hero: I’ll be real: this is my go-to when I need to feed a crowd fast, and it’s just as good cold the next day.
Step-by-Step Instructions for Golden Fried Chicken
Here’s the method that guarantees crispy coating and juicy meat every single time.
Step 1: Marinate the Chicken in Buttermilk
Begin by placing the 2 lb Chicken Thighs in a large bowl. Pour the 2 cups Buttermilk over them, ensuring each piece is fully submerged. This buttermilk bath tenderizes the meat and helps the coating adhere later.
Cover the bowl and refrigerate for at least 4 hours, or ideally overnight. I’ve found this extended soak makes all the difference—the acid in the buttermilk breaks down proteins while the fat keeps the meat moist during frying.
Step 2: Prepare the Seasoned Dredge
In a large shallow dish, whisk together the 3 cups All-Purpose Flour, 0.5 cup Cornstarch, 2 tbsp Paprika, 2 tsp Garlic Powder, 2 tsp Onion Powder, 2 tsp Salt, 1 tsp Black Pepper, and 0.5 tsp Cayenne Pepper. The cornstarch is key here—it creates that ultra-crispy texture that sets this apart.
In a separate bowl, beat the 2 whole Large Eggs with 2 tablespoons of the buttermilk marinade. This creates an egg wash that helps the flour mixture cling to the chicken pieces.
Step 3: Double-Dredge for Maximum Crisp
Remove the chicken from the buttermilk, letting excess drip off. Dip each piece first into the egg wash, then into the flour mixture, pressing firmly to adhere. For extra crunch, repeat this process—dip back into the egg wash, then into the flour mixture once more.
Place the dredged pieces on a wire rack set over a baking sheet. Let them rest for 15 minutes at room temperature. This resting period allows the coating to set, preventing it from falling off during frying.
Step 4: Fry to Golden Perfection
In a large, heavy-bottomed pot, heat the 4 cups Vegetable Oil to 350°F. Use a deep-fry thermometer for accuracy—this temperature is crucial for even cooking without burning the coating. Carefully lower 2-3 pieces of chicken into the hot oil at a time, avoiding overcrowding.
Fry for 12-15 minutes, turning occasionally, until the coating is deep golden brown and the internal temperature reaches 165°F. The oil should bubble steadily but not violently. Drain the fried chicken on a clean wire rack or paper towels to maintain crispiness.
Step 5: Rest and Serve Immediately
Let the fried chicken rest for 5-10 minutes before serving. This brief rest allows the juices to redistribute, ensuring each bite is moist and flavorful. The coating should be audibly crisp when you bite into it, with a perfect golden hue.
Serve while hot—the contrast between the crunchy exterior and juicy interior is at its peak right out of the fryer. Any leftovers should be reheated in the oven at 400°F for 10-12 minutes to restore crispiness.
Pro Tips For Making Mary Browns Chicken
- Soak Overnight: Let the chicken thighs bathe in buttermilk for at least 8 hours—I learned this the hard way when my first batch lacked that signature tenderness.
- Double Dredge: Dip the buttermilk-soaked chicken back into the flour-cornstarch-paprika mix a second time for that extra-crispy coat Mary Brown’s is known for.
- Skip Cold Oil: Make sure your frying oil is hot (350°F) before adding the chicken, or you’ll end up with greasy, soggy pieces instead of that golden crunch.
- Rest Before Serving: Give the fried chicken 5 minutes on a wire rack—it keeps the crust crisp while the juices settle, just like my grandmother swore by.
Health Benefits of This Recipe
High-Protein Powerhouse
This dish delivers a serious protein punch with each serving of chicken thighs providing about 30 grams of protein. Protein is essential for muscle repair and growth, making this meal perfect for active lifestyles. The buttermilk marinade helps break down proteins, enhancing digestibility. 💪
Healthy Fats Source
Chicken thighs contain more healthy monounsaturated fats than breasts, which help your body absorb fat-soluble vitamins. The cornstarch coating adds minimal fat, keeping this dish balanced. These fats support heart health when consumed as part of a varied diet.
Vitamin and Mineral Boost
You’ll get a good dose of B vitamins (especially B6 and B12) from the chicken, which support energy metabolism. The paprika adds vitamin A for vision health, while garlic and onion powders provide antioxidants. A single serving covers about 15% of your daily iron needs.
Bone Health Benefits
If using bone-in thighs, you’ll benefit from extra calcium and phosphorus that support strong bones. The buttermilk marinade also contributes calcium—about 10% of daily needs per serving. These minerals work together to maintain bone density.
Energy-Sustaining Meal
The combination of protein, healthy fats, and complex carbs from the coating provides sustained energy. I notice this meal keeps me full for hours without energy crashes. The cornstarch offers a slow-digesting carb source that prevents blood sugar spikes. 💛
Moderation Considerations
While nutritious, remember this is a fried dish best enjoyed in moderation. The vegetable oil contributes about 200 calories per tablespoon, so portion control is key. Pair with a fresh salad to add fiber and balance the meal.
Nutrition Facts
Frequently Asked Questions
What’s the best oil for frying?
Vegetable or peanut oil works best for this recipe. They have a high smoke point (400°F+) and neutral flavor. Avoid olive oil—it burns at frying temps.
Can I bake instead of fry?
Yes, but the texture differs. Bake at 400°F for 25-30 minutes on a wire rack for crispiness. It won’t be as crunchy as fried, but still delicious.
How do I keep it crispy after cooking?
Drain on a wire rack, not paper towels. Store in a single layer in a warm oven (200°F) until serving. Avoid stacking or covering.
Can I use chicken breasts?
Yes, but reduce cooking time to 8-10 minutes. Breasts dry out faster than thighs. For best results, brine them first in saltwater.

- Jollof Rice Sauce Recipe: West African Tomato and Spice Infusion - September 25, 2026
- Japanese Rice Soup Recipe: Umami-Rich Comfort in a Bowl - September 25, 2026
- Homemade Cream Of Rice Recipe: Silk-Smooth Breakfast in Minutes - September 25, 2026