
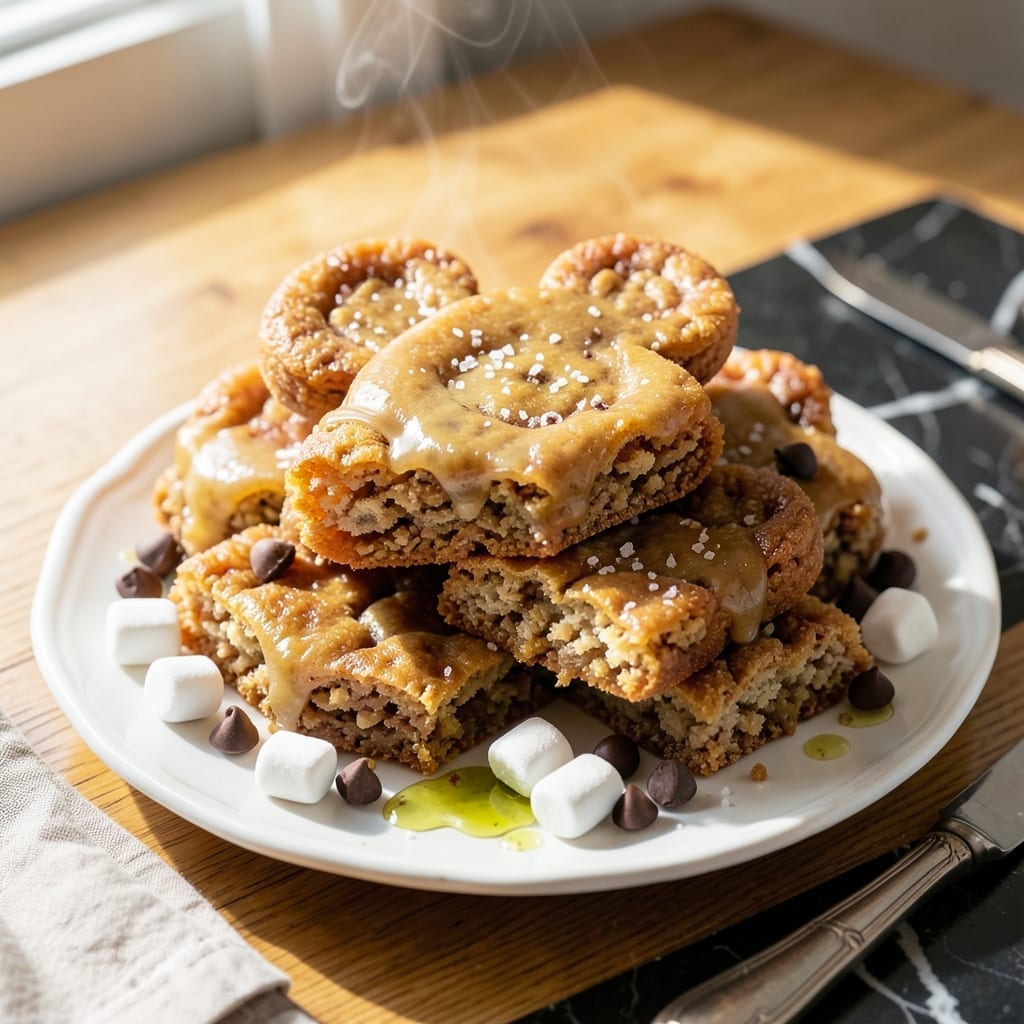
There’s something magical about turning a classic treat into a Disney-inspired delight that instantly brings smiles. This creation takes the nostalgic crunch of Rice Krispies and transforms it into an adorable Mickey Mouse shape, perfect for parties or a fun kitchen project.
With just a few simple ingredients and a little creativity, you’ll craft a dessert that’s as fun to make as it is to eat. The process is straightforward—melt, mix, shape, and decorate—but the result feels like pure Disney magic.
The key lies in the shaping. Using a Mickey Mouse cookie cutter or mold ensures each treat captures that iconic silhouette. A quick dip in melted chocolate adds the finishing touch for ears and details.
These treats are a hit with kids and adults alike, offering a playful twist on a beloved favorite. Ready to bring some whimsy to your kitchen?
Ingredients for Mickey Rice Krispie Treats
A handful of pantry staples and a little creativity bring this magical treat to life.
| Ingredient | Amount | Notes |
|---|---|---|
| Rice Krispies Cereal 🥣 | 6 cups | Fresh, crisp cereal preferred |
| Mini Marshmallows 🍬 | 10 oz | Use fresh for best melt |
| Unsalted Butter 🧈 | 3 tbsp | For melting with marshmallows |
| Vanilla Extract 🌿 | ½ tsp | Pure extract for flavor |
| Salt 🧂 | ¼ tsp | Fine grain for balance |
| Milk Chocolate Chips 🍫 | 1 cup | For decorating Mickey ears |
| White Chocolate Chips 🍫 | ½ cup | Optional for extra detail |
| Mickey Mouse Cookie Cutter 🎨 | 1 whole | For shaping treats |
| Non-Stick Cooking Spray 🧴 | 1 can | For greasing cutter and hands |
| Black Icing Gel ⚫ | 1 tbsp | For Mickey face details |
| Rainbow Sprinkles 🌈 | 2 tbsp | Optional for decoration |
The marshmallows are non-negotiable here—fresh mini marshmallows melt smoother and faster than the giant ones. Kraft Jet-Puffed is my go-to, but any store brand works. For the Rice Krispies, Kellogg’s has the best crunch (generic brands can get soggy). The butter should be unsalted so you control the salt level. If you’re making these for a crowd, double the batch—trust me, they disappear fast.
No mini marshmallows? Regular ones work, just chop them roughly before melting. Want to skip the chocolate? Colored candy melts from Michaels or Joann give vibrant Mickey ears. The vanilla extract can be swapped for almond extract (use half the amount). For a vegan version, use Dandies marshmallows and vegan butter—works perfectly. The cookie cutter is key, but a knife and steady hand can carve the shape too.
Store in an airtight container at room temp for up to 3 days. If it’s humid, add a silica packet to keep them crisp. These don’t freeze well—they lose that signature crunch. Best made the day of serving for maximum freshness and magic.
Why You’ll Love This Recipe
- One Bowl Wonder: Honestly, I just melt the butter, dump in the marshmallows, and stir—no fancy tools, no fuss.
- Buttery Vanilla Bliss: The unsalted butter and vanilla extract make these taste richer than the boxed version I grew up with.
- Party or Lunchbox: I shape them into Mickey heads for birthdays or slice into squares for school snacks—same recipe, two vibes.
- Stays Soft for Days: Between us, they’re even better the next day, and a batch costs less than a movie theater snack.
Step-by-Step Instructions for Mickey Rice Krispie Treats
Here’s how to create these magical treats with perfect shapes and fun details.
Step 1: Melt and Combine the Base
In a large pot, melt the 3 tbsp unsalted butter over low heat. Once fully melted, add the 10 oz mini marshmallows and stir constantly with a silicone spatula. You’ll see the marshmallows start to soften and collapse—this takes about 4-5 minutes.
Remove from heat and immediately stir in the 0.5 tsp vanilla extract and 0.25 tsp salt. The mixture should be smooth and glossy. Working quickly, fold in all 6 cups Rice Krispies Cereal until every piece is evenly coated. The cereal will soften slightly but should still retain some crunch.
Step 2: Shape with the Cookie Cutter
Lightly coat your hands and a flat surface with the non-stick cooking spray to prevent sticking. Transfer the warm Rice Krispies mixture onto the prepared surface and press it into an even layer about ½-inch thick.
Press the Mickey Mouse Cookie Cutter firmly into the mixture to cut out shapes. Gently wiggle the cutter to release each treat. If the mixture sticks, dip the cutter in warm water or spray with more cooking spray between cuts. You should get about 8-10 Mickey shapes from the batch.
Step 3: Add Chocolate Ear Details
Place the 1 cup milk chocolate chips in a microwave-safe bowl and heat in 20-second intervals, stirring between each, until fully melted and smooth. Use a small spoon or piping bag to drizzle melted chocolate onto the tops of the Mickey ears.
For extra flair, melt the 0.5 cup white chocolate chips the same way and use it to add highlights or additional details. Let the chocolate set for 10-15 minutes at room temperature, or speed it up with 5 minutes in the refrigerator.
Step 4: Decorate with Icing and Sprinkles
Use the 1 tbsp black icing gel to pipe Mickey’s iconic face details—two small circles for eyes and a larger oval for the nose. I like to use a toothpick to smooth the shapes if needed. The icing should be thick enough to hold its form but still pipeable.
While the icing is still wet, sprinkle on the 2 tbsp rainbow sprinkles for a pop of color. Press them lightly so they adhere to the icing. Let the treats set completely for another 10 minutes before serving to ensure all decorations stay in place.
Pro Tips For Making Mickey Rice Krispie Treats
- Melt Butter Slowly: Use low heat to melt the butter—high heat can cause the marshmallows to seize up or burn before they fully melt.
- Use Fresh Marshmallows: Mini marshmallows lose their stretchiness over time, so check the bag’s date; stale ones make brittle treats.
- Press While Warm: Press the mixture into the pan immediately after combining—waiting even 2 minutes makes it harder to shape without crumbling.
- Butter Your Hands: Lightly grease your hands with butter before pressing the mixture to prevent sticking and make smoothing the top effortless.
Dietary Considerations for This mickey rice krispie treats
Gluten-Free Adaptation
Swap 6 cups Rice Krispies for 6 cups gluten-free Rice Krispies by Kellogg’s—they have the same crunch and toasted flavor. Double-check that your marshmallows are labeled gluten-free, as some brands add wheat-based ingredients. 💡
Vegan Version
Use Dandies vegan marshmallows and Earth Balance vegan butter in place of traditional butter. The texture remains identical, and the flavor difference is minimal. Ensure your chocolate chips are dairy-free—Enjoy Life brand works perfectly.
Nut-Free Considerations
This recipe is naturally nut-free, but always verify your chocolate chips and sprinkles for cross-contamination warnings. For extra safety, use dedicated nut-free facilities like Enjoy Life or Pascha Chocolate. 🛡️
Lower Sugar Option
Replace half the mini marshmallows with 5 oz of Lily’s Sugar-Free Marshmallows. The treats will be slightly less sweet but still hold their shape. Use sugar-free chocolate chips for decorating to keep the theme consistent.
Dairy-Free Swaps
Choose dairy-free chocolate chips (Enjoy Life or Hu Kitchen) for the ears and details. The base recipe remains unchanged, as butter and marshmallows can be swapped for dairy-free alternatives without affecting structure.
Allergy-Friendly Tips
For severe allergies, use a clean, dedicated Mickey Mouse Cookie Cutter to avoid cross-contamination. Store treats in a sealed container with a silica packet to maintain freshness for up to 3 days.
Nutrition Facts
Frequently Asked Questions
What can I use instead of a Mickey Mouse cookie cutter?
Use a round cutter for the head and two smaller ones for ears, arranging them together. Alternatively, trace a Mickey template on parchment and cut freehand with a sharp knife.
How do I keep the treats from sticking to the cutter?
Spray the cutter with non-stick cooking spray before each use. Warm water can also help release the shape if it gets stuck.
Can I make these a day ahead?
Yes, but store in an airtight container at room temperature. For best crunch, add the chocolate details the day of serving.

- Mujadara Rice and Lentils Recipe: Earthy Spiced Lentils With Caramelized Onions - November 1, 2026
- Naija Fried Rice Recipe: Street-Style Spice With Veggie Crunch - November 1, 2026
- Mushy Rice Recipe: Fluffy Grains Transformed in Minutes - November 1, 2026