
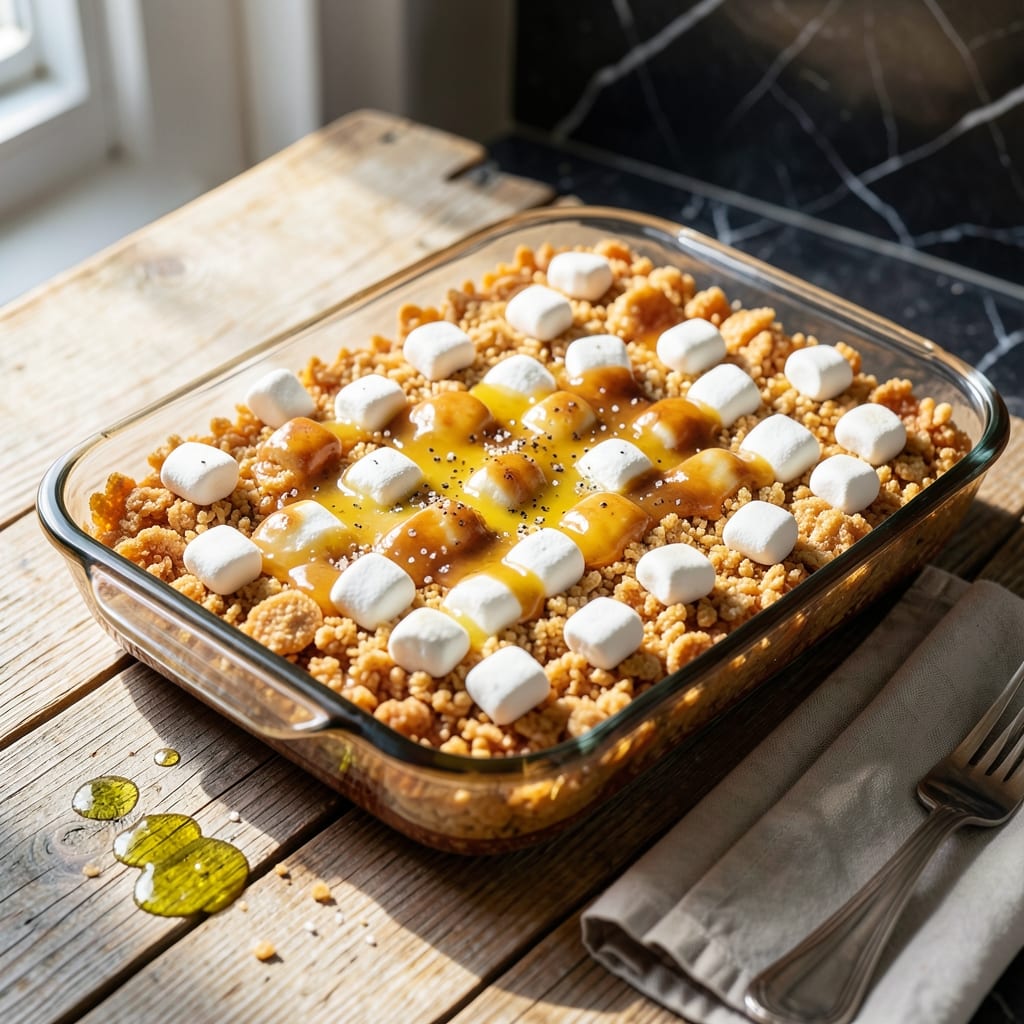
There’s a reason Rice Krispy treats remain a classic—they’re crispy, gooey, and impossibly satisfying. This version uses mini marshmallows for even more melty goodness in every bite.
I’ve perfected the ratio of marshmallows to cereal to ensure the ideal texture: snappy on the outside, soft and stretchy inside. The process takes 15 minutes from start to finish, with no baking required.
What you get is a batch of perfectly portioned squares that hold their shape but give way with the slightest pressure. The mini marshmallows melt faster, creating a smoother, more consistent binding.
These disappear faster than they cool. Here’s how to make them right every time.
Ingredients for Mini Marshmallow Rice Crispy
Six ingredients. One bowl. Endless crispy, gooey goodness.
| Ingredient | Amount | Notes |
|---|---|---|
| Rice Krispies Cereal 🥣 | 6 cups | Fresh, uncrushed for best texture |
| Mini Marshmallows 🍬 | 10 cups | Divided for even melting |
| Unsalted Butter 🧈 | ½ cup | 1 stick, for melting |
| Vanilla Extract 🌿 | 2 tsp | Pure for best flavor |
| Fine Sea Salt 🧂 | ½ tsp | Balances the sweetness |
| Cooking Spray 💨 | 1 can | For greasing the pan |
The marshmallows are key here. Jet-Puffed mini marshmallows melt the fastest and most evenly—Kraft works too but takes a touch longer. Don’t skimp on the butter; it’s what gives these their rich, caramelized depth. I always grab Land O’Lakes unsalted so I can control the salt content. The cereal should be fresh (check the box date) and straight from the bag, not that stale stuff at the bottom.
No mini marshmallows? Regular ones work in a pinch but require a bit more patience to melt completely. Need to make it dairy-free? Earth Balance vegan butter swaps in perfectly. Out of vanilla? A pinch of cinnamon or almond extract adds a nice twist. The salt is non-negotiable though—it cuts through all that sweetness and makes the flavors pop.
These keep for 3 days at room temperature in an airtight container (if they last that long). For longer storage, wrap individual squares in parchment and freeze for up to 2 months. They’ll soften slightly but still taste amazing.
Why You’ll Love This Recipe
- 5-Minute Magic: I can melt the butter and marshmallows while the cereal sits in the bowl—no multitasking gymnastics required.
- Vanilla Kiss: That hit of vanilla extract turns the classic flavor into something warm and almost caramel-like.
- Party in a Pan: I’ve shaped them into squares for bake sales, pressed them into pops for birthdays, and even crumbled them over ice cream.
- Stays Fresh: Honestly, they keep for days in an airtight container, so I can make a double batch and forget about it.
Step-by-Step Instructions for Mini Marshmallow Rice Crispy Treats
Here’s the method. Straightforward, tested, works every time.
Step 1: Prepare the Pan and Melt the Butter
Begin by generously coating a 9×13-inch baking pan with the cooking spray, ensuring all sides and corners are well covered. This prevents sticking and makes for easy removal later. I like to line the pan with parchment paper as well for extra insurance, but the spray alone works if you’re thorough.
In a large, heavy-bottomed pot, melt the 0.5 cup unsalted butter over low heat. Keep an eye on it—you want it fully melted but not browned. This takes about 3-4 minutes. Once melted, remove from heat immediately to prevent overheating.
Step 2: Melt the Mini Marshmallows
Add 8 cups of the mini marshmallows to the melted butter, reserving 2 cups for later. Stir constantly with a silicone spatula or wooden spoon until the marshmallows are nearly fully melted. This process takes about 5-7 minutes over low heat.
You’ll notice the mixture becomes glossy and smooth. I’ve found that mini marshmallows melt faster than regular ones due to their smaller size, so stay vigilant. If the mixture seems too thick, reduce the heat slightly. The key is patience—rushing this step can lead to scorching.
Step 3: Incorporate Flavor and Cereal
Once the marshmallows are fully melted, stir in the 2 tsp vanilla extract and 0.5 tsp fine sea salt. The vanilla adds a subtle depth of flavor, while the salt balances the sweetness perfectly. Mix well for 30 seconds to ensure even distribution.
Now, add all 6 cups Rice Krispies Cereal to the pot. Use your spatula to fold the cereal into the marshmallow mixture gently but thoroughly. The goal is to coat every piece of cereal evenly without crushing it. This should take about 1-2 minutes of stirring.
Step 4: Add Remaining Marshmallows and Press
Fold in the reserved 2 cups mini marshmallows into the cereal mixture. These will soften but retain some shape, giving your treats extra gooey pockets. The mixture should look uniformly coated with a few visible marshmallow pieces.
Transfer the mixture to your prepared pan. Using the spatula or a piece of parchment paper, press down firmly and evenly. I press for about 1 minute to ensure the treats are compact and hold together well. Avoid over-compressing, though, or they’ll be too dense.
Step 5: Cool and Cut
Let the treats cool at room temperature for 30-45 minutes. You’ll know they’re ready when the top is firm to the touch and the edges start to pull away from the pan slightly. This cooling time is crucial for clean cuts.
Once cooled, use a sharp knife to cut into squares. I like to make 12 equal squares for this 9×13-inch pan. For the cleanest cuts, dip the knife in warm water between slices. Serve immediately or store in an airtight container for up to 3 days.
Pro Tips For Making Mini Marshmallow Rice Crispy
- Melt Butter Low: Use medium-low heat when melting the butter to prevent the marshmallows from seizing up or burning. I learned this the hard way after scorching two batches in a row.
- Use Fresh Marshmallows: Skip the stale mini marshmallows—they turn rock-hard when cooled. Fresh ones melt smoothly and keep the treats soft for days.
- Press Lightly: Resist the urge to pack the mixture too tightly into the pan, or your squares will be dense and tough. A gentle press is all you need.
- Add Salt Last: Sprinkle the fine sea salt over the top after pressing into the pan, not during melting—it keeps the flavor bright instead of lost in the mix.
Make-Ahead Tips for This Dish
Room Temperature Prep
Measure all your ingredients ahead of time and have them ready to go. I keep my 6 cups Rice Krispies in a large bowl and my 10 cups mini marshmallows divided into 8 cups and 2 cups portions. This makes the process smoother when you’re working with hot, sticky mixtures. 💡
Pre-Grease Everything
Before you start melting, spray your 9×13-inch pan liberally with cooking spray. Also coat your spatula and any measuring cups you’ll reuse. Trust me, this prevents a world of sticky cleanup later. I use Baker’s Joy spray for its flour-baking combination.
Melt Butter First
Start by melting your ½ cup unsalted butter completely before adding marshmallows. This ensures even melting and prevents hot spots that could burn your marshmallows. I find low heat gives me the most control.
Marshmallow Melting
Add your 8 cups mini marshmallows to the melted butter. Stir constantly until they’re almost fully melted before removing from heat. The residual heat will finish the job without risking scorching.
Press Evenly
When pressing the mixture into the pan, use a piece of parchment paper to avoid sticking. Press firmly for about 1 minute to create an even layer. I find wax paper works in a pinch too.
Cool Completely
Let your treats cool for the full 30-45 minutes before cutting. This patience ensures clean squares that hold their shape. The edges will start to pull away from the pan when they’re ready.
Nutrition Facts
Frequently Asked Questions
Can I use regular marshmallows instead?
Yes, but they take longer to melt. Use the same volume and expect to stir for 8-10 minutes over low heat. Mini ones melt faster and create a smoother texture.
How do I keep them from sticking to the pan?
Generously coat the pan with cooking spray or line it with parchment. Also grease your spatula and hands before pressing the mixture. This makes removal effortless.
Why did my treats turn out hard?
Overheating the marshmallow mixture or pressing too firmly causes hardness. Keep heat on low and press just enough to compact. Let them cool fully before cutting.
Can I make these dairy-free?
Swap the butter for vegan butter like Earth Balance. The process remains the same, and the flavor difference is minimal.

- Mujadara Rice and Lentils Recipe: Earthy Spiced Lentils With Caramelized Onions - November 1, 2026
- Naija Fried Rice Recipe: Street-Style Spice With Veggie Crunch - November 1, 2026
- Mushy Rice Recipe: Fluffy Grains Transformed in Minutes - November 1, 2026