
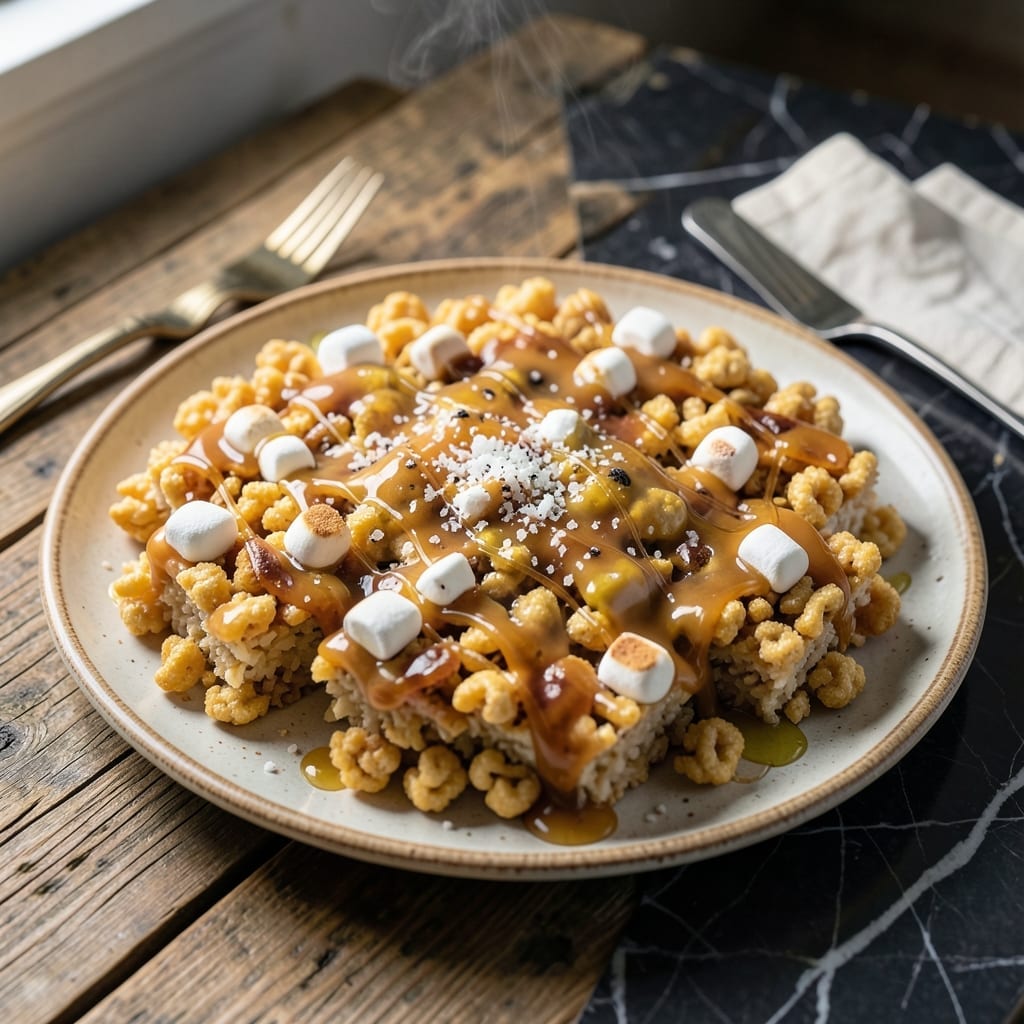
This recipe transforms classic Rice Krispie treats into a moldable masterpiece that holds its shape for creative desserts. The secret lies in a precise marshmallow-to-cereal ratio that maintains flexibility without collapsing.
I developed this method after years of trial and error, perfecting the balance between structure and softness. The addition of corn syrup creates the ideal sticky consistency for shaping into balls, squares, or even intricate designs.
You’ll achieve professional-looking results that maintain their form while staying irresistibly chewy. The mixture stays workable for 10-15 minutes, giving you time to craft your creations.
Perfect for parties, gift baskets, or simply elevating a childhood favorite. The technique ensures your shapes stay intact without sacrificing that signature crispy-marshmallow texture.
Ingredients for Moldable Rice Krispie Treat
Seven ingredients. Endless creativity. Shapeable treats that hold their form perfectly.
| Ingredient | Amount | Notes |
|---|---|---|
| Rice Krispies Cereal 🥣 | 6 cups | Fresh, crisp cereal preferred |
| Mini Marshmallows 🍬 | 10 cups | Fresh for best melt |
| Unsalted Butter 🧈 | ½ cup | Cut into pieces for even melting |
| Light Corn Syrup 💧 | ½ cup | Creates sticky consistency |
| Vanilla Extract 🌿 | 1 tsp | Pure extract for best flavor |
| Salt 🧂 | ¼ tsp | Balances sweetness |
| Vegetable Cooking Spray 🫒 | 1 can | For greasing surfaces |
The marshmallows are the foundation—Kraft Jet-Puffed melt the smoothest without that weird aftertaste. Name-brand Rice Krispies (not the store version) stay crisp longer, which is key for that signature texture. Butter quality matters here too; I always use Land O’Lakes or Kerrygold for consistent results. The corn syrup isn’t optional—it’s what gives you that 10-15 minute working window.
No corn syrup? Honey or agave at the same amount works in a pinch (though it’ll darken the color). Want extra flavor? Swap vanilla for almond extract at half the quantity. Using regular marshmallows instead of mini? Chop them smaller first. The salt might seem negligible, but skip it and the treats taste flat. For a richer version, brown the butter slightly before melting.
Store cooled treats in an airtight container at room temperature for up to 3 days. They’ll soften over time but still hold shape. For longer storage, wrap individually and freeze for 6 weeks. Let sit at room temp 1 hour before serving to restore chewiness.
Why You’ll Love This Recipe
- One Pot Wonder: I melt the butter, marshmallows, and corn syrup in a single saucepan—no extra bowls, no fuss.
- Vanilla Kiss: The splashes of vanilla extract make the marshmallow goo taste like a gourmet confection, not just kid’s snack.
- Shape It Your Way: I press it into pans for squares or roll it into balls for party favors—works for birthdays, bake sales, or midnight cravings.
- Stays Fresh: Leftovers keep for days in an airtight container, so I can make a double batch and still have treats ready for the week.
Step-by-Step Instructions for Moldable Rice Krispie Treats
Here’s the method. Straightforward, tested, works every time for perfectly shapeable treats.
Step 1: Melt and Combine the Binding Agents
In a large pot over low heat, combine the 0.5 cup Unsalted Butter (cut into pieces), 10 cups Mini Marshmallows, and 0.5 cup Light Corn Syrup. Stir constantly with a silicone spatula until the mixture is completely smooth and melted—this takes about 8-10 minutes.
Watch for the mixture to turn glossy and pull away slightly from the sides of the pot. The corn syrup ensures your final product will have that signature sticky, pliable texture. Don’t let it brown; remove from heat immediately once fully melted.
Step 2: Add Flavor and Cereal
Stir in the 1 tsp Vanilla Extract and 0.25 tsp Salt to balance the sweetness. Then add all 6 cups Rice Krispies Cereal at once. Fold gently with your spatula until every piece is evenly coated—this should take 1-2 minutes.
Here’s the thing—if you overmix, the cereal will break down into a dense paste. You want distinct, crispy bits suspended in that marshmallow matrix. The mixture should look slightly greasy (that’s the butter doing its job) and hold together when pressed.
Step 3: Prepare Your Work Surface for Molding
Lightly coat your hands with Vegetable Cooking Spray to prevent sticking. This is non-negotiable; the mixture is incredibly sticky at this stage. I also spray a large cutting board or countertop where I’ll shape the treats.
Real talk: if you skip this step, you’ll spend more time scraping marshmallow off your fingers than shaping the treats. The spray creates a thin barrier that lets you manipulate the mixture without it clinging to everything it touches.
Step 4: Shape and Mold While Warm
Working quickly while the mixture is still warm and pliable, transfer it to your prepared surface. Press it into an even layer about 1-inch thick. For best results, use your greased hands to smooth the surface and edges.
This is the moment that matters: if you want custom shapes, now’s the time. Press the mixture into silicone molds, cookie cutters, or form into balls. The heat from the mixture helps it hold its new shape as it cools. Let it set for 15-20 minutes until firm to the touch.
Step 5: Cut and Serve Once Fully Set
Once completely cool and set, use a sharp knife (sprayed with more Vegetable Cooking Spray) to cut into squares or your desired shapes. The treats should hold their form without crumbling or sticking to the knife.
Store in an airtight container at room temperature for up to 3 days, though they’re best enjoyed fresh. The cereal will gradually soften over time, but the texture remains moldable enough to reshape if needed before serving.
Pro Tips For Making Moldable Rice Krispie Treat
- Melt Low and Slow: Keep the heat on medium-low when melting the butter and marshmallows—high heat will turn them grainy or burn the sugar. I learned this the hard way after ruining two batches with impatient heat.
- Butter Your Tools: Grease your spatula, bowl, and even your hands with a little extra butter before pressing the mixture. Sounds weird, but it works: no sticky mess, and the treats release cleanly.
- Skip Old Cereal: Use fresh Rice Krispies—stale cereal won’t give you that perfect snap and will make the treats dense. After burning three batches, I finally figured out the cereal was the culprit.
- Press, Don’t Pack: Gently press the mixture into the pan—don’t smash it flat or the treats will turn rock-hard. My grandmother swore by this, and she was right: light pressure keeps them tender.
Perfect Pairings for These Flavors
Party Platter Pairings
These treats shine on dessert boards alongside chocolate-dipped strawberries and mini cookies. Arrange them in fun shapes next to rainbow sprinkles for a pop of color. I love adding mini pretzel sticks for a sweet-and-salty contrast that guests adore. 🥗
Beverage Matches
A cold glass of milk is the classic choice—its creaminess balances the sweetness perfectly. For adults, vanilla chai tea or cold brew coffee with a splash of cream complements the buttery flavor beautifully. I always keep both options available at gatherings.
Dessert Sandwiches
Slice these into ½-inch thick rectangles and sandwich with vanilla ice cream for a crispy-chewy-textured treat. Roll the edges in crushed Oreos or toasted coconut for extra flair. The contrast between the cold ice cream and room-temp treat is divine.
Holiday Themes
Press the mixture into holiday-shaped cookie cutters while warm for festive presentations. For Halloween, add orange food coloring to the marshmallow mix. Christmas calls for green and red sprinkles mixed into the cereal before shaping. 💫
Breakfast Twist
Crumbled over Greek yogurt with fresh berries, these add a fun crunch to morning meals. I sometimes drizzle a little honey over the top for extra sweetness. The treats hold up well to milk too, making them perfect for cereal-style breakfasts.
Nutrition Facts
Frequently Asked Questions
Why does this recipe use corn syrup?
The 0.5 cup Light Corn Syrup creates a stickier, more pliable mixture that holds shapes better. Without it, the treats may crumble when molding.
Can I use regular marshmallows instead of mini?
Yes, but chop them into smaller pieces first for even melting. The 10 cups Mini Marshmallows ensure a smoother texture that’s easier to shape.
How long do the shapes stay moldable?
You have about 10-15 minutes to shape them before the mixture sets. Work quickly with greased hands for best results.
What’s the best way to store shaped treats?
Keep them in an airtight container at room temperature for up to 3 days. They’ll soften slightly but retain their shape.

- Mujadara Rice and Lentils Recipe: Earthy Spiced Lentils With Caramelized Onions - November 1, 2026
- Naija Fried Rice Recipe: Street-Style Spice With Veggie Crunch - November 1, 2026
- Mushy Rice Recipe: Fluffy Grains Transformed in Minutes - November 1, 2026