
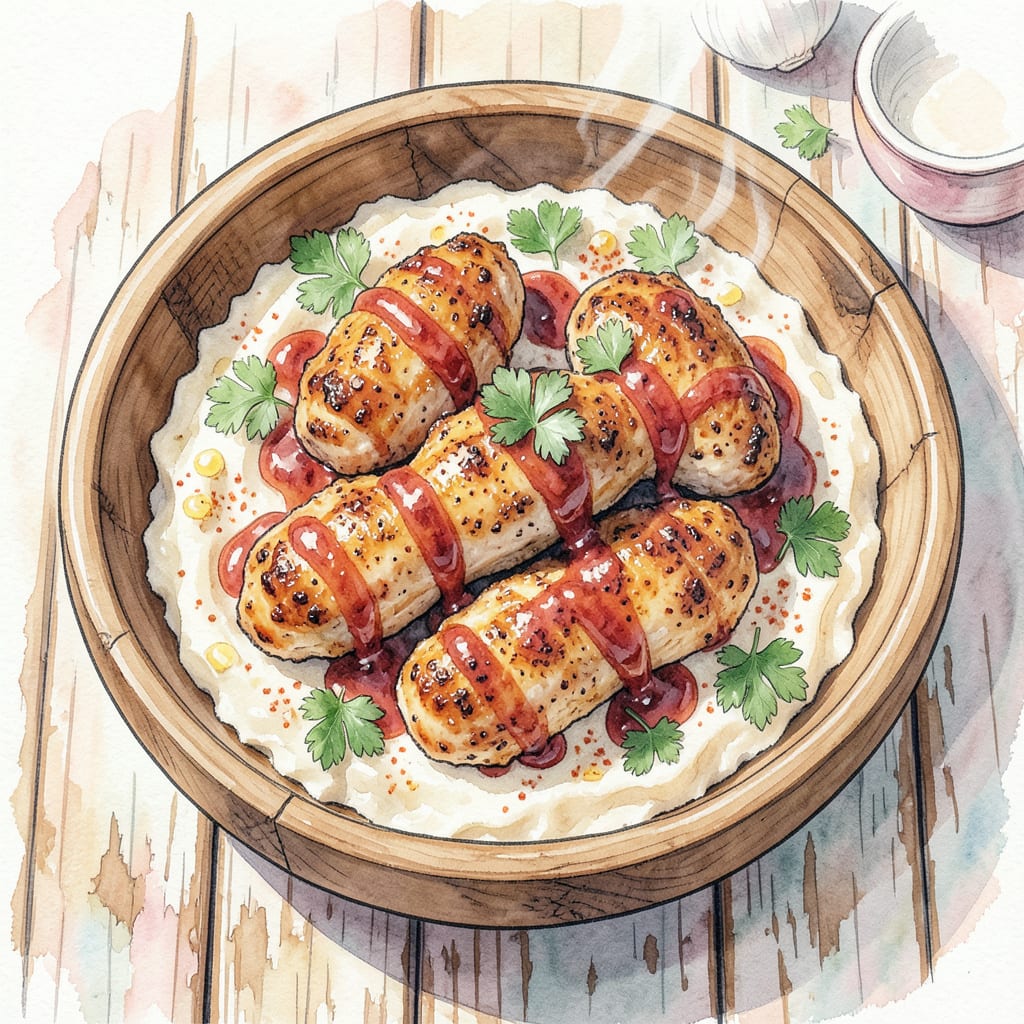
I’ve perfected my Nashville chicken tenders recipe to deliver crispy perfection every time. The secret lies in a double-dipping technique that creates a crunchy exterior while keeping the inside juicy and tender.
Ready in 30 minutes, these tenders combine the perfect balance of spice and flavor. With a simple breading process and precise frying instructions, you’ll achieve tender and crispy results that rival your favorite Nashville hot chicken spots.
Ingredients for Nashville Chicken Tenders
Crispy Nashville chicken tenders start with quality ingredients and precise technique.
| Ingredient | Amount | Notes |
|---|---|---|
| Chicken Breast Tenderloins 🍗 | 1 ½ lb | Fresh, never frozen preferred |
| All-Purpose Flour 🌾 | 1 ½ cups | Unbleached, all-purpose variety |
| Cornstarch 🌾 | ½ cup | For extra crispy coating |
| Paprika 🌶️ | 2 tbsp | Smoked or sweet variety |
| Garlic Powder 🧄 | 1 tbsp | Not garlic salt |
| Onion Powder 🧅 | 1 tbsp | Fresh ground preferred |
| Cayenne Pepper 🔥 | 1 tsp | Adjust for heat preference |
| Salt 🧂 | 1 tsp | Kosher or sea salt |
| Black Pepper 🌶️ | ½ tsp | Freshly ground preferred |
| Buttermilk 🥛 | 1 cup | Full-fat for best results |
| Hot Sauce 🌶️ | ¼ cup | Frank's RedHot or similar |
| Vegetable Oil 🫒 | 2 cups | For frying, about 1/2-inch deep |
For the crispiest coating, Pillsbury unbleached flour works great. If you’re feeling fancy, try King Arthur for a slightly different texture. The buttermilk is non-negotiable—don’t skip it or substitute with regular milk. For the hot sauce, Frank’s RedHot is the gold standard, but any cayenne-based hot sauce will do. The chicken itself? Fresh is best, and tenderloins are a time-saver since they’re already the right shape.
No buttermilk? Milk with a tablespoon of white vinegar or plain yogurt gets you close. Want more heat? Bump up the cayenne in both the breading and the hot sauce mix. The cornstarch is worth keeping on hand—it makes the coating significantly crisper. If you don’t have it, extra flour works too, just expect a slightly different texture. For the oil, avocado oil or peanut oil are great choices because of their high smoke points.
These reheat beautifully in the oven at 350°F for about 10 minutes. Store leftovers in an airtight container for up to 3 days. Freezing works too—just flash freeze on a baking sheet before transferring to a freezer bag. To re-crisp from frozen, bake at 375°F for about 15 minutes.
Step-by-Step Instructions for Nashville Chicken Tenders
Here’s the method that delivers perfectly crispy Nashville chicken tenders every time.
Step 1: Prepare the Spicy Flour Coating
In a large bowl, combine the 1.5 cups All-Purpose Flour, 0.5 cup Cornstarch, 2 tbsp Paprika, 1 tbsp Garlic Powder, 1 tbsp Onion Powder, 1 tsp Cayenne Pepper, 1 tsp Salt, and 0.5 tsp Black Pepper. Whisk until the mixture is well combined and there are no lumps. I like to use a fork to ensure everything is evenly distributed.
The cornstarch is crucial for that extra crispy coating, while the spices create the signature Nashville flavor. Make sure to adjust the 1 tsp Cayenne Pepper according to your heat preference.
Step 2: Marinate the Chicken in Buttermilk and Hot Sauce
In a separate large bowl, whisk together the 1 cup Buttermilk and 0.25 cup Hot Sauce until smooth. Add the 1.5 lb Chicken Breast Tenderloins to this marinade, ensuring they’re fully submerged. If necessary, you can weight them down with a plate to keep them under the liquid. Cover the bowl with plastic wrap and refrigerate for at least 2 hours or overnight for best results.
The acidity in the buttermilk tenderizes the chicken, while the hot sauce begins to infuse that spicy Nashville flavor. You’ll notice the chicken tenderloins becoming more tender and absorbing the flavors as they marinate.
Step 3: Dredge the Chicken in the Spicy Flour Mixture
Remove the chicken from the marinade, letting any excess liquid drip off. Dredge the chicken tenderloins in the prepared flour mixture, pressing the coating onto the chicken to ensure it adheres well. I find that using a gentle press helps the coating stick better. Place the coated chicken on a wire rack set over a baking sheet to catch any excess flour.
For an extra crispy coating, you can let the coated chicken rest for 10-15 minutes to allow the coating to set slightly. This step is crucial for achieving that perfect crunch.
Step 4: Fry the Chicken to Crispy Perfection
Heat the 2 cups Vegetable Oil in a large skillet or Dutch oven over medium-high heat until it reaches 350°F. I recommend using a thermometer to ensure the oil is at the right temperature. Once hot, carefully add a few pieces of the coated chicken to the oil—don’t overcrowd the pan. Fry for 5-7 minutes or until the coating is golden brown and the chicken reaches an internal temperature of 165°F.
Repeat with the remaining chicken, adjusting the heat as necessary to maintain the oil temperature. Drain the fried chicken on paper towels to remove excess oil.
Step 5: Serve Immediately for Maximum Crispiness
Serve the Nashville chicken tenders immediately while they’re still crispy. You can enjoy them as is or with your favorite dipping sauce. I recommend serving with a side of pickles or coleslaw to balance the spiciness. The key to maintaining crispiness is serving the chicken right after frying.
Make-Ahead Tips for Leftovers
Marinating Ahead
You can marinate the chicken tenders up to 24 hours in advance. Simply mix the 1 cup buttermilk and 0.25 cup hot sauce with the chicken in an airtight container and refrigerate. The longer it marinates, the more tender and flavorful it becomes.
Breading in Advance
Prepare the spicy flour mixture up to 2 days before frying. Store it in an airtight container at room temperature. When you’re ready to coat the chicken, the mixture will be ready to go, saving you time during final prep. 🔥
Frying Just Before Serving
For maximum crispiness, fry the chicken tenders just before serving. If you need to fry ahead, you can do so up to 2 hours before serving and keep them warm in a 200°F oven on a wire rack over a baking sheet.
Reheating Strategies
If you need to reheat leftover tenders, the oven is your best bet. Preheat to 350°F and bake for 10-12 minutes until crispy. Avoid microwaving as it makes the coating soggy. For frozen tenders, bake at 375°F for 15-20 minutes until heated through and crispy.
Storage Tips
Store leftover chicken tenders in an airtight container in the refrigerator for up to 3 days. To maintain crispiness, avoid stacking them on top of each other. You can also freeze cooked tenders on a baking sheet before transferring them to a freezer bag for up to 3 months. ❄️
Make-Ahead Variations
Consider making extra spicy flour mixture and storing it for future meals. You can also marinate chicken in bulk and portion it into individual servings for quick meals throughout the week. This recipe scales well for meal prep or feeding a crowd.
Nutrition Facts
Frequently Asked Questions
Can I bake Nashville chicken tenders instead of frying?
Yes, you can bake them at 400°F for 15-20 minutes, flipping halfway through. While they won’t be as crispy as fried tenders, they’ll still be delicious and juicy. For extra crispiness, try broiling for an additional 2-3 minutes after baking.
How do I make Nashville chicken tenders less spicy?
To reduce the heat, start by decreasing the cayenne pepper in the breading mixture. You can also use less hot sauce in the marinade or omit it altogether. For an extra mild version, serve the tenders with a cooling dipping sauce like ranch or blue cheese.
Can I prepare Nashville chicken tenders ahead of time?
Yes, you can marinate the chicken tenders up to 24 hours in advance. You can also prepare the spicy flour mixture up to 2 days before frying. For best results, fry the tenders just before serving, or reheat them in the oven at 350°F for 10-12 minutes if needed.
What’s the best oil for frying Nashville chicken tenders?
For frying, use a neutral oil with a high smoke point, such as avocado oil or peanut oil. Heat the oil to 350°F for the crispiest results. Avoid using olive oil, as it has a lower smoke point and can burn easily.

- Jollof Rice Sauce Recipe: West African Tomato and Spice Infusion - September 25, 2026
- Japanese Rice Soup Recipe: Umami-Rich Comfort in a Bowl - September 25, 2026
- Homemade Cream Of Rice Recipe: Silk-Smooth Breakfast in Minutes - September 25, 2026