
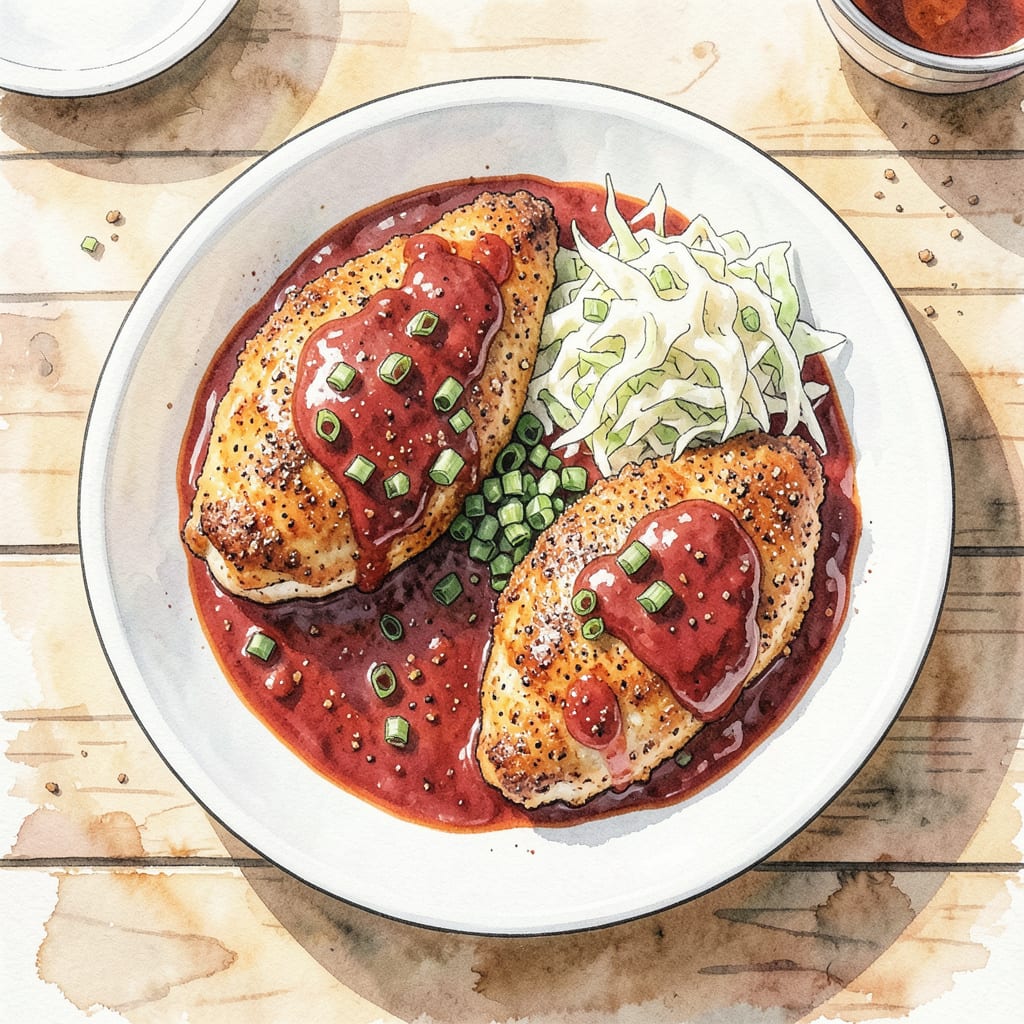
I’ve perfected a Nashville hot chicken recipe that delivers authentic spicy flavor without deep-frying. By baking the chicken, we achieve a crispy exterior and juicy interior in just 30 minutes. This method is a game-changer for home cooks.
The secret lies in a special spice blend and precise temperature control. We’ll walk through the simple steps to create this mouthwatering dish that’s perfect for any occasion.
Ingredients for Nashville Hot Chicken Recipe Baked
Simple ingredients come together for Nashville hot chicken perfection in just 30 minutes.
| Ingredient | Amount | Notes |
|---|---|---|
| Chicken Breast Cutlets 🍗 | 1 ½ lb | Pounded to even thickness |
| Buttermilk 🥛 | 1 cup | For marinating chicken |
| All-Purpose Flour 🌾 | 1 ½ cups | For dredging chicken |
| Paprika 🌶️ | 2 tbsp | Smoked or sweet variety |
| Garlic Powder 🧄 | 1 tbsp | Not garlic salt |
| Onion Powder 🧅 | 1 tbsp | Fresh ground preferred |
| Cayenne Pepper 🔥 | 1 tsp | Adjust for heat preference |
| Brown Sugar 🍮 | 1 tsp | Balances heat |
| Salt 🧂 | 1 ½ tsp | Kosher or sea salt |
| Black Pepper 🌶️ | 1 tsp | Freshly ground preferred |
| Hot Sauce 🌶️ | ¼ cup | Frank's RedHot or similar |
| Melted Butter 🧈 | 4 tbsp | For spicy crust |
The spice blend matters. Penzeys has great spices, but regular grocery store brands work too. For the chicken, pound the cutlets to even thickness so they cook consistently. I like using boneless, skinless chicken breasts for this recipe.
No buttermilk? Mix 1 cup milk with 1 tbsp white vinegar as a substitute. For extra crispy coating, try chilling the breaded chicken for 10-15 minutes before baking. If you like it milder, start with half the cayenne and adjust up.
Leftover chicken keeps for 3-4 days in the fridge. Reheat in the oven to maintain crispiness. The spice blend can be made ahead and stored for up to 6 months in an airtight container.
Step-by-Step Instructions for Nashville Hot Chicken
Here’s the method that delivers crispy Nashville hot chicken with a spicy kick in just 30 minutes.
Step 1: Marinate the Chicken in Buttermilk
Start by placing the 1.5 lb Chicken Breast Cutlets in a large bowl. Pour in the 1 cup Buttermilk, making sure the chicken is fully submerged. If necessary, add a bit more buttermilk to cover. Cover the bowl with plastic wrap and refrigerate for at least 30 minutes or up to 2 hours. The acidity in the buttermilk will tenderize the chicken and help the coating adhere.
As the chicken marinates, you’ll notice it becoming more tender and the meat relaxing. This step is crucial for achieving that juicy, tender texture characteristic of great Nashville hot chicken.
Step 2: Prepare the Spicy Flour Coating
In a large shallow dish, mix together the 1.5 cups All-Purpose Flour, 2 tbsp Paprika, 1 tbsp Garlic Powder, 1 tbsp Onion Powder, 1 tsp Cayenne Pepper, 1 tsp Brown Sugar, 1.5 tsp Salt, and 1 tsp Black Pepper. Whisk until the spices are evenly distributed throughout the flour. The combination of spices here is what gives Nashville hot chicken its signature flavor profile.
I like to use a fork to mix the dry ingredients thoroughly, ensuring there are no lumps and the spices are well incorporated. This helps create a consistent crust on the chicken.
Step 3: Dredge and Bake the Chicken
Preheat your oven to 400°F. Remove the chicken from the buttermilk, letting any excess liquid drip off. Dredge the chicken cutlets in the flour mixture, pressing the coating onto the chicken to ensure it adheres well. Place the coated chicken on a wire rack set over a baking sheet. Drizzle the 4 tbsp Melted Butter evenly over the coated chicken cutlets. This helps create that crispy, golden-brown crust.
Bake the chicken in the preheated oven for 20-25 minutes, or until it reaches an internal temperature of 165°F and the coating is golden brown and crispy. You might need to flip the chicken halfway through the baking time to ensure even browning.
Step 4: Add the Hot Sauce Glaze
While the chicken is baking, mix the 0.25 cup Hot Sauce with any additional seasonings you like (such as extra cayenne or garlic powder) in a small bowl. Once the chicken is done baking, brush this hot sauce mixture evenly over the top of each cutlet. This step adds that signature Nashville hot flavor and a bit of extra heat.
Return the chicken to the oven for an additional 2-3 minutes, just until the sauce is bubbly and slightly caramelized. Keep an eye on it to prevent burning.
Step 5: Serve Immediately
Remove the chicken from the oven and let it rest for a few minutes on the wire rack. This helps the juices redistribute and the crust to stay crispy. Serve the Nashville hot chicken hot, garnished with pickles or fresh herbs if desired. The combination of the crispy, spicy crust and the juicy chicken inside is sure to be a hit.
Make-Ahead Tips for This Recipe
Advance Preparation Tips
To save time on busy days, you can prepare components of this Nashville hot chicken recipe ahead. The spice blend can be mixed and stored in an airtight container for up to 6 months. I often make a double batch to keep on hand.
Marinating Chicken Ahead
You can marinate the chicken in buttermilk up to 24 hours in advance. Simply keep it covered in the refrigerator until you’re ready to dredge and bake. This longer marinating time can actually improve the tenderness.
Breading Station Prep
Set up your breading station ahead of time by placing the flour mixture in a shallow dish. Cover it with plastic wrap and store at room temperature for up to 2 hours before using. This keeps everything ready to go when you need it.
Storage and Reheating
If you have leftovers, store them in an airtight container in the refrigerator for up to 3-4 days. To reheat, bake in a preheated oven at 375°F for 10-15 minutes until crispy. Avoid microwaving as it can make the coating soggy. 🔥
Make-Ahead Variations
For meal prep, you can bread the chicken cutlets up to 6 hours in advance. Place them on a wire rack on a baking sheet, cover with plastic wrap, and refrigerate until baking. This shortcut saves about 10 minutes on cooking day.
Freezer Option
To freeze, bread the chicken cutlets as instructed, then place them on a baking sheet and freeze until solid. Transfer to a freezer bag or airtight container and store for up to 3 months. Bake from frozen at 400°F for 25-30 minutes.
Nutrition Facts

- Jollof Rice Sauce Recipe: West African Tomato and Spice Infusion - September 25, 2026
- Japanese Rice Soup Recipe: Umami-Rich Comfort in a Bowl - September 25, 2026
- Homemade Cream Of Rice Recipe: Silk-Smooth Breakfast in Minutes - September 25, 2026