
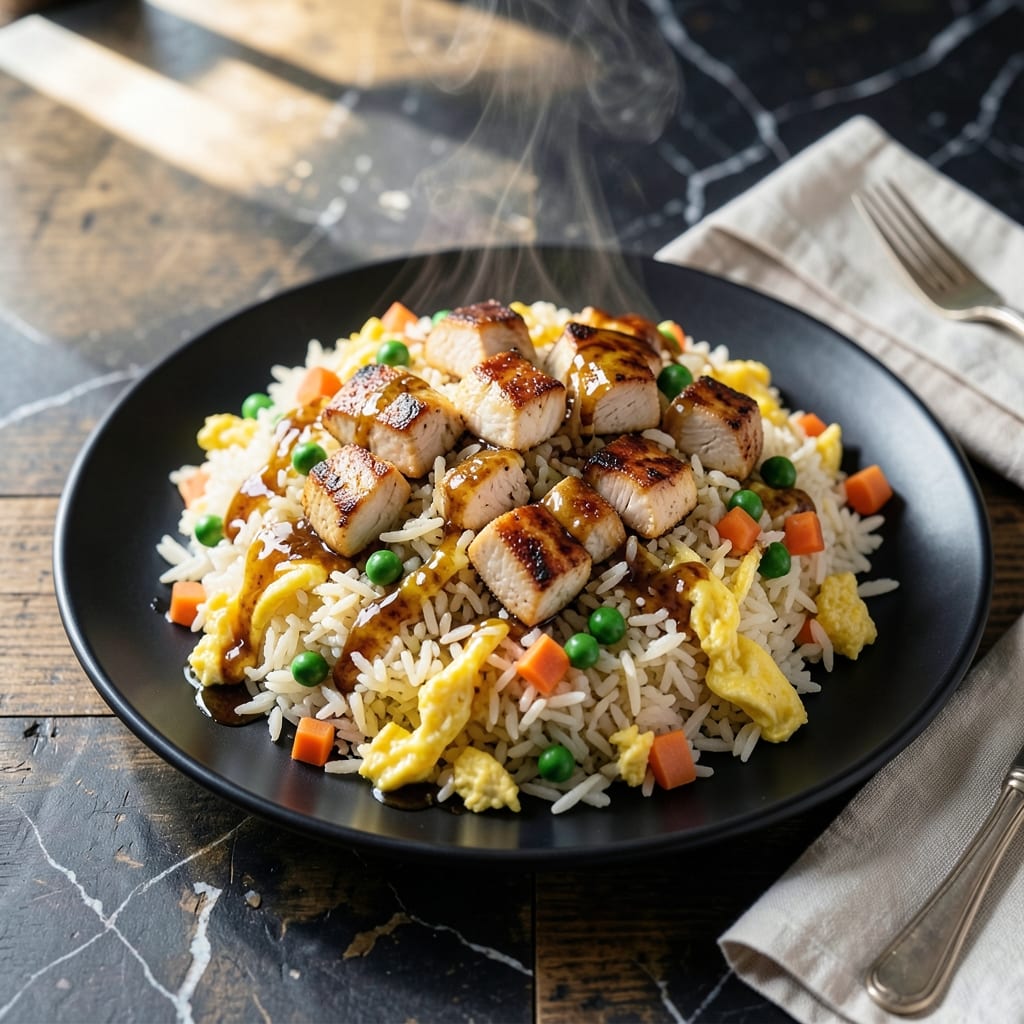
My Ninja Foodi revolutionized how I approach fried rice, turning a typically labor-intensive dish into a one-pot masterpiece. The pressure cooker function locks in flavors while keeping the chicken juicy and the rice perfectly tender.
This method eliminates the need for constant stirring or multiple pans. With simple ingredients and the Foodi’s precise temperature control, you achieve restaurant-quality results in 20 minutes—no takeout required.
The chicken cooks evenly under pressure, then gets crisped in the same pot for texture. The rice absorbs all the savory flavors, creating bites that are both hearty and well-seasoned.
Ideal for busy weeknights when you want a filling meal without the cleanup. The Foodi handles it all with minimal effort on your part.
Ingredients for Ninja Foodi Chicken Fried Rice
One-pot magic with pantry staples and a few fresh additions for vibrant flavor.
| Ingredient | Amount | Notes |
|---|---|---|
| Boneless Chicken Breast 🍗 | 1 lb | Cut into small, even cubes |
| Long-Grain White Rice 🍚 | 2 cups | Uncooked, rinsed well |
| Frozen Peas and Carrots 🥕 | 1 ½ cups | No need to thaw |
| Large Eggs 🥚 | 2 whole | Lightly beaten |
| Soy Sauce 🫒 | ⅓ cup | Low-sodium preferred |
| Sesame Oil 🫒 | 1 tbsp | Toasted for best flavor |
| Garlic Cloves 🧄 | 3 cloves | Minced finely |
| Fresh Ginger 🌿 | 1 tbsp | Grated or minced |
| Green Onions 🧅 | ½ cup | Thinly sliced, divided |
| Vegetable Oil 🫒 | 2 tbsp | Neutral flavor, high smoke point |
| Chicken Broth 💧 | 1 ½ cups | Low-sodium preferred |
| Salt 🧂 | ½ tsp | Or to taste |
| Black Pepper 🌶️ | ¼ tsp | Freshly ground |
The chicken is the star here—boneless, skinless breasts stay juicy under pressure. I grab mine from Costco for bulk savings, but any supermarket works. The rice matters too: long-grain white (like Jasmine or Basmati) gives that classic texture. Avoid instant rice—it turns mushy. For the frozen veggies, any mix with peas and carrots works (the bagged stir-fry blends are perfect).
No chicken? Shrimp or tofu swap in easily—adjust cook time to 3 minutes for shrimp, 0 minutes for tofu (just crisp at the end). Out of soy sauce? Tamari or coconut aminos work at a 1:1 ratio. Fresh ginger not on hand? Ground ginger at one-third the amount in a pinch. The sesame oil is non-negotiable though—it’s what gives that authentic flavor.
Leftovers keep 4-5 days in the fridge and reheat like a dream. Freeze extras for up to 3 months (portion into bags for easy meals). The rice can be prepped a day ahead—undercook it slightly so it doesn’t turn to mush in the Foodi.
Why You’ll Love This Recipe
- One-Pot Magic: I toss everything in the Ninja Foodi—chicken, rice, frozen veggies—and let it do the work. No extra pans, no mess.
- Umami Bomb: The soy sauce caramelizes on the chicken while the eggs add this rich, savory depth. Honestly, it’s better than takeout.
- Weeknight Savior: I’ve made this for meal prep, lazy Sundays, and even when the in-laws pop over unexpectedly.
- Budget Stretcher: A pound of chicken, a bag of rice, and whatever frozen veggies I have—feeds four for under ten bucks. I’ll be real: that’s my kind of math.
Step-by-Step Instructions for Ninja Foodi Chicken Fried Rice
Here’s the method I use to create perfectly textured fried rice with tender chicken every time.
Step 1: Pressure Cook the Rice and Chicken
Add the 2 cups Long-Grain White Rice (rinsed well), 1.5 cups Chicken Broth, 1 lb Boneless Chicken Breast (cut into small cubes), 0.5 tsp Salt, and 0.25 tsp Black Pepper to the Ninja Foodi pot. Stir to combine, ensuring the rice is submerged in the liquid.
Secure the lid and set the valve to “Seal.” Cook on high pressure for 5 minutes. When done, let the pressure release naturally for 10 minutes, then quick-release any remaining pressure. The rice should be tender and the chicken fully cooked through.
Step 2: Sauté Aromatics and Vegetables
Remove the lid and set the Ninja Foodi to “Sauté” on medium-high heat. Add 2 tbsp Vegetable Oil, 3 cloves Garlic Cloves (minced), and 1 tbsp Fresh Ginger (grated). Sauté for 30 seconds until fragrant—don’t let the garlic burn.
Add the 1.5 cups Frozen Peas and Carrots directly to the pot (no need to thaw). Cook for 3-4 minutes, stirring occasionally, until the vegetables are heated through and any excess moisture has evaporated. The peas should be bright green and the carrots slightly softened.
Step 3: Scramble the Eggs and Combine
Push the rice, chicken, and vegetables to one side of the pot. Pour the 2 whole Large Eggs (lightly beaten) into the empty space. Scramble the eggs for 1-2 minutes until just set, then mix everything together.
Drizzle the 0.33 cup Soy Sauce and 1 tbsp Sesame Oil over the mixture. Stir well to coat every grain of rice and piece of chicken evenly. The soy sauce should give the rice a light brown color and savory depth.
Step 4: Crisp and Finish
Spread the mixture evenly in the pot to maximize surface contact. Let it cook undisturbed for 3-4 minutes to develop a slight crisp on the bottom. You’ll hear a gentle sizzle when it’s working.
Stir in 0.5 cup Green Onions (thinly sliced, divided) and cook for another 1 minute. The green onions should stay vibrant and fresh. Taste and adjust seasoning with additional salt if needed, then serve hot with extra green onions on top.
Pro Tips For Making Ninja Foodi Chicken Fried Rice
- Pre-cook the rice: Use day-old, cooled rice—fresh rice turns to mush in the Foodi. I learned this the hard way after my first batch came out gummy and clumpy.
- Cut chicken small: Dice the boneless chicken breast into ½-inch pieces so it cooks through quickly without drying out. Sounds obvious, but uneven chunks ruin the texture.
- Sauté veggies first: Toss the frozen peas and carrots into the Foodi for 2-3 minutes before adding rice to drive off excess moisture. Skipping this leaves your fried rice soggy.
- Scramble eggs separately: Cook the eggs in a small pan first, then fold them in at the end. It keeps them fluffy instead of rubbery, and saves you from scraping egg bits off the Foodi’s bottom.
Regional Styles of This ninja foodi chicken fried rice
Chinese Takeout Style
This version leans into classic Chinese-American diner flavors with an extra hit of 1 tsp oyster sauce and ½ tsp white pepper. I always add 1 cup bean sprouts at the end for that signature crunch you get from your favorite spot. 🌟
Thai-Inspired Twist
Swap the soy sauce for 3 tbsp fish sauce and add 1 stalk lemongrass (bruised) during the pressure cook. Finish with ¼ cup chopped cilantro and 1 lime juiced over the top. I learned this trick from a street vendor in Bangkok.
Southern Comfort
Here in Georgia, we love adding ½ cup diced bell peppers and a pinch of Cajun seasoning. The sweetness of the peppers balances the heat perfectly. I often throw in ½ lb cooked andouille sausage instead of chicken for a heartier meal.
Japanese Fusion
Use sushi rice instead of long-grain and add 1 tbsp mirin with the soy sauce. Top with 1 sheet nori (shredded) and a drizzle of sriracha mayo. This version reminds me of my time training in Tokyo.
Korean Kimchi Kick
Stir in 1 cup chopped kimchi with the vegetables and top with 2 fried eggs per serving. The tangy kimchi cuts through the richness beautifully. I use Mother-in-Law’s Kimchi from the Atlanta farmers market.
Nutrition Facts
Frequently Asked Questions
Can I use pre-cooked rice for this?
Yes, but use 1.5 cups of day-old, cold rice. Skip the pressure cooking step and add it when you sauté the veggies. The grains will stay separate better.
Why does my rice turn out mushy?
Over-stirring or using too much liquid is usually the culprit. Stick to 1.5 cups broth for 2 cups rice and let the pressure release naturally for 10 minutes.
Can I swap chicken for another protein?
Use 1 lb shrimp (pressure cook 3 minutes) or 1 lb tofu (add at the end). Adjust timing to prevent overcooking.
How do I make it crispier?
After mixing everything, spread it in an even layer. Let it cook undisturbed on medium-high heat for 4-5 minutes to develop a golden crust.

- Jollof Rice Sauce Recipe: West African Tomato and Spice Infusion - September 25, 2026
- Japanese Rice Soup Recipe: Umami-Rich Comfort in a Bowl - September 25, 2026
- Homemade Cream Of Rice Recipe: Silk-Smooth Breakfast in Minutes - September 25, 2026