
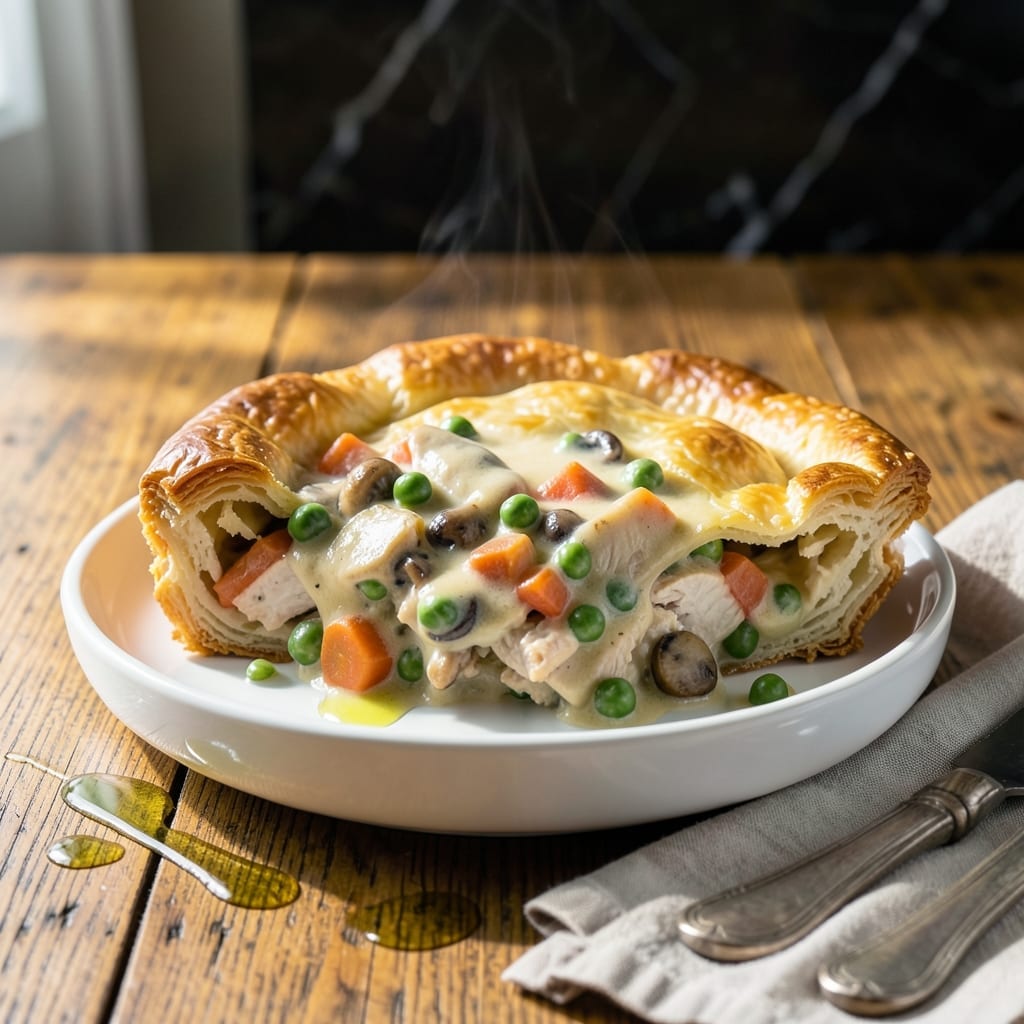
There’s nothing quite like a homemade chicken pot pie with its flaky golden crust and hearty filling. This pressure cooker method delivers all the comfort of the classic dish with a fraction of the effort.
The Ninja Foodi makes it possible to create a perfectly cooked filling and a beautifully browned crust in one appliance. The pressure cooking function ensures tender chicken and vegetables every time.
What you’ll end up with is a comforting meal that’s as impressive as it is delicious. The filling is rich and savory, while the crust bakes to that ideal flaky texture everyone loves.
This recipe brings together all the elements of a traditional pot pie with modern convenience. The results are consistently excellent.
Ingredients for Ninja Foodi Chicken Pot Pie
Flaky crust meets hearty filling with ingredients you likely have on hand already.
| Ingredient | Amount | Notes |
|---|---|---|
| Boneless Skinless Chicken Breasts 🍗 | 1 ½ lb | Cut into 1-inch cubes |
| Frozen Mixed Vegetables 🥕 | 2 cups | Peas, carrots, corn, green beans |
| Chicken Broth 🍲 | 1 ½ cups | Low-sodium preferred |
| Heavy Cream 🥛 | ½ cup | Or whole milk for lighter option |
| All-Purpose Flour 🌾 | ⅓ cup | For thickening the filling |
| Unsalted Butter 🧈 | 4 tbsp | Divided for filling and crust |
| Yellow Onion 🧅 | 1 whole | Medium-sized, finely diced |
| Garlic Cloves 🧄 | 2 cloves | Minced for depth of flavor |
| Poultry Seasoning 🌿 | 1 tsp | Or mix of thyme and sage |
| Salt 🧂 | 1 tsp | Adjust to taste |
| Black Pepper 🌶️ | ½ tsp | Freshly ground preferred |
| Refrigerated Pie Crust 🥧 | 2 sheets | For top and bottom crust |
| Large Egg 🥚 | 1 whole | For egg wash on crust |
The chicken is the foundation. Boneless, skinless breasts stay tender under pressure, but thighs work too (adjust cooking time slightly). Look for fresh, moist poultry—avoid anything with a grayish tint. For the veggies, frozen mixed blends save time without sacrificing texture. I always keep a bag in the freezer for last-minute meals like this.
Need a swap? Turkey breast works instead of chicken. No poultry seasoning? Use half teaspoon each of dried thyme and sage. For a richer filling, swap heavy cream for evaporated milk. The pie crust can be homemade if you prefer, but Pillsbury refrigerated sheets give that perfect flaky texture with zero effort.
Store raw chicken in the coldest part of your fridge—use within 2 days or freeze. The filling thickens as it cools, so it’s best served fresh. Leftovers keep 3-4 days refrigerated, but the crust softens over time.
Why You’ll Love This Recipe
- One Pot Magic: I toss in chicken, frozen veggies, and broth—no thawing, no extra pans. The Ninja Foodi does all the work while I set the table.
- Creamy Comfort: The heavy cream and flour create this velvety sauce that clings to every bite. Honestly, it’s the coziest part of my week.
- Weeknight Hero: Between us, this is my Tuesday night lifesaver. It’s hearty enough for company but simple enough for a solo dinner.
- Leftovers Win: I make a double batch because the flavors taste even better the next day. My lunchbox has never been this popular.
Step-by-Step Instructions for Ninja Foodi Chicken Pot Pie
Master this multi-layer process for a golden crust and rich, creamy filling.
Step 1: Sauté Aromatics and Brown Chicken
Set the Ninja Foodi to Sauté High and add 2 tbsp of the unsalted butter. When melted, add the finely diced yellow onion and cook for 3 minutes until translucent. Stir in the minced garlic cloves and cook for 30 seconds until fragrant.
Add the cubed boneless skinless chicken breasts in a single layer. Season with 1 tsp salt, 0.5 tsp black pepper, and 1 tsp poultry seasoning. Cook for 5-6 minutes, stirring occasionally, until the chicken is lightly browned but not fully cooked through.
Step 2: Create the Creamy Vegetable Filling
Sprinkle the 0.33 cup all-purpose flour over the chicken and stir to coat evenly. Pour in the 1.5 cups chicken broth and 0.5 cup heavy cream, stirring constantly to prevent lumps. Add the 2 cups frozen mixed vegetables and the remaining 2 tbsp unsalted butter.
Secure the pressure lid and set the Ninja Foodi to Pressure High for 5 minutes. Once the cooking cycle completes, perform a quick release. The filling should be bubbling and the chicken should be fully cooked and tender.
Step 3: Assemble and Air Fry the Pot Pie
Line the Ninja Foodi basket with parchment paper, leaving an overhang. Place one sheet of refrigerated pie crust in the basket, pressing it gently against the sides. Pour the chicken and vegetable filling over the crust, spreading it evenly.
Top with the second sheet of pie crust, tucking the edges under the bottom crust and crimping with a fork to seal. Cut 3-4 slits in the top crust to allow steam to escape. In a small bowl, beat the large egg and brush it evenly over the top crust for a golden finish.
Step 4: Bake to Flaky Perfection
Set the Ninja Foodi to Air Crisp at 350°F for 12-15 minutes. Check at the 12-minute mark—the crust should be deep golden brown and flaky. If it needs more time, return it for 1-2 minute increments until perfectly baked.
Let the pot pie rest for 5 minutes before slicing. This allows the filling to thicken slightly, making it easier to serve. Each portion should showcase the flaky layers of crust with a rich, creamy filling packed with tender chicken and vegetables.
Pro Tips For Making Ninja Foodi Chicken Pot Pie
- Dice Chicken Small: Cut the boneless chicken breasts into 1-inch cubes—this ensures they cook through evenly in the Foodi without drying out. I learned this the hard way after pulling out rubbery chunks from my first attempt.
- Thaw the Veggies: Spread the frozen mixed vegetables on a plate for 10 minutes before adding them. Sounds weird, but it works: it prevents the pot pie from turning into a watery mess in the pressure cooker.
- Deglaze Thoroughly: After browning the chicken, scrape the bottom of the pot with a wooden spoon while adding the chicken broth. Skip this and you’ll end up with the dreaded “burn” notice on your Ninja Foodi.
- Thicken Last: Mix the heavy cream and flour into a slurry, then stir it in only after pressure cooking. This keeps the filling rich and smooth instead of gummy—my grandmother swore by this method.
Storing and Reheating This Dish
Refrigerator Storage
Let your pot pie cool completely before storing—this prevents soggy crust. Place leftovers in an airtight container and refrigerate within 2 hours of cooking. It’ll stay fresh for 3-4 days at 40°F or below. ❄️
Freezer Storage
For longer storage, freeze individual slices wrapped tightly in plastic wrap and placed in a freezer bag. Squeeze out excess air to prevent freezer burn. This dish freezes well for up to 2 months without losing texture or flavor.
Reheating in Ninja Foodi
Set your appliance to Air Crisp at 300°F for 8-10 minutes to revive the crust’s flakiness. Cover loosely with foil if the top browns too quickly. The filling will reheat evenly while the crust stays crisp.
Oven Reheating
Preheat oven to 350°F and warm slices on a baking sheet for 12-15 minutes. This method works best for restoring the crust’s texture. Add a tablespoon of water to the baking sheet to prevent drying out. 🔥
Microwave Quick Fix
For a fast option, microwave individual slices on 70% power for 1-2 minutes, then finish in the Ninja Foodi’s Air Crisp for 3 minutes to crisp the crust. This combo method saves time while preserving quality.
Nutrition Facts
Frequently Asked Questions
Can I use chicken thighs instead of breasts?
Chicken thighs stay juicier under pressure. Use 1.5 lb boneless skinless thighs and reduce pressure cooking time to 4 minutes since dark meat cooks faster.
Why did my crust turn out soggy?
This usually happens if the filling was too wet or the crust didn’t get enough air circulation. Ensure you quick release the pressure first, then air crisp at 350°F for full 15 minutes.
Can I make this ahead of time?
Yes! Assemble the pot pie but don’t bake it. Refrigerate up to 24 hours before cooking. Add 2-3 minutes to the air crisp time when baking from cold.

- Jollof Rice Sauce Recipe: West African Tomato and Spice Infusion - September 25, 2026
- Japanese Rice Soup Recipe: Umami-Rich Comfort in a Bowl - September 25, 2026
- Homemade Cream Of Rice Recipe: Silk-Smooth Breakfast in Minutes - September 25, 2026