
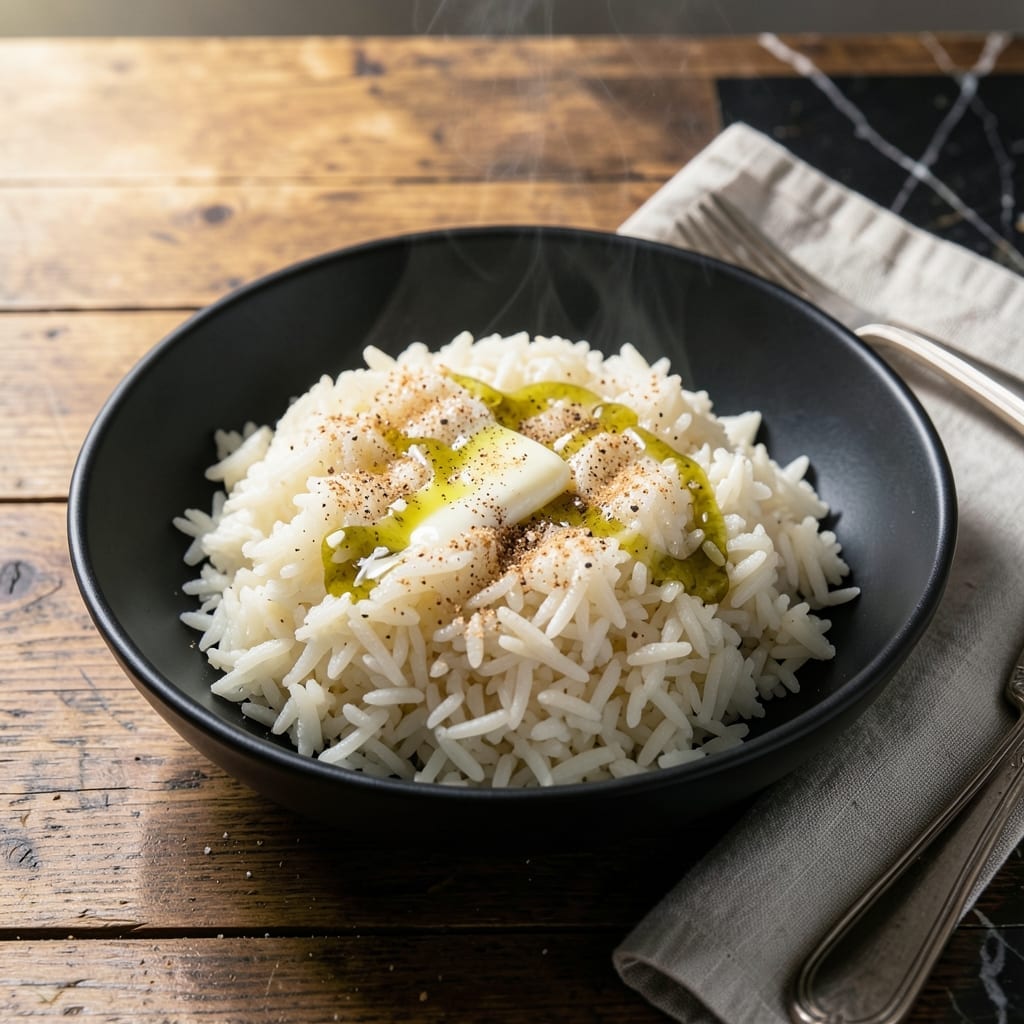
Cooking perfect rice in a Nuwave oven is simpler than you might expect. This method delivers consistent results with minimal effort and maximum convenience.
The countertop appliance circulates hot air evenly, ensuring each grain cooks uniformly. You’ll get fluffy, separate grains every time without watching the pot.
No more burnt bottoms or mushy centers. The Nuwave’s precise temperature control takes the guesswork out of rice cooking.
Whether you’re serving it as a side or base for a meal, this technique guarantees perfect results with hands-off ease.
Ingredients for Nuwave Rice
Pantry raid time. A few basics transform into fluffy, separate grains.
| Ingredient | Amount | Notes |
|---|---|---|
| Long-Grain White Rice 🍚 | 2 cups | Rinsed until water runs clear |
| Water 💧 | 4 cups | Filtered or distilled preferred |
| Unsalted Butter 🧈 | 2 tbsp | Optional for richness |
| Kosher Salt 🧂 | 1 tsp | Diamond Crystal preferred |
| Garlic Powder 🧄 | ½ tsp | For subtle depth of flavor |
| Onion Powder 🧅 | ½ tsp | Complements the garlic well |
| Bay Leaf 🍃 | 1 whole | Optional for aromatic infusion |
| Chicken Broth 🍲 | 1 cup | Substitute for water for extra flavor |
| Fresh Parsley 🌿 | 2 tbsp | Chopped, for garnish |
| Lemon Zest 🍋 | 1 tsp | Brightens the dish |
| Black Pepper 🌶️ | ¼ tsp | Freshly ground preferred |
The rice quality matters here. Jasmine or basmati give the best texture—avoid instant or minute rice. I grab mine from Costco in bulk (the 20-pound bags last forever). For the broth, Better Than Bouillon is my go-to—just mix with hot water. If you’re skipping the butter, a drizzle of olive oil works (but don’t overdo it). The key is rinsing the rice until the water runs clear—removes excess starch for fluffier results.
No chicken broth? Vegetable broth or plain water work fine (just season more aggressively). Out of garlic powder? Fresh minced garlic at half the amount—add it with the butter. Bay leaf can be swapped for a strip of lemon peel or a pinch of dried thyme. For extra flavor, toast the rice in the Nuwave for 2-3 minutes before adding liquid (worth the extra minute).
Cooked rice holds in the Nuwave’s warming setting for up to 1 hour without drying out. Store leftovers in the fridge for 4-5 days or freeze for 3 months. Reheat with a splash of water to revive the texture (microwave or stovetop).
Why You’ll Love This Recipe
- Set It and Forget It: I toss everything in the NuWave, press start, and walk away—no stirring, no babysitting.
- Buttery Garlic Bite: The butter and garlic powder turn plain rice into something I’d order at a restaurant. Honestly, it’s the little things.
- Meal Prep Hero: Cooks a big batch that reheats perfectly all week for lunches or quick dinners.
- Pocket-Friendly Feast: Long-grain rice stretches far, and the ingredients cost pennies—feeds my family without breaking the bank.
Step-by-Step Instructions for Nuwave Rice
Here’s my proven method for achieving flawlessly fluffy grains that never stick together.
Step 1: Rinse and Prepare the Rice
Place the 2 cups Long-Grain White Rice in a fine-mesh strainer and rinse under cold water until the water runs completely clear. This removes excess starch that would otherwise make your rice gummy.
I always use my fingers to agitate the grains gently during rinsing—you’ll be surprised how much cloudy water comes out at first. Once the water runs clear, give the strainer a good shake to remove excess moisture. This step is non-negotiable for that perfect, separate grain texture.
Step 2: Combine Ingredients in the Nuwave Insert
Transfer the rinsed rice to your Nuwave insert. Add the 4 cups Water, 1 cup Chicken Broth, 2 tbsp Unsalted Butter, 1 tsp Kosher Salt, 0.5 tsp Garlic Powder, 0.5 tsp Onion Powder, 1 whole Bay Leaf, and 0.25 tsp Black Pepper.
Stir everything together until the butter melts and the seasonings are evenly distributed. The combination of garlic and onion powders gives a subtle depth of flavor without overpowering. I like to press the bay leaf into the liquid so it infuses properly during cooking.
Step 3: Cook on the Rice Setting
Place the insert into your Nuwave and close the lid. Select the rice setting and let it run its full cycle—typically 20-25 minutes. The Nuwave’s precise temperature control ensures even cooking without hot spots.
Don’t be tempted to open the lid and check during cooking. The steam that builds up is crucial for proper rice texture. You’ll know it’s working when you see steam escaping from the vent and smell that wonderful, buttery aroma filling your kitchen.
Step 4: Rest and Fluff for Perfect Texture
When the cooking cycle completes, let the rice sit covered for an additional 10 minutes. This resting period allows the grains to absorb any remaining liquid and firm up slightly.
After resting, remove the bay leaf and discard it. Then use a fork to gently fluff the rice from the bottom up, breaking apart any clumps. The grains should be tender but still hold their shape, with a beautiful, glossy sheen that indicates perfect doneness.
Step 5: Finish with Fresh Garnishes
Sprinkle the 2 tbsp Fresh Parsley and 1 tsp Lemon Zest over the top of the rice. The parsley adds a pop of color and freshness, while the lemon zest brightens all the flavors.
Gently fold these final ingredients into the rice with your fork. The citrus oils from the zest will release into the steam, adding a subtle brightness that elevates the entire dish. Serve immediately while hot and fluffy.
Pro Tips For Making Nuwave Rice
- Rinse the Rice: Always rinse your long-grain white rice until the water runs clear—it removes excess starch and keeps the grains from clumping together in the NuWave.
- Use the Right Ratio: For fluffy rice every time, stick to a 1:1.5 ratio of rice to water—so 1 cup rice to 1.5 cups water, no exceptions.
- Add Butter Last: Stir in the unsalted butter and garlic powder after cooking, not before, to prevent the butter from burning or the garlic from turning bitter.
- Let It Steam: Once the NuWave beeps, let the rice sit covered for 5-10 minutes—this little rest makes the grains firm up and absorb any last bits of moisture.
Perfect Pairings for This nuwave rice
Protein Pairings
This rice makes an excellent base for grilled chicken or baked salmon. I love serving it with lemon garlic chicken thighs—the citrus notes complement the lemon zest in the rice beautifully. For a heartier meal, try honey soy glazed pork chops. 💪
Vegetable Sides
Steamed broccoli or roasted asparagus add freshness and color to your plate. Toss 1 lb asparagus with 2 tbsp olive oil and roast at 400°F for 12-15 minutes. A simple cucumber salad with rice vinegar also works wonders.
Sauce Enhancements
Drizzle with teriyaki sauce or peanut sauce for an Asian-inspired twist. I mix ¼ cup soy sauce, 2 tbsp honey, and 1 tbsp grated ginger for a quick glaze. For creaminess, stir in 2 tbsp Greek yogurt and 1 tsp curry powder right before serving.
Fresh Toppings
Add sliced green onions or toasted almonds for crunch and color. A sprinkle of sesame seeds enhances the visual appeal. I often add ½ cup diced mango for a sweet contrast that pairs perfectly with the savory rice. ✨
Beverage Matches
A crisp Sauvignon Blanc or light lager beer cuts through the richness. For non-alcoholic options, green tea or sparkling water with lime refresh the palate. Iced hibiscus tea adds a floral note that complements the dish beautifully.
Nutrition Facts
Frequently Asked Questions
Can I use brown rice instead of white?
Yes, but it needs 45-50 minutes and 1.5x more liquid. The Nuwave handles it well, just adjust the time and water ratio for chewy, nutty grains.
Why does my rice come out sticky?
Over-rinsing or using too much water causes stickiness. Stick to 2 cups rice with 4 cups liquid and rinse until water runs clear, not longer.
How do I keep rice warm without drying out?
Use the Nuwave’s warming setting for up to 1 hour. Add a splash of water and stir occasionally to maintain moisture.
Can I cook other grains in the Nuwave?
Quinoa, wild rice, or jasmine work great. Use the same 1:2 grain-to-liquid ratio and adjust time based on package instructions.

- Peri Peri Rice Recipe: Spicy Portuguese One-Pot Harmony - November 6, 2026
- Mexican Flavoured Rice Recipe: Authentic Spice-Infused One-Pot Meal - November 6, 2026
- Lao Gan Ma Fried Rice Recipe: Spicy Wok-Tossed Perfection - November 6, 2026