
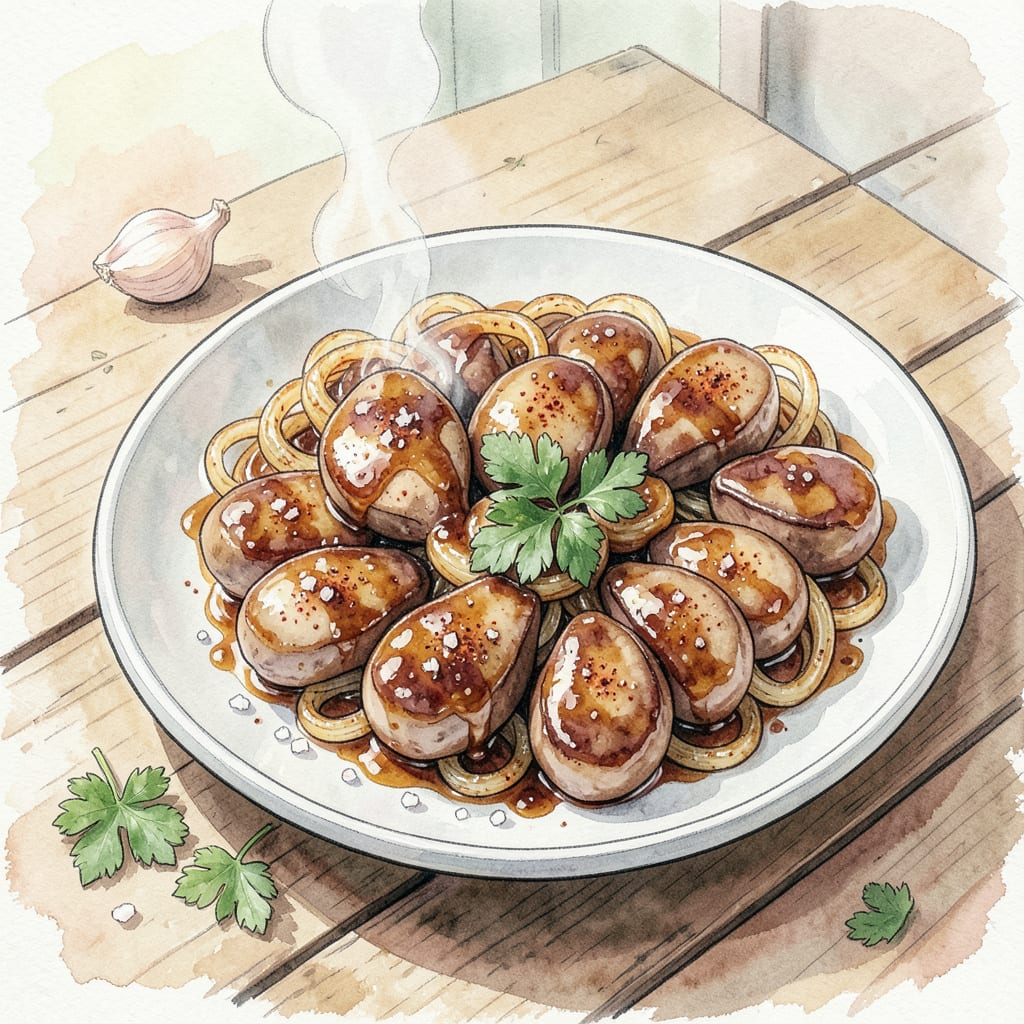
I’ve perfected a pan-fried chicken livers recipe that delivers on both texture and flavor. By coating the livers in a light batter and frying them at the right temperature, you can achieve a crispy exterior that gives way to tender insides.
Cooking these livers requires attention to temperature and timing. Heat your skillet to the right temperature, add the livers, and cook for 4-5 minutes on each side. Serve with your favorite sides, such as mashed potatoes or sautéed greens, for a satisfying meal.
Ingredients for Pan Fried Chicken Livers
Crispy pan-fried chicken livers start with these simple, quality ingredients and basic pantry staples.
| Ingredient | Amount | Notes |
|---|---|---|
| Chicken Livers 🍗 | 1 lb | Fresh or thawed from frozen |
| All-Purpose Flour 🌾 | 1 cup | For dredging livers |
| Paprika 🌶️ | 1 tsp | Smoked or sweet variety |
| Garlic Powder 🧄 | ½ tsp | Not garlic salt |
| Onion Powder 🧅 | ½ tsp | Fresh ground preferred |
| Salt 🧂 | 1 tsp | Kosher or sea salt |
| Black Pepper 🌶️ | ½ tsp | Freshly ground preferred |
| Large Eggs 🥚 | 2 whole | Beaten for egg wash |
| Panko Breadcrumbs 🍞 | 1 ½ cups | For coating livers |
| Vegetable Oil 🫒 | ½ cup | For frying livers |
| Unsalted Butter 🧈 | 2 tbsp | For finishing dish |
| Fresh Parsley 🌿 | ¼ cup | Chopped, for garnish |
The quality of chicken livers matters. Fresh livers have better texture—if using frozen, make sure they’re fully thawed. I find Costco or Whole Foods usually has the best quality. Look for livers that are bright red and have minimal connective tissue. Fresh livers keep for 1-2 days in the fridge.
No panko? Regular breadcrumbs with Italian seasoning work too. For a gluten-free version, try gluten-free panko or crushed gluten-free crackers. If you don’t have smoked paprika, regular paprika is fine—just add a dash of liquid smoke if you want that smoky flavor. The eggs should be at room temperature for better coating.
These keep for 3-4 days in the fridge once cooked. Reheat in a hot skillet to regain crispiness. You can also freeze them on a baking sheet, then transfer to a freezer bag for up to 3 months. Just thaw and re-crisp in a hot oven or skillet.
Step-by-Step Instructions for Pan Fried Chicken Livers
Here’s the method that delivers crispy outside, tender within – every single time.
Step 1: Prepare the Chicken Livers
Start by rinsing the 1 lb Chicken Livers under cold water, then pat them dry with paper towels. I like to remove any connective tissue or membranes at this stage to ensure tender results. Cut the livers into uniform pieces if needed – this helps them cook evenly.
Season the livers with the 1 tsp Salt and 0.5 tsp Black Pepper. I always use freshly ground pepper for the best flavor. Let them sit at room temperature for 10-15 minutes while you prepare the coating station.
Step 2: Create the Breading Station
In one shallow dish, mix together the 1 cup All-Purpose Flour, 1 tsp Paprika, 0.5 tsp Garlic Powder, and 0.5 tsp Onion Powder. In another dish, beat the 2 whole Large Eggs until well mixed. In a third dish, place the 1.5 cups Panko Breadcrumbs.
This three-step breading process is crucial for achieving that perfect crispy coating. The flour provides a base, the eggs help the breadcrumbs adhere, and the Panko gives that light, airy crunch we love.
Step 3: Bread the Chicken Livers
Dredge the seasoned livers in the flour mixture, shaking off any excess. Then dip them in the beaten eggs, making sure they’re fully coated. Finally, roll them in the Panko breadcrumbs, pressing gently to ensure they stick. I find that using one hand for the dry ingredients and the other for the wet helps keep things tidy.
Place the breaded livers on a plate or tray as you work. You’ll notice how the Panko coating gives them a beautiful, even crust – that’s what will become wonderfully crispy in the pan.
Step 4: Pan Fry to Golden Perfection
Heat the 0.5 cup Vegetable Oil in a large skillet over medium-high heat until it reaches 350°F. When the oil is hot enough, add the breaded livers in batches (don’t overcrowd the pan) and fry for 2-3 minutes per side until golden brown.
Use a thermometer to check the oil temperature – this ensures proper frying. The livers are done when they reach an internal temperature of 165°F. Transfer them to a paper towel-lined plate to drain excess oil.
Step 5: Finish with Butter and Serve
In the same skillet (no need to clean it), add the 2 tbsp Unsalted Butter and let it melt. This step adds richness and depth to the dish. Toss in the fried livers to coat them in the butter.
Serve the pan-fried chicken livers hot, garnished with 0.25 cup Fresh Parsley. The result is a beautifully crispy exterior giving way to tender, flavorful livers within. Enjoy your creation while it’s still warm and crispy!
Wine and Beer Pairings for pan fried chicken livers
White Wine Pairings
For pan-fried chicken livers, a crisp white wine works beautifully. I recommend a Sauvignon Blanc or Pinot Grigio to cut through the richness. The citrus notes in these wines complement the savory flavors of the livers perfectly. Look for wines from regions like the Loire Valley or Italian Friuli for the best acidity. 🍷
Red Wine Options
If you prefer red wine, a light-bodied option with moderate tannins pairs well. A Pinot Noir from Oregon or New Zealand works nicely, as its red fruit flavors and subtle earthiness enhance the dish without overpowering it. Avoid heavy, full-bodied reds that might clash with the delicate flavor of the livers.
Beer Pairing Suggestions
For beer lovers, a crisp lager or pilsner is an excellent choice. The clean, refreshing taste helps balance the richness of the fried livers. If you prefer craft beer, a Belgian-style witbier with its citrus and spice notes can add an interesting dimension to the meal. Look for brands like Pilsner Urquell or Allagash White for a refreshing contrast. 🍺
Consider the Sides
When choosing a beverage, consider the sides you’re serving with your pan-fried chicken livers. If you’re having something tangy like pickled vegetables, a richer beverage might work better. For more neutral sides like mashed potatoes, you can opt for something crisper and more refreshing.
Personal Preference Matters
Ultimately, the best pairing depends on your personal taste. If you like a bit of sweetness, a German Riesling can balance the savory flavors. For those who enjoy a bit of spice, a hoppy IPA might be surprisingly effective. Don’t be afraid to experiment with different pairings to find your favorite.
Nutrition Facts
Frequently Asked Questions
How do I prevent chicken livers from becoming tough when pan-frying?
The key is not to overcook them. Cook the livers until they reach an internal temperature of 165°F, then remove them from heat immediately. Don’t overcrowd the pan, as this can lower the oil temperature and lead to greasy or undercooked livers.
Can I use frozen chicken livers for this recipe?
Yes, you can use frozen chicken livers, but
What’s the best way to store leftover pan-fried chicken livers? Store leftovers in an airtight container in the refrigerator for up to 3-4 days. To reheat, place them in a hot skillet for a few minutes to regain crispiness. Avoid microwaving, as it can make the coating soggy. For longer storage, freeze them on a baking sheet, then transfer to a freezer bag for up to 3 months.

- Jollof Rice Sauce Recipe: West African Tomato and Spice Infusion - September 25, 2026
- Japanese Rice Soup Recipe: Umami-Rich Comfort in a Bowl - September 25, 2026
- Homemade Cream Of Rice Recipe: Silk-Smooth Breakfast in Minutes - September 25, 2026