
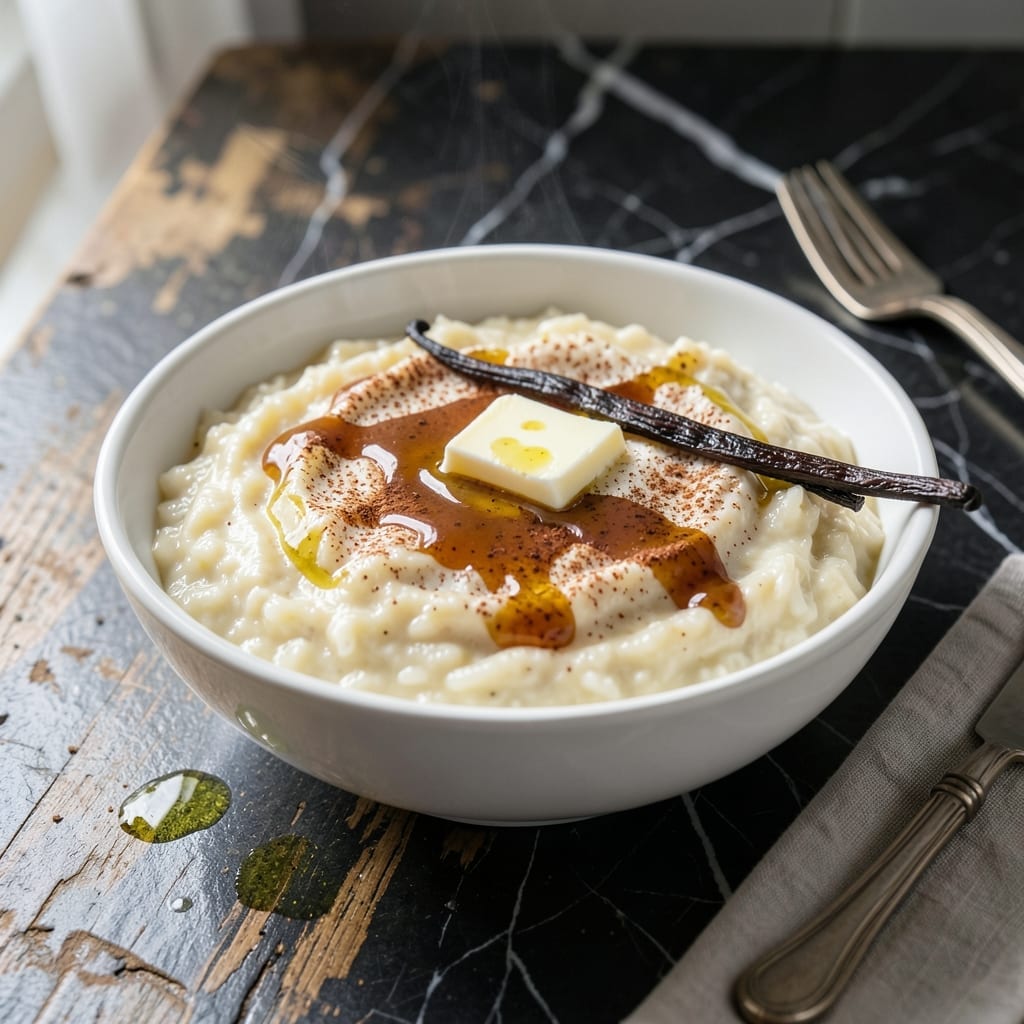
There’s something timeless about a bowl of rice pudding that takes you back to simpler days. This recipe delivers the creamy comfort you remember, with a texture so smooth it feels like a warm hug in dessert form.
I’ve perfected the balance between tender rice and rich custard, using a slow simmer to coax out maximum flavor. The secret lies in patience—letting the mixture thicken gradually ensures that perfect pudding consistency.
The result is a dessert that’s both nostalgic and satisfying, with just the right amount of sweetness. Each spoonful delivers that classic creamy texture that makes rice pudding so beloved.
Perfect for a cozy night in or when you need a taste of home. This is how to make it right.
Ingredients for Paula Deen Rice Pudding
Simple ingredients for that nostalgic creamy dessert you crave.
| Ingredient | Amount | Notes |
|---|---|---|
| Long-Grain White Rice 🍚 | ¾ cup | Uncooked, not instant |
| Whole Milk 🥛 | 4 cups | Full-fat for creaminess |
| Granulated Sugar 🍚 | ¾ cup | Adjust to taste |
| Unsalted Butter 🧈 | 2 tbsp | For richness |
| Large Egg 🥚 | 1 whole | Lightly beaten |
| Vanilla Extract 💧 | 1 tsp | Pure extract preferred |
| Ground Cinnamon 🌿 | ½ tsp | Plus extra for garnish |
| Salt 🧂 | ¼ tsp | Table salt fine |
| Raisins 🍇 | ½ cup | Optional, plump in water |
| Water 💧 | 1 cup | For initial rice cooking |
The milk is key here—whole milk from the dairy aisle gives you that luxurious texture. I’ve tried it with lower-fat versions, and it just doesn’t hit the same. Paula Deen’s original calls for a slow simmer, so grab a heavy-bottomed pot to prevent scorching. The rice should be long-grain white (like Mahatma or Carolina), not instant—it needs that time to absorb flavor.
No raisins? Diced apples or dried cranberries add a nice touch. Swap the cinnamon for nutmeg if you prefer a different warmth. The vanilla is non-negotiable for that classic flavor, but almond extract at half the amount works in a pinch. For extra richness, a splash of heavy cream at the end takes it over the top.
Rice pudding thickens as it cools, so it’ll set further in the fridge. Keeps for 4-5 days covered, and honestly tastes better the next day. Stir before serving—a skin forms on top (worth the extra minute).
Why You’ll Love This Recipe
- One Pot Wonder: I love that this comes together in a single pot—just rice, milk, and sugar simmering while I do other things.
- Creamy Comfort: The whole milk and egg make it so rich and velvety, like a warm hug in a bowl.
- Feeds a Crowd: Between us, I double the batch because it’s always a hit at potlucks or family dinners.
- Budget Friendly: Long-grain rice and pantry staples keep it cheap, and leftovers taste even better the next day.
Step-by-Step Instructions for Old-Fashioned Creamy Rice Pudding
Here’s how I make this classic dessert with that signature comforting texture.
Step 1: Cook the Rice Until Tender
Combine the 0.75 cup Long-Grain White Rice and 1 cup Water in a large saucepan. Bring to a boil over medium-high heat, then reduce to a simmer, cover, and cook for 15 minutes until the water is absorbed and the rice is just tender.
This initial cooking step ensures the rice grains are soft enough to absorb the milk later without turning mushy. I check that there’s no visible water and the rice looks slightly dry—this means it’s ready for the next step.
Step 2: Simmer Rice in Milk and Sugar
Add the 4 cups Whole Milk, 0.75 cup Granulated Sugar, 2 tbsp Unsalted Butter, 0.5 tsp Ground Cinnamon, and 0.25 tsp Salt to the cooked rice. Stir well to combine, then cook over medium-low heat for 30-35 minutes, stirring frequently.
As the mixture simmers, it should thicken noticeably and take on a creamy consistency. I keep the heat low to prevent scorching—the milk should gently bubble at the edges, not boil vigorously. You’ll see the rice plump up as it absorbs the sweetened milk.
Step 3: Temper and Add the Egg
Lightly beat the 1 whole Large Egg in a small bowl. Slowly ladle about 1 cup of the hot rice mixture into the beaten egg while whisking constantly. This tempers the egg so it doesn’t scramble when added to the hot pudding.
Pour the tempered egg back into the saucepan and cook for another 2-3 minutes, stirring constantly, until the pudding thickens enough to coat the back of a spoon. The mixture should look rich and custard-like at this point.
Step 4: Finish with Vanilla and Raisins
Remove the saucepan from heat and stir in the 1 tsp Vanilla Extract and 0.5 cup Raisins. I prefer to add the raisins at the end so they stay plump and don’t overcook. The vanilla adds that warm, aromatic depth that makes this taste so nostalgic.
Let the pudding sit for 5 minutes to cool slightly and thicken further. The raisins will soften in the residual heat, and the flavors will meld together beautifully.
Step 5: Serve Warm or Chilled
Transfer the pudding to serving bowls. I like to dust the top with a little extra ground cinnamon for both flavor and presentation. The pudding can be served warm, but it’s also delicious chilled—it thickens even more as it cools.
Each spoonful should have that perfect creamy texture with bits of soft rice, sweet raisins, and that comforting cinnamon warmth. This tastes best when the flavors have had a chance to develop, so I often make it a few hours ahead of time.
Pro Tips For Making Paula Deen Rice Pudding
- Stir Constantly: I learned this the hard way—rice pudding sticks fast, so keep that spoon moving, especially once the egg goes in, or you’ll be scrubbing burnt milk off the bottom.
- Use Day-Old Rice: Sounds weird, but it works: leftover cooked rice soaks up the milk better than fresh, giving you that creamy texture without turning mushy.
- Temper the Egg: Skip dumping the egg straight in—whisk a cup of the hot milk mixture into the beaten egg first, then add it back slowly to avoid scrambled egg bits in your pudding.
- Finish with Cold Butter: After pulling it off the heat, stir in that unsalted butter while the pudding’s still hot—it melts in smooth and adds a richness you can’t get any other way.
Storing and Reheating This Recipe
Refrigerator Storage
Let the pudding cool completely at room temperature for about 2 hours before storing. Transfer to an airtight container—I use glass jars with snap-top lids. It will keep in the fridge at 40°F or below for 4-5 days easily. ❄️
Freezer Storage
For longer storage, portion into freezer-safe containers, leaving ½ inch headspace for expansion. Label with the date and freeze for up to 2 months. I recommend quart-sized freezer bags for space efficiency—they lay flat and thaw quickly.
Stovetop Reheating
Gently reheat individual servings in a small saucepan over low heat. Add 1-2 tbsp milk or cream to restore creaminess, stirring constantly. Heat until warmed through, about 5-7 minutes. This method prevents scorching and maintains that perfect pudding texture. 🔥
Microwave Reheating
For quick servings, microwave in 30-second intervals at 50% power, stirring between each. Add a splash of milk if it looks dry. This takes about 1-2 minutes total depending on your microwave’s wattage.
Serving After Storage
If a skin forms on top after refrigeration, simply stir it in—it blends right back into the pudding. I like to garnish with a fresh dusting of cinnamon or a dollop of whipped cream before serving. The flavors actually deepen after a day in the fridge.
Nutrition Facts
Frequently Asked Questions
Can I use instant rice for this?
No, stick with long-grain white rice. Instant rice cooks too quickly and can turn mushy, ruining the pudding’s texture. The slow absorption of milk is key to that creamy consistency.
How do I prevent scorching the milk?
Use a heavy-bottomed pot and keep the heat at medium-low. Stir frequently, especially as it thickens. The milk should gently bubble, never boil vigorously.
Why does my pudding turn out watery?
It needs more simmering time. Cook until it coats the back of a spoon, about 30-35 minutes. It will thicken further as it cools.
Can I make this dairy-free?
Yes, swap whole milk for coconut or almond milk. Use a dairy-free butter and ensure your sugar is vegan. The texture may be slightly less creamy.

- Peri Peri Rice Recipe: Spicy Portuguese One-Pot Harmony - November 6, 2026
- Mexican Flavoured Rice Recipe: Authentic Spice-Infused One-Pot Meal - November 6, 2026
- Lao Gan Ma Fried Rice Recipe: Spicy Wok-Tossed Perfection - November 6, 2026