
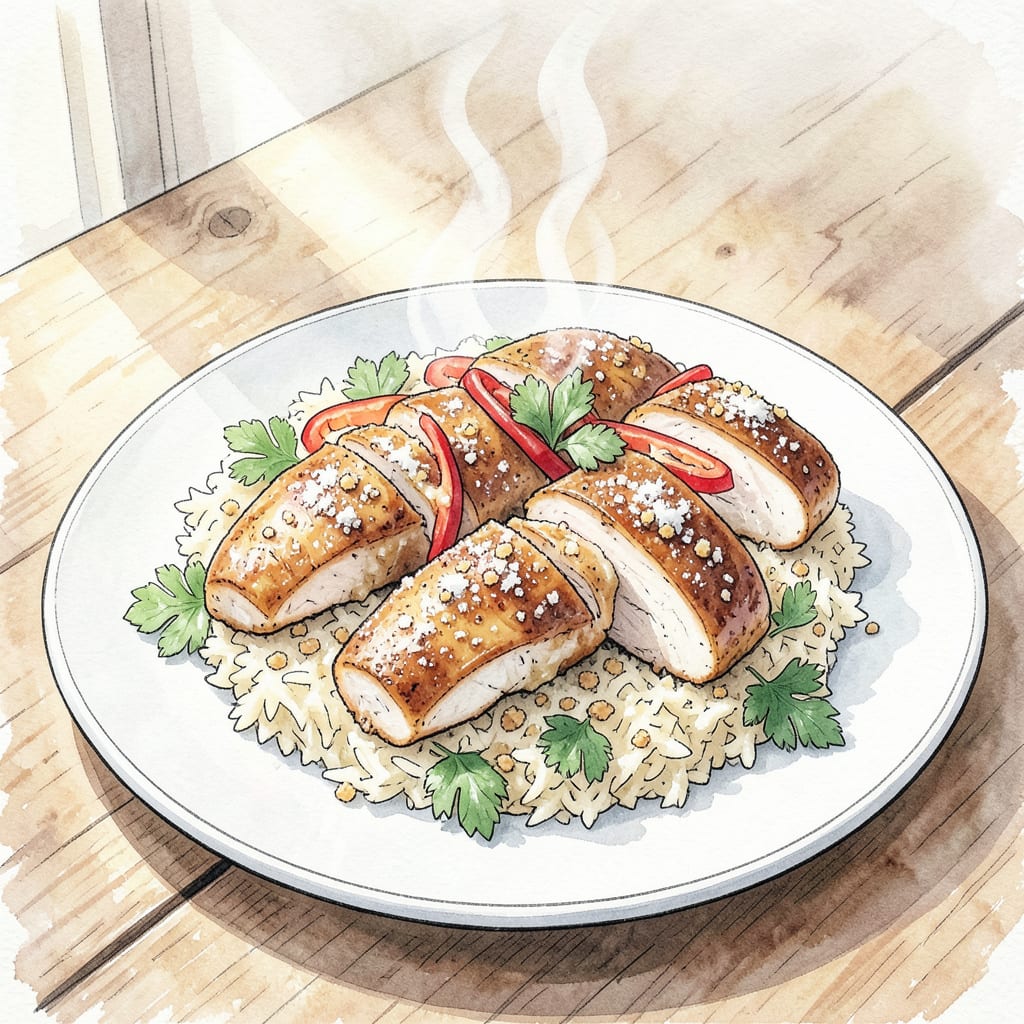
I’ve perfected the Pick Up Stix House Chicken Recipe, bringing restaurant-style Asian flavors to your home kitchen. This dish delivers tender chicken with a crispy exterior, coated in a savory sauce that’s both aromatic and flavorful.
Cooking this recipe requires attention to temperature and timing, but the result is well worth the effort. By following these steps, you’ll achieve a restaurant-quality meal that’s sure to impress.
Ingredients for Pick Up Stix House Chicken
Restaurant-quality ingredients come together for a dish that’s both familiar and impressive.
| Ingredient | Amount | Notes |
|---|---|---|
| Chicken Breast Cutlets 🍗 | 1 ½ lb | Pounded to even thickness |
| All-Purpose Flour 🌾 | 1 cup | For dredging chicken |
| Cornstarch 🌾 | ½ cup | For crispy coating |
| Eggs 🥚 | 2 whole | Beaten for egg wash |
| Panko Breadcrumbs 🍞 | 1 ½ cups | For crispy exterior |
| Vegetable Oil 🫒 | 1 cup | For frying chicken |
| Soy Sauce 🧂 | ¼ cup | For savory sauce |
| Rice Vinegar 🥘 | 2 tbsp | For sauce balance |
| Honey 🍯 | 1 tbsp | For sweetness |
| Ginger 🌿 | 2 tsp | Grated for flavor |
| Garlic Cloves 🧄 | 3 cloves | Minced for sauce |
| Sesame Oil 🫒 | 1 tsp | For aromatic finish |
For the crispiest chicken, Panko breadcrumbs are essential—they’re lighter and airier than regular breadcrumbs. You can find them in most supermarkets or Asian markets for better selection. The quality of Soy Sauce matters here—look for a reputable brand like Kikkoman or Pearl River Bridge for depth of flavor.
No rice vinegar? Apple cider vinegar works as a substitute, though the flavor will be slightly different. If you prefer a less sweet sauce, reduce the honey to 0.5 tablespoon. For an extra kick, add 1 teaspoon of sriracha to the sauce. Fresh ginger is ideal, but ground ginger can be used in a pinch—start with 0.5 teaspoon and adjust to taste.
Leftover chicken can be stored in an airtight container in the fridge for up to 3 days. Reheat in the oven to maintain crispiness. The sauce can be made ahead and stored in the fridge for 5 days or frozen for 3 months. When reheating, add a splash of water if the sauce has thickened too much.
Step-by-Step Instructions for Pick Up Stix House Chicken
Follow my detailed guide to create this restaurant-style dish with perfectly crispy chicken and savory sauce.
Step 1: Prepare the Breading Station
In a shallow dish, combine the 1 cup All-Purpose Flour and 0.5 cup Cornstarch. Whisk until well mixed to create a light, airy coating that will help the chicken achieve that signature crunch. In a separate dish, beat the 2 whole Eggs until smooth – this egg wash is crucial for helping the breadcrumb coating adhere to the chicken. In a third dish, place the 1.5 cups Panko Breadcrumbs, ready for the final coating step.
Having everything organized in advance makes the breading process smooth and efficient. I like to arrange my stations in a workflow order: flour mixture first, then egg wash, and finally breadcrumbs. This setup prevents cross-contamination between the different coating stages and ensures each piece of chicken gets evenly coated.
Step 2: Bread the Chicken Cutlets
Take each of the 1.5 lb Chicken Breast Cutlets (which should be pounded to an even thickness) and dredge it in the flour mixture, coating both sides evenly. Then dip the floured chicken into the egg wash, making sure it’s fully coated. Finally, press the chicken into the Panko breadcrumbs, ensuring they adhere well to both sides. The key here is gentle handling to maintain the even coating – I find using one hand for dry ingredients and the other for wet helps keep things tidy.
As you bread each piece, place it on a clean plate or tray. You’ll notice how the triple coating system (flour, egg, breadcrumbs) creates an exceptionally crispy exterior while keeping the interior juicy. This breading technique is what gives this dish its signature texture.
Step 3: Fry the Chicken to Perfection
Heat the 1 cup Vegetable Oil in a large skillet over medium-high heat until it reaches 350°F. When the oil is hot enough, carefully add the breaded chicken cutlets – you should see immediate bubbling around the chicken. Fry for 3-4 minutes per side until the coating turns golden brown and crispy.
Don’t overcrowd the pan – fry in batches if necessary. I find that maintaining the oil temperature between 325°F and 350°F is crucial for achieving that perfect golden crust without burning. Use a thermometer to monitor the temperature and adjust the heat as needed. Once done, transfer the fried chicken to a wire rack set over a baking sheet to drain excess oil.
Step 4: Prepare the Savory Sauce
In a small saucepan, combine the 0.25 cup Soy Sauce, 2 tbsp Rice Vinegar, 1 tbsp Honey, 2 tsp Ginger, and 3 cloves Garlic Cloves. Bring the mixture to a simmer over medium heat. Let it cook for 5-7 minutes until it thickens slightly and reduces by about one-third, creating a rich, glossy sauce.
Stir occasionally to prevent scorching, and watch for the sauce to develop a deeper color and slightly thicker consistency. When it’s done, remove from heat and whisk in the 1 tsp Sesame Oil. This final addition adds a deep, nutty aroma that elevates the entire dish. Strain the sauce through a fine-mesh sieve to remove the ginger and garlic, resulting in a smooth, velvety finish.
Step 5: Serve with Sauce
Slice the fried chicken cutlets into strips or serve whole, depending on your preference. Drizzle the prepared sauce over the top or serve it on the side for dipping. The combination of the crispy, savory chicken with the rich, aromatic sauce is what makes this dish truly special. For an authentic presentation, garnish with sliced green onions or toasted sesame seeds if desired.
When serving, I like to pair this dish with steamed vegetables or a simple salad to balance the richness of the fried chicken. The savory sauce ties everything together, adding depth to each bite. This recipe makes 4 servings, perfect for a family dinner or small gathering.
Creative Variations of This pick up stix house chicken
Korean-Style Variations
Transform this dish into a Korean-inspired creation by adding 1-2 teaspoons of gochujang to the sauce. The fermented chili paste brings a deep, spicy complexity that pairs beautifully with the crispy chicken. I like to add some toasted sesame seeds and chopped green onions for extra flavor and texture. 🔥
Thai-Inspired Modifications
For a Thai twist, replace the ginger in the sauce with 2 tablespoons of freshly grated galangal. Add 1 tablespoon of fish sauce and 1 tablespoon of lime juice to create a brighter, more aromatic flavor profile. Top with chopped cilantro and crushed peanuts for added freshness and crunch.
Spicy Variations
For those who like heat, add 1-2 teaspoons of sriracha or your favorite hot sauce to the sauce mixture. You can also sprinkle some crushed red pepper flakes over the chicken before serving for an extra kick. The spicy kick complements the savory sauce and crispy exterior perfectly. 🌶️
Gluten-Free Adaptation
To make this recipe gluten-free, replace the all-purpose flour with 1:1 gluten-free flour and ensure your soy sauce is gluten-free (many brands offer gluten-free options). The Panko breadcrumbs can usually be found in gluten-free versions, but double-check the packaging to be sure.
Healthier Alternatives
For a lighter version, try baking the chicken instead of frying. Coat the chicken as instructed, then bake in a preheated oven at 400°F for 20-25 minutes, or until crispy and cooked through. You can also use an air fryer for a crisper exterior with less oil.
Additional Toppings
Elevate your dish with various toppings such as pickled vegetables, sliced scallions, or a sprinkle of furikake. These additions can add texture, flavor, and visual appeal to your finished dish. Experiment with different combinations to find your favorite. ✨
Nutrition Facts
Frequently Asked Questions
Can I make Pick Up Stix House Chicken without deep-frying?
Yes, you can bake the chicken instead of frying. Coat the chicken as instructed, then bake in a preheated oven at 400°F for 20-25 minutes, or until crispy and cooked through. You can also use an air fryer for a crisper exterior with less oil.
How do I store leftover Pick Up Stix House Chicken?
Leftover chicken can be stored in an airtight container in the fridge for up to 3 days. Reheat in the oven to maintain crispiness. The sauce can be made ahead and stored in the fridge for 5 days or frozen for 3 months. When reheating, add a splash of water if the sauce has thickened too much.
Can I make the sauce ahead of time?
Yes, the sauce can be prepared ahead of time. Store it in an airtight container in the refrigerator for up to 5 days or freeze it for 3 months. Reheat gently before serving, whisking constantly to maintain the smooth consistency. When reheating, you may need to add a little water to achieve the desired thickness.
What’s the best way to achieve crispy chicken?
The key to crispy chicken is the triple coating process: flour, egg wash, and Panko breadcrumbs. Maintaining the oil temperature between 325°F and 350°F during frying is also crucial. Don’t overcrowd the pan, and let the chicken rest on a wire rack after frying to prevent sogginess.

- Jollof Rice Sauce Recipe: West African Tomato and Spice Infusion - September 25, 2026
- Japanese Rice Soup Recipe: Umami-Rich Comfort in a Bowl - September 25, 2026
- Homemade Cream Of Rice Recipe: Silk-Smooth Breakfast in Minutes - September 25, 2026