
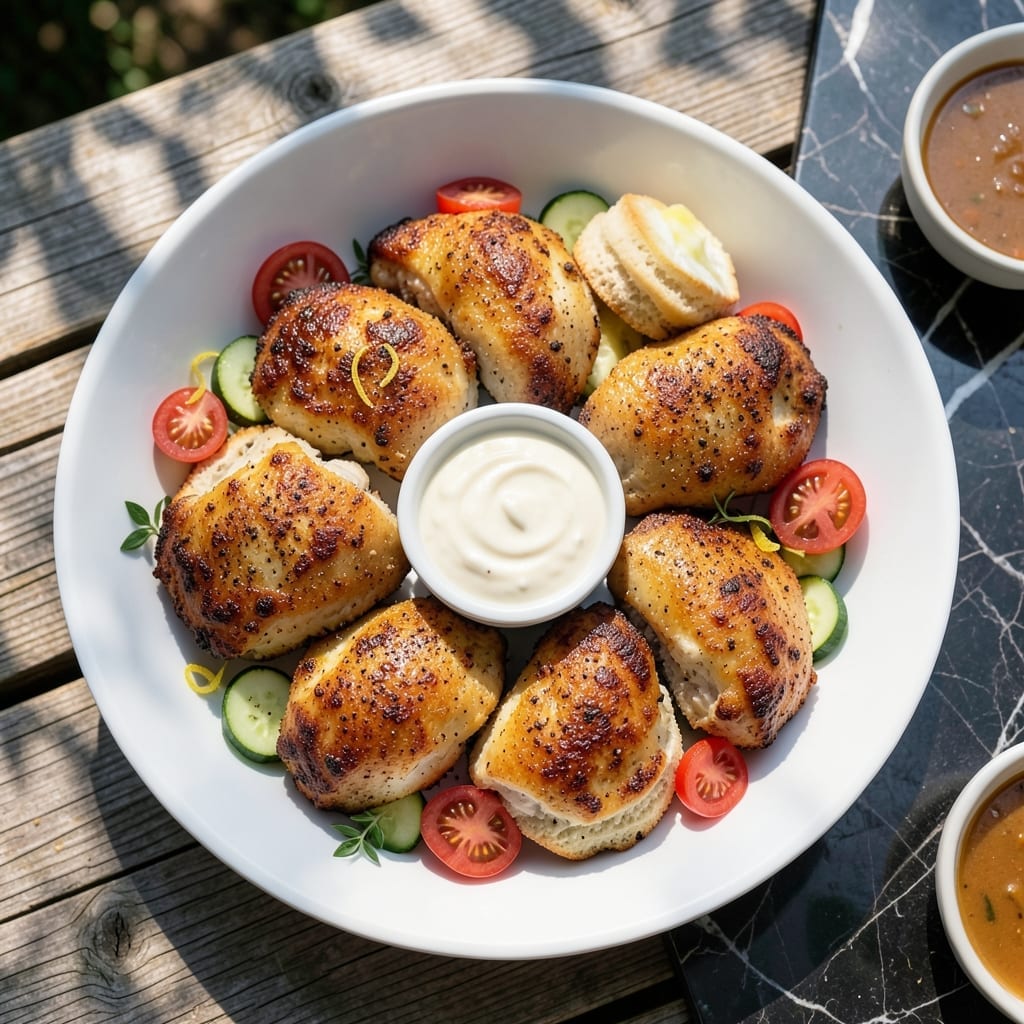
This recipe delivers the ideal picnic chicken—crispy on the outside, tender inside, and designed to stay delicious when served cold.
I developed this method after too many soggy, dry chicken experiences at outdoor gatherings. The secret is a two-step cooking process that locks in moisture while creating a shatteringly crispy coating that holds up for hours.
What sets this apart is its portability. The chicken remains perfect at room temperature, with a coating that stays crunchy and meat that stays juicy. No reheating required.
Pack it with your favorite sides for a meal that travels as well as it tastes. Here’s how to make it.
Ingredients for Picnic Chicken
Crispy, juicy chicken that travels perfectly. Nothing complicated here.
| Ingredient | Amount | Notes |
|---|---|---|
| Chicken Thighs 🍗 | 2 lb | Boneless, skin-on for crispiness |
| Buttermilk 🥛 | 1 cup | Full-fat for tenderizing |
| All-Purpose Flour 🌾 | 1 ½ cups | For crispy coating |
| Cornstarch 🌽 | ½ cup | Extra crunch factor |
| Paprika 🌶️ | 1 tbsp | Sweet or smoked variety |
| Garlic Powder 🧄 | 1 tbsp | For savory depth |
| Onion Powder 🧅 | 1 tbsp | Balances seasoning |
| Salt 🧂 | 1 ½ tsp | Kosher or sea salt |
| Black Pepper 🌶️ | 1 tsp | Freshly ground preferred |
| Cayenne Pepper 🔥 | ¼ tsp | Optional for heat |
| Vegetable Oil 🫒 | 2 cups | For frying chicken |
| Large Egg 🥚 | 1 whole | Helps coating adhere |
| Hot Sauce 🌶️ | 1 tbsp | Adds tang to buttermilk |
The chicken thighs are non-negotiable here—bone-in, skin-on gives you that shatteringly crisp coating. I grab mine from Whole Foods or the local butcher, but any supermarket with good turnover works. Look for thighs that are plump and moist (avoid anything gray or dried out). The buttermilk matters too—full-fat makes all the difference in tenderness, and don’t even think about low-fat (it’ll make your coating sad).
No buttermilk? Mix 1 cup milk with 1 tbsp vinegar or lemon juice and let it sit 10 minutes. Swap cornstarch for arrowroot powder if that’s what you’ve got. The paprika can be hot or sweet—your call. If you’re out of garlic powder, granulated garlic at half the amount works. The cayenne is optional, but I always add it (worth the extra minute).
This stays crispy for 4-6 hours at room temp—perfect for picnics. Store leftovers in the fridge for up to 4 days, but honestly, it’s best fresh. Reheats okay in the oven, but skip the microwave (soggy city).
Why You’ll Love This Recipe
- One Bowl Wonder: I just toss the chicken thighs in buttermilk, then the flour mix—no fancy prep, no mess.
- Crispy Outside, Juicy Inside: That paprika-kissed crust with the tender, buttermilk-soaked meat? Ridiculously good.
- Picnic to Potluck: I’ve taken this to park lunches, backyard BBQs, and even a school fundraiser—always a hit.
- Budget Stretcher: Chicken thighs stay cheap, and one batch feeds my family of four with leftovers for sandwiches.
Step-by-Step Instructions for Cold and Crispy Picnic Chicken
Here’s how I make this dish stay perfectly crispy even when served cold hours later.
Step 1: Marinate the Chicken in Buttermilk
Whisk together the 1 cup Buttermilk, 1 whole Large Egg, and 1 tbsp Hot Sauce in a large bowl until smooth. The buttermilk will look slightly thickened from the egg—this is normal.
Add the 2 lb Chicken Thighs and turn to coat completely. I press them down to submerge fully. Cover and refrigerate for at least 4 hours, but overnight works even better. The buttermilk tenderizes while the hot sauce adds subtle tang.
You’ll notice the chicken plumps slightly as it absorbs the marinade. This ensures the meat stays juicy even after frying and cooling.
Step 2: Prepare the Crispy Coating
In a shallow dish, combine the 1.5 cups All-Purpose Flour, 0.5 cup Cornstarch, 1 tbsp Paprika, 1 tbsp Garlic Powder, 1 tbsp Onion Powder, 1.5 tsp Salt, 1 tsp Black Pepper, and 0.25 tsp Cayenne Pepper.
Whisk until no streaks remain and the mixture looks uniformly speckled with spices. The cornstarch is your secret weapon for extra crunch that holds up when cold. I like to spread the mixture out so dredging is easier.
Let the marinated chicken drain slightly (but don’t rinse) before dredging. This helps the coating adhere better without creating a gummy mess.
Step 3: Fry to Golden Perfection
Heat the 2 cups Vegetable Oil in a deep skillet or Dutch oven over medium-high heat to 350°F. Use a thermometer—this temperature is crucial. Too cool and the chicken will absorb oil; too hot and it’ll burn outside before cooking through.
Working in batches to avoid crowding, carefully lower the coated chicken into the oil. Fry for 6-8 minutes per side until the coating is deep golden brown and the internal temperature reaches 165°F.
Drain on a wire rack, not paper towels. This prevents steam from making the crust soggy. You’ll hear a satisfying crunch when you move the pieces—that’s how you know it’s right.
Step 4: Cool Completely for Maximum Crispiness
Let the chicken cool to room temperature on the rack, about 30 minutes. The residual heat continues setting the crust, making it even crunchier as it cools.
Don’t cover it or stack the pieces. Trapped steam is the enemy of crispiness. I usually place the rack in a 200°F oven for the last 10 minutes to ensure complete dryness.
When fully cool, the crust should audibly crack when you bite into it. This cooling step is what makes it picnic-perfect—the crust stays intact for hours at room temperature.
Pro Tips For Making Picnic Chicken
- Marinate Overnight: Soak the chicken thighs in buttermilk for at least 12 hours—it tenderizes the meat and guarantees juicy results, especially with the cornstarch coating.
- Double Dredge: Dip the buttermilk-soaked thighs in flour, then back in buttermilk, then flour again for an extra-crispy crust that holds up at picnics.
- Hot Oil Test: Drop a pinch of flour into the oil before frying—if it sizzles immediately, it’s ready. I learned this the hard way after a few greasy, undercooked batches.
- Rest Before Serving: Let the fried chicken rest on a wire rack for 5 minutes so the crust stays crisp instead of turning soggy from trapped steam.
Flavor Customization for These Flavors
Spicy Kick Addition
Add ½ tsp cayenne pepper to the coating mix for noticeable heat, or bump it to 1 tsp if you love fire. I also stir 1 tbsp sriracha into the buttermilk marinade for extra tang and spice. 🌶️
Herb-Infused Twist
Mix 1 tbsp dried thyme and 1 tbsp dried rosemary into the flour coating for an aromatic herb crust. Fresh herbs work too—just use 2 tbsp chopped and press them gently into the coating before frying.
Citrus Zing
Add zest of 1 lemon and 1 tbsp lemon juice to the buttermilk marinade for bright, citrusy notes. The acidity also helps tenderize the chicken further. This pairs especially well with the hot sauce.
Sweet Heat Glaze
After frying, brush pieces with a mix of 2 tbsp honey and 1 tbsp hot sauce. Return to the oven at 375°F for 5 minutes to set the glaze. The result is sticky, sweet, and spicy all at once. 🔥
Cheesy Crunch
Sprinkle ½ cup grated Parmesan into the flour mixture for a savory, umami-rich crust. For extra indulgence, top cooled chicken with shredded cheddar and broil for 2 minutes to melt.
Smoky Depth
Replace regular paprika with smoked paprika and add ½ tsp chipotle powder to the coating. This gives the chicken a deep, smoky flavor that stands out even when served cold.
Nutrition Facts
Frequently Asked Questions
Can I use chicken breasts instead of thighs?
Thighs work best for juiciness, but boneless breasts can be used. Reduce frying time to 5-6 minutes per side to prevent dryness. The coating may not cling as well to leaner meat.
How do I keep it crispy during transport?
Pack pieces in a single layer in a paper towel-lined container. Avoid sealing tightly—leave the lid slightly ajar to prevent steam buildup. It stays crisp for 4-6 hours.
Can I bake instead of frying?
Yes! Bake at 400°F for 25-30 minutes on a wire rack. The crust won’t be as crunchy, but it’ll still be flavorful. Spray with oil before baking for better browning.
What sides pair well for a picnic?
Try cold potato salad, corn on the cob, or crudités with dip. These hold up well and complement the chicken’s crispiness.

- Jollof Rice Sauce Recipe: West African Tomato and Spice Infusion - September 25, 2026
- Japanese Rice Soup Recipe: Umami-Rich Comfort in a Bowl - September 25, 2026
- Homemade Cream Of Rice Recipe: Silk-Smooth Breakfast in Minutes - September 25, 2026